Hooray for another beautiful Friday!
I've got a pretty busy weekend ahead -
seeing a friend that I haven't seen for a few years,
and me hosting the Mother's Day dinner on Sunday for both moms :)
The weather in Calgary has finally come around and for the past few days,
it really does feel like summer!
It's makes me feel so excited!
Anyway - I've got a quick but cute project to share with ya today!
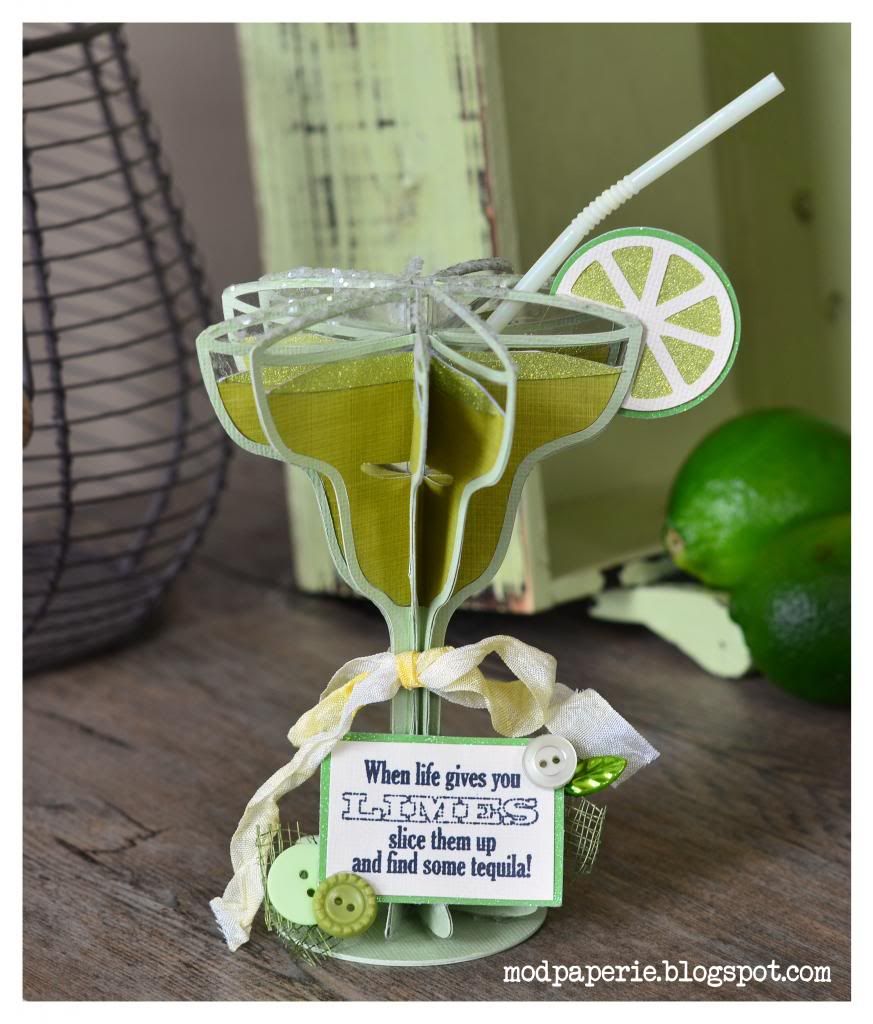
I used the flat Margarita file from last week's SVG Cuts collection -
and make a 3D Margarita with it!
Would anyone like a glass?
Doesn't it look so yummy?
I was craving a glass of this SO BAD while I was making it!
For those that are interested in making it -
all you need is:
Margarita Card (use any size - I used the size it opens up at)
4 - glass_light_blue.svg (acetate)
10 - glass_light_green.svg (light green)
10 - margarita.svg (olive green)
10 - margarita_fruit.svg (glittery light green) (only need one of the lime circle though!)
1 - lime_rind.svg (glittery dark green)
1 - lime_white.svg (cream)
4 - 2.6" circle (light green - for the base of the glass)
glitter flakes (used Martha Stewart snow glitter)
Instructions:
1. Cut out all pieces and score vertically down the middle for all pieces except for lime files.
2. Glue the glass_light green.svg on the inside of the folded acetate.
3. Adhere one side of the glass_light green.svg on the outside of the folded actate.
4. Take the 'unglued' side and adhere onto another piece of acetate cut.
5. Glue another glass_light_green.svg onto the inside of the actetate.
6. Repeat - until all pieces are used.
The last panel should adhere back onto the other side of the initial acetate piece.
7. Glue all the circles together, which creates a sturdy base.
8. Adhere the margarita glass onto this circle base.
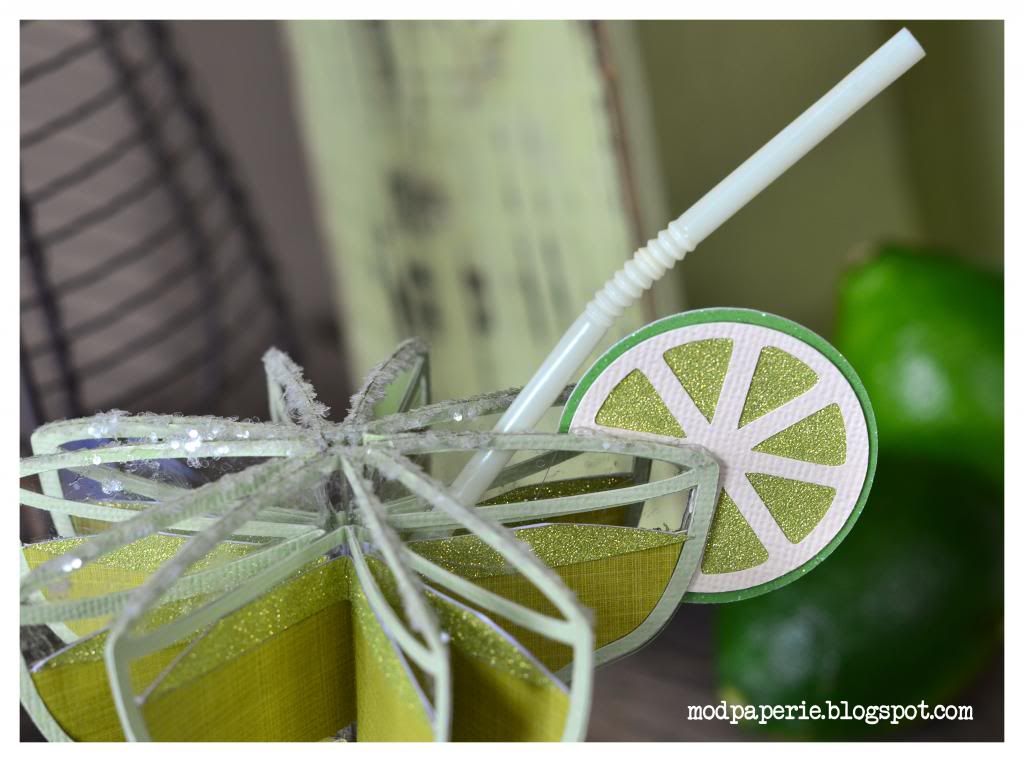
9. Put glue on the top portion of the glass and dip into 'glitter' (fake sugar)
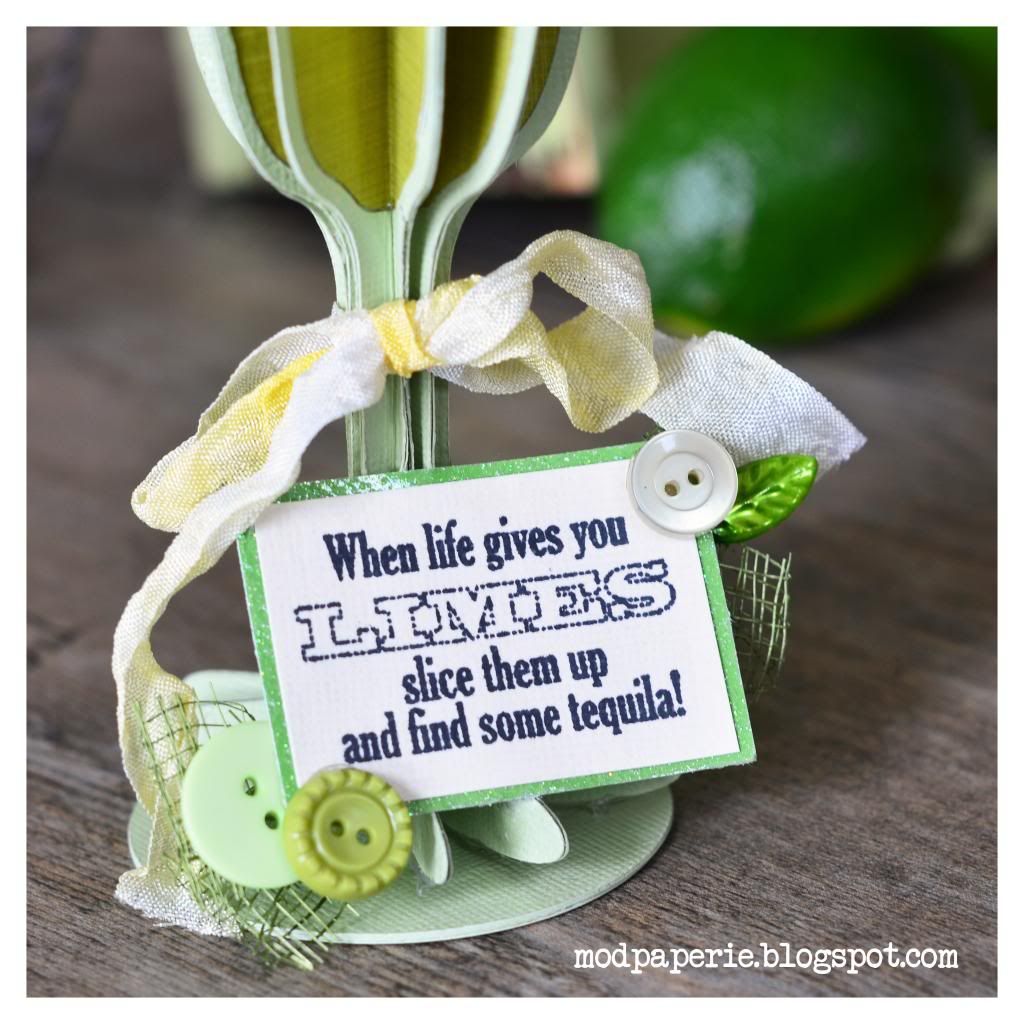
10. Attach lime and straw and embellish!
It's pretty easy and it's so cute!
Now, onto the NEW KIT for the week!
(New kit/collection is always FREE with purchase of $9.98 or more!)
(New kit/collection is always FREE with purchase of $9.98 or more!)
Oooh, I cannot wait to make this to add to my truck collection!
I've made a dump truck and just recently an ice cream truck.
now this!
AHHH!
It's a FIRETRUCK!!!
Oh, another thing that I've been pretty excited about is the popcorn cup!
There is another one in THIS KIT, but is MUCH bigger...
(requires 4 panels - an adult size popcorn)
and I requested Mary to make a 'one-piece' one (for kiddies)!
and yay!!!
We've got one in this kit!
With this kit, whether it be for a Memorial Day, Patiotic Day or just a birthday -
you're gonna be partyin' in style!
Alrighty friends -
I've got lots to do -
so better get back to my cleaning and prepping for company!
Have a great weekend everyone!


So creative. Love this!
ReplyDeleteI know this is a year after your original post but i just made this last night and it turned out super cute, although not particularly "easy". However your instructions say to cut 4 acetate glasses and 10 of all the other pieces but that leaves of everything left over. I think the instructions should be either to cut 5 acetate glasses or else to just cut 8 of all the other pieces, right? Hope you're enjoying your new leather crafting hobby. Love all of your SVG posts!
ReplyDeleteoops, meant to say "that leaves 2 pieces of everything left over".
ReplyDelete