Friday, June 28, 2013

Old Fashioned Ice Cream Cart - SVG Cuts DT Project

HELLO ALL!

Oooh, I'm so excited to be sharing my project today!
I really enjoyed making this one, and hope that it shows!
(This is a SVG Cuts project, but for Unity FWF friends -
I have used stamps in this project, so don't go away!)

A few weeks ago, I made an ICE CREAM TRUCK and that's what inspired me to make one of these.
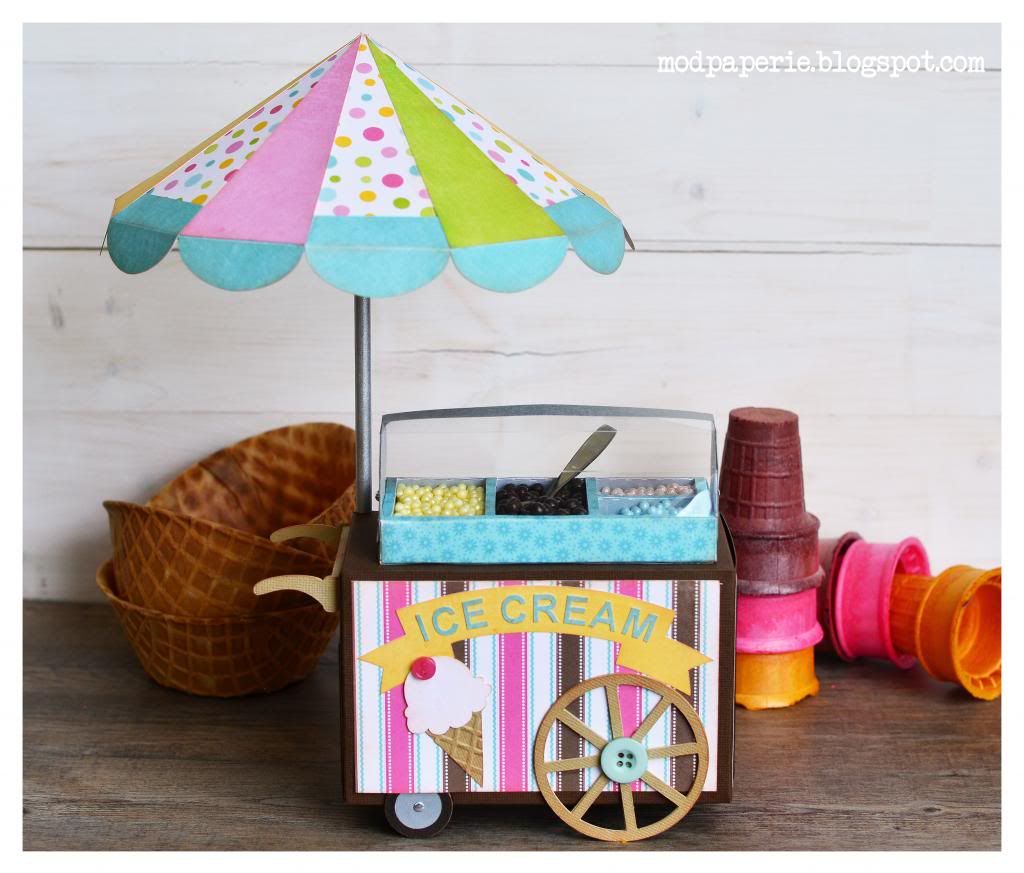
I thought that it would be SUPER CUTE to make an ICE CREAM CART,
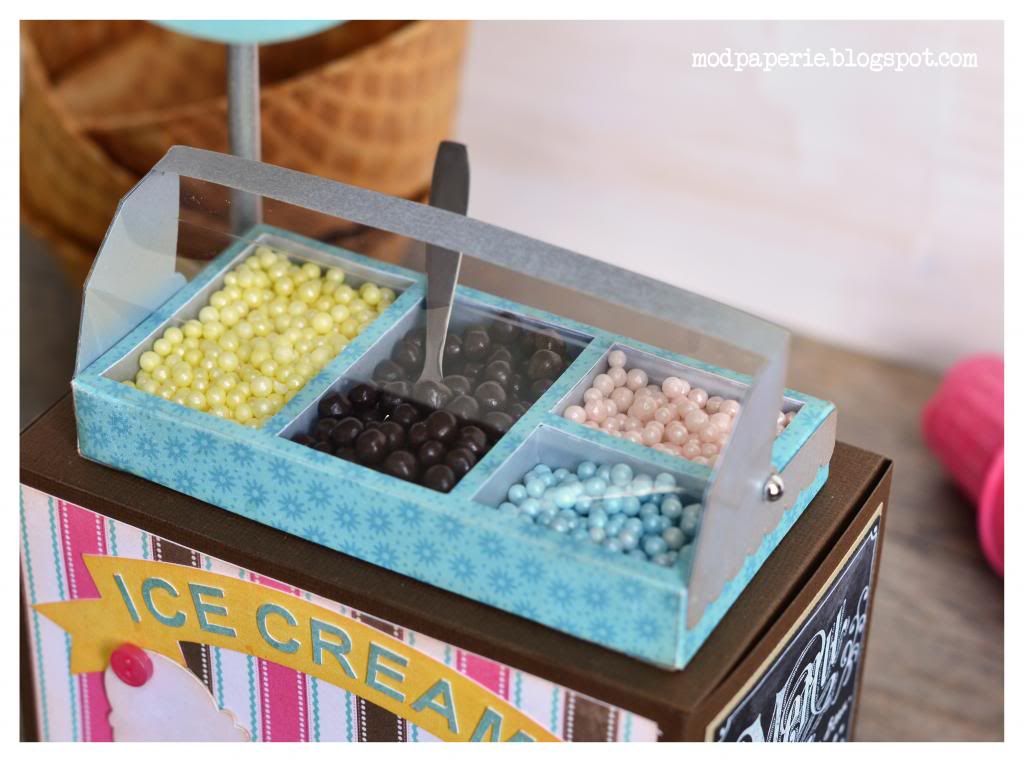
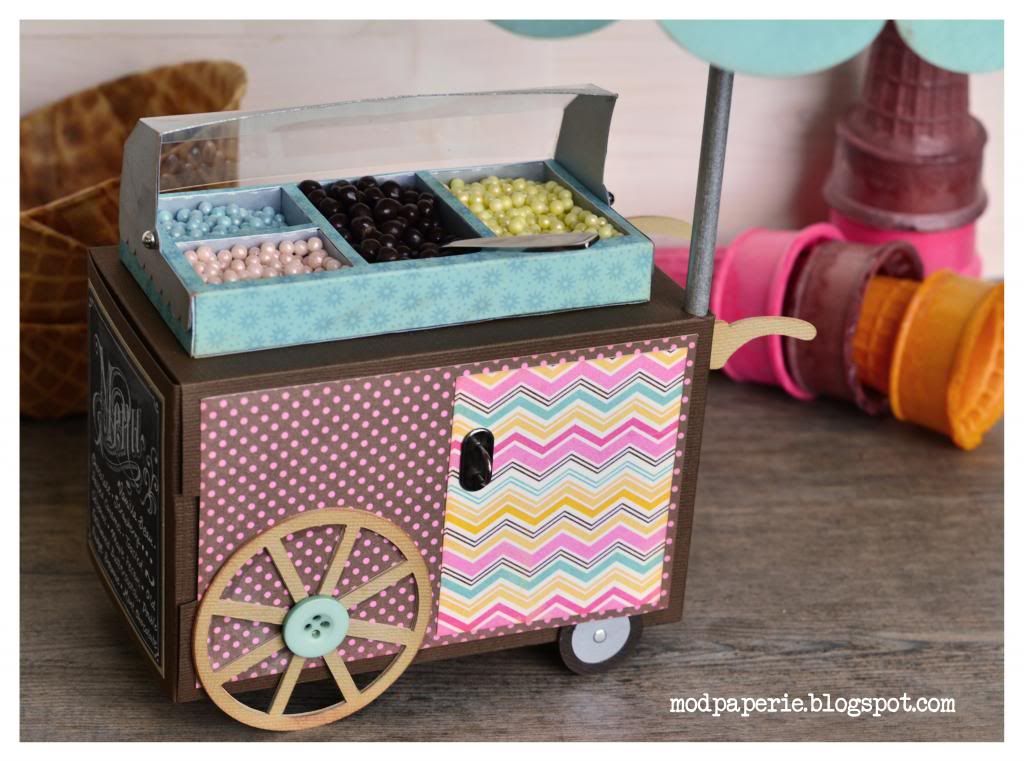
where one can actually filler up with chocolate chips, coconut flakes and sprinkles in the 'faux' freezer display area,
and also to hold some cones inside the cart.
Doesn't it sound oh so cute, already?
Wouldn't it be perfect for a summer ice cream party?

 photo DSC_1572_zpsb901e3bb.jpg

Tell me - 
isn't this the cutest thing?
I'm not usually the one to 'brag' about my project,
but I was just so pleased of myself.
(Especially that garnish station part!)

 photo DSC_1550_zps34c28178.jpg

Do you know where that file came from?
Yep - you guessed it!
It's from this kit, using the Curio Display Box -
and added the 'glass' by altering the canopy file from this kit.

 photo DSC_1552_zps66171f5f.jpg

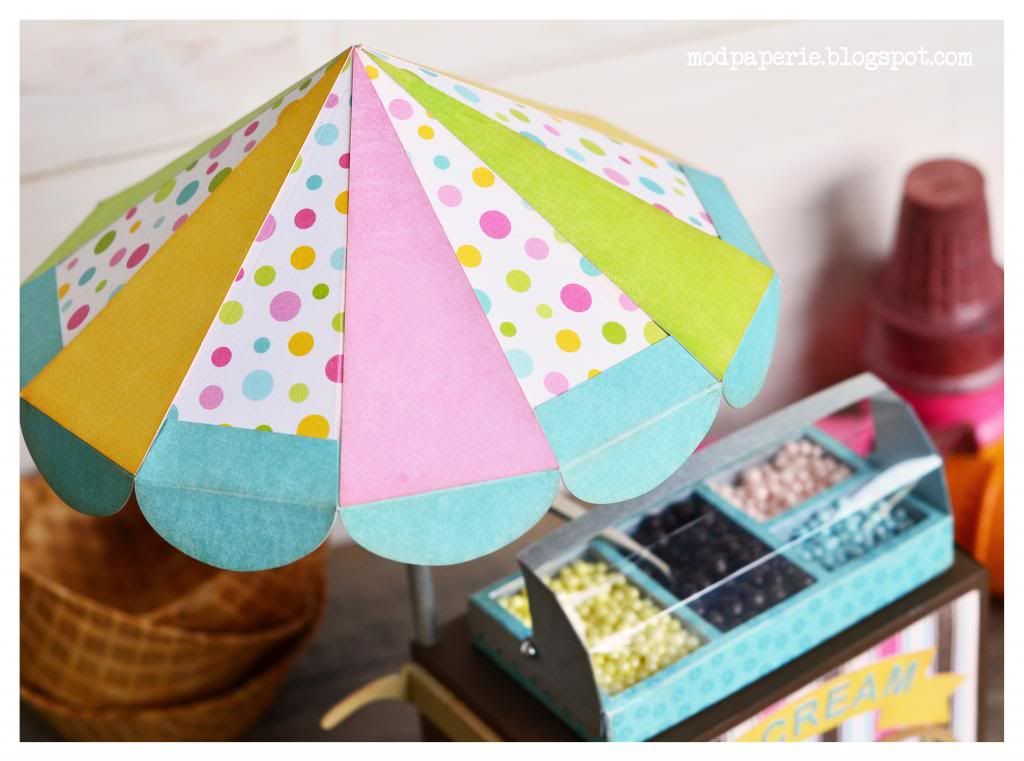
Of course, ice cream cart needs an umbrella.
This came from this kit, only using the lid of the tent box.

 photo DSC_1555_zps6320730b.jpg

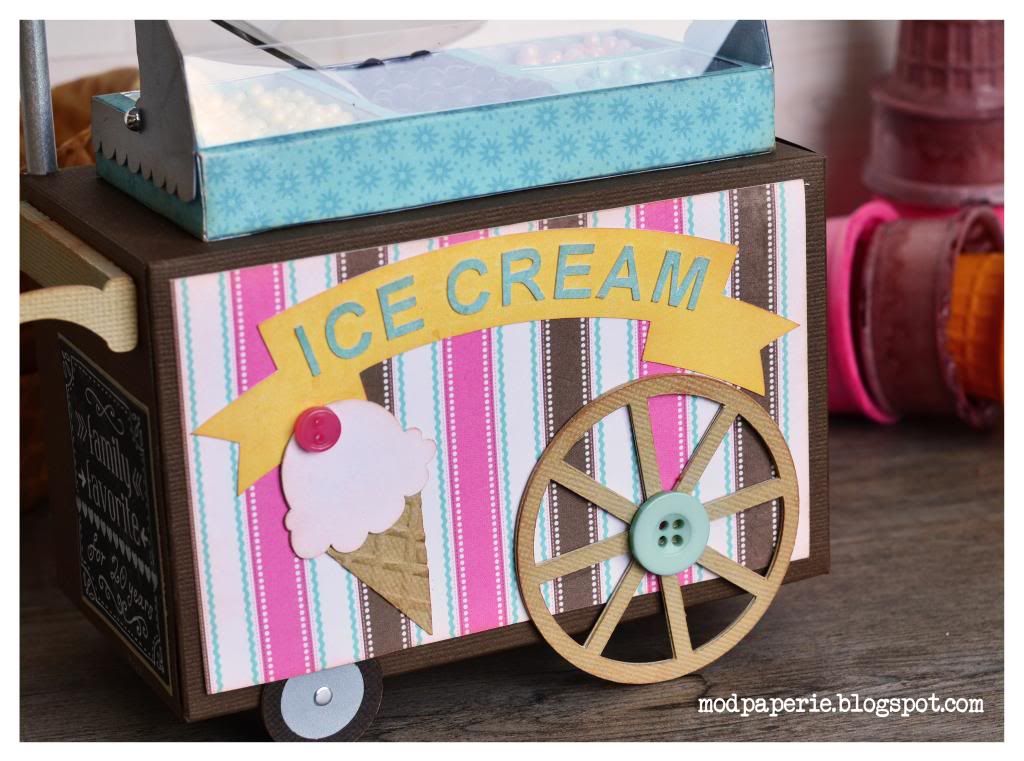
Like any real cart, I made one wheel bigger than the other,
with one being on the outer and one on the inner side :)

 photo DSC_1557_zpse0189bb7.jpg

Here's one of the sides of the cart...
and you see that handle?
It took me over an hour to decide what files to use.
I had a specific 'handle' in mind, and this was the closest that I was able to get!
It comes from using one of the crate boards with 'layered' top of the hammer pieces!

Sometimes trying to 'design' my project takes a LOOONG time.
I have a certain style in mind, 
and it's important for me to execute it the way I envisioned it.
That sometimes mean that I use different files from one kit, 
and sometimes from MANY kits.
I know that some get frustrated when I use SO MANY kits in my projects,
but that is why I use them, 
and you're more than welcome to find a similar file and use it instead! :)
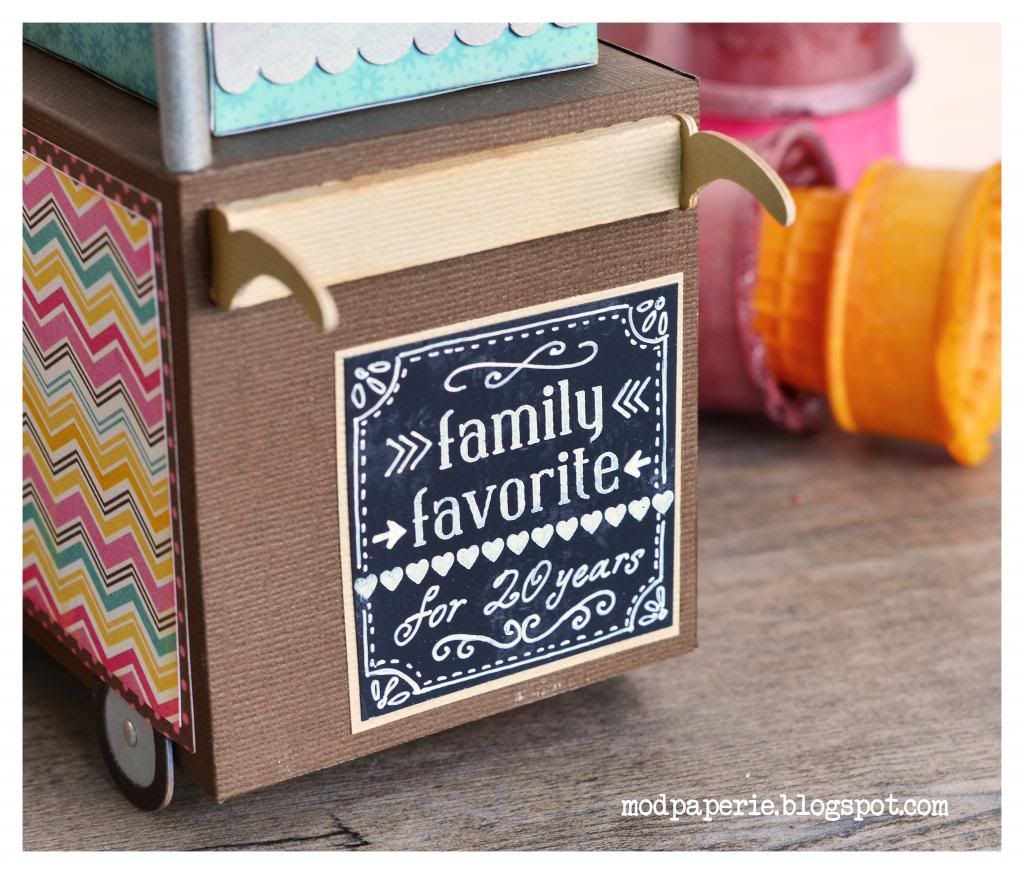
I love that little 'chalkboard' sign that I made!
The 'family favorite' and the heart border is Unity Stamp Co.,
and the rest - I just used a white gel pen and I doodled it.

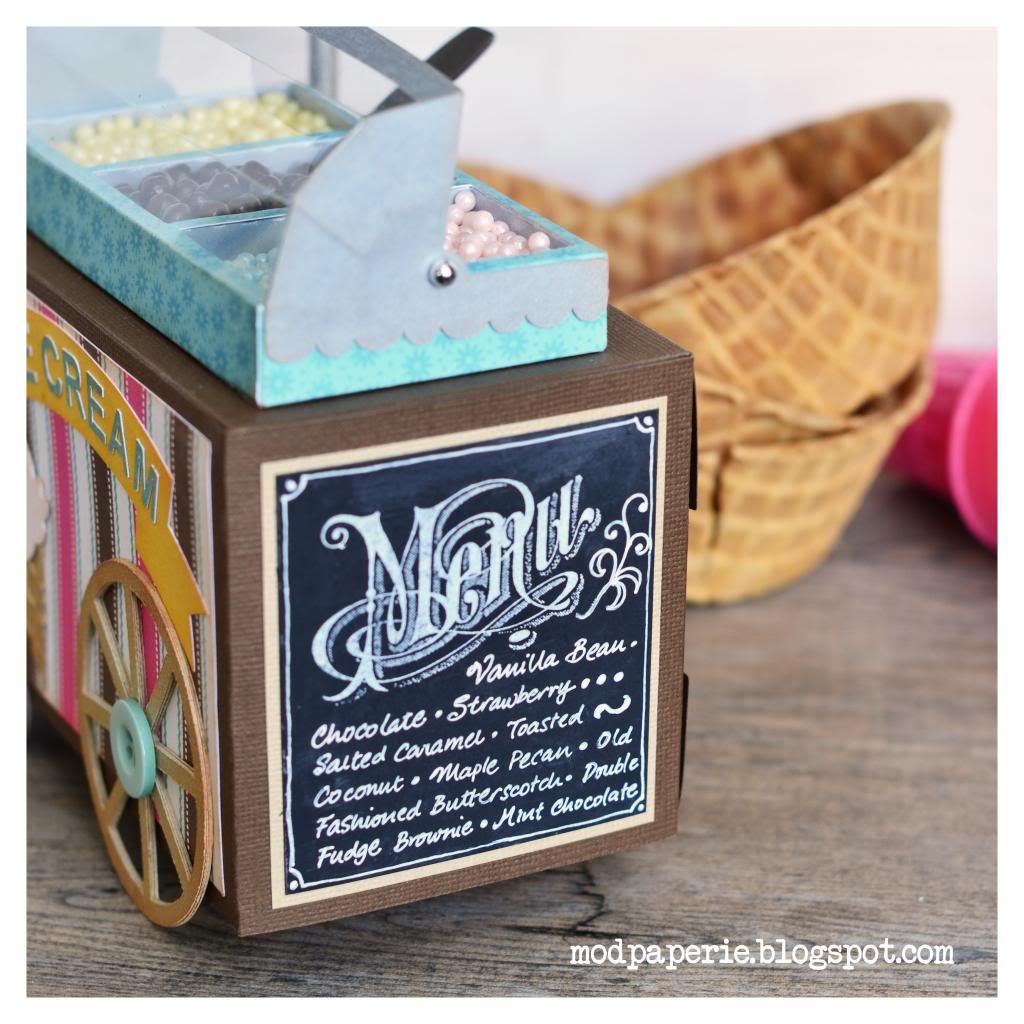
I also did a similar thing to the other side:

 photo DSC_1561_zps453038f1.jpg

... and here again, 'Menu' is a Unity Stamp Co.,
but everything else - it's freehand :)
Where would I find an ice cream menu stamp, right?

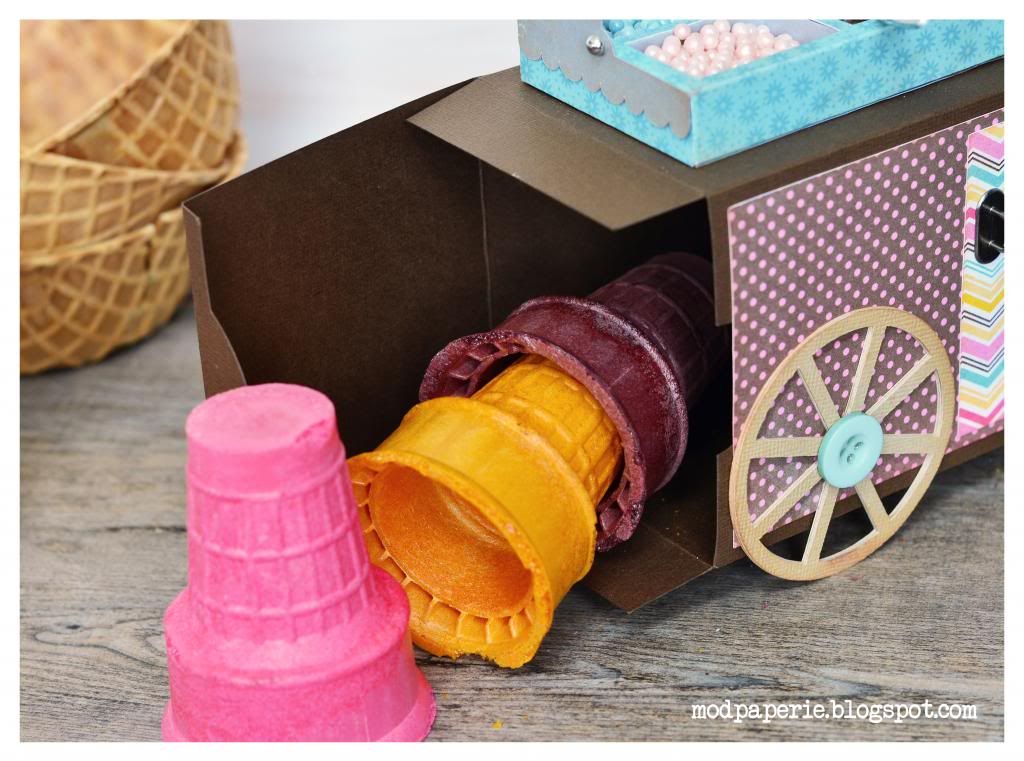
Now, this end opens!

 photo DSC_1569_zpsd803d043.jpg

...where it holds all the cones!
(well, not so quite 'all the cones' as it only fits like three!)
But hey - 
it's the idea that's cute!

I also 'decorated' the back, too - 

 photo DSC_1558_zps27e467f8.jpg

So, that's my project for today!

I hope that you like it as much as I do!

To make this cart, you will need:

Attic Treasures SVG Kit (display freezer)

...and once you have them all - 
head on over to SVG Cuts blog
for specific file dimensions and instructions.

Oh, and since I've got you here - 
Have you seen the new collection from SVG Cuts yet?


I just LOVE all the fun elements in this set!
I asked for a light bulb, a polaroid, telephone dial and a feather! 
and Mary included them in for me!
(not to mention the viewfinder - 
I've always wanted that!)
So excited to play with these elements!

Okay - gotta get back to entertaining my family from Japan, 
so see ya!


Thursday, June 27, 2013

Itsy Bitsy Polka Dot Unity Thursday!
Hello my Unity friends!
I know you've been anxiously waiting for the hop -
ever since you finished the last one :)
I must admit -
I, too, look forward to the weekly sales,
all the fabulous new releases,
and inspiration projects created by the team.
It's just so exciting, isn't it?

Anyway - you should be arriving here from Shemaine's blog
(as always!)
and here's the list for your reference:

Thienly Azim - YOU ARE HERE :)

So... we're having an itsy bitsy POLKA DOT weekend...
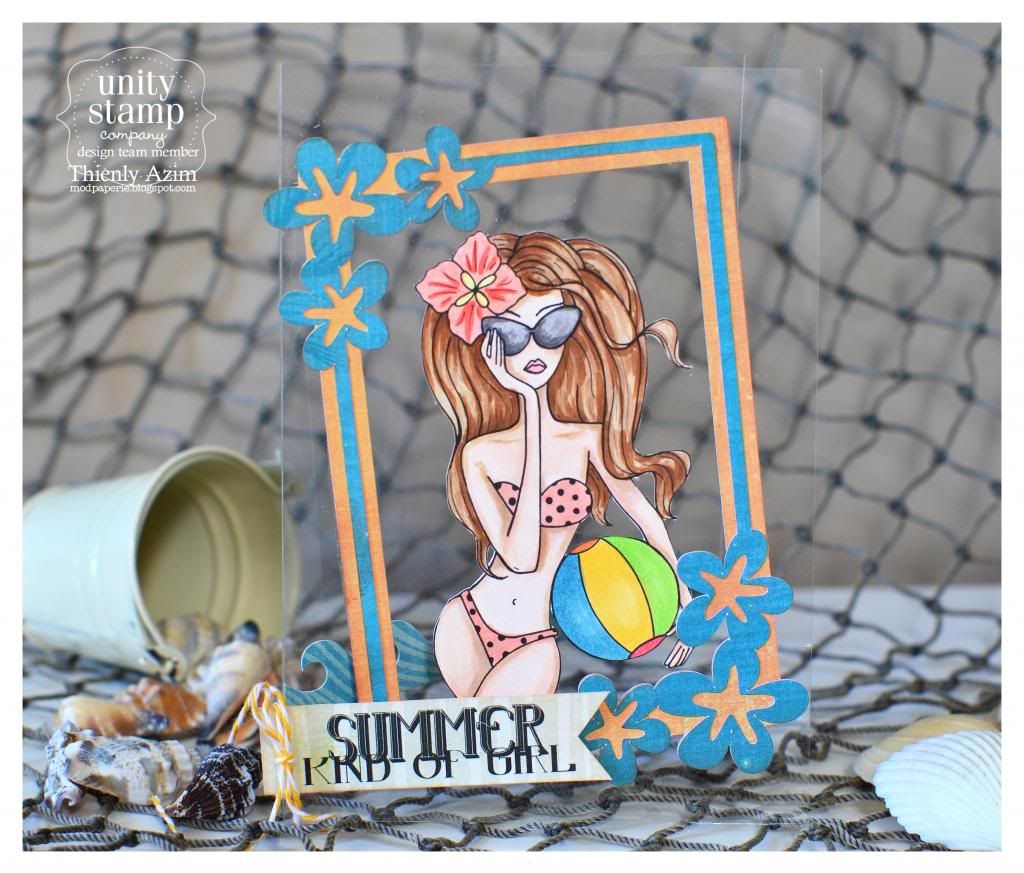
that means that we cannot go without having a polka dot bikini girl as one of our new releases!
Introducing this summer girl from Tracey Malnofski!

 photo DSC_1685_zps6bdfa5b7.jpg

(I should've colored it in yellow!)
But hey - isn't she hot?

I've always wanted to make a transparency card, 
and this was just perfect - 
it shouts out SUMMER, too!

It needed a border though - 
and I found a perfect one from HERE.

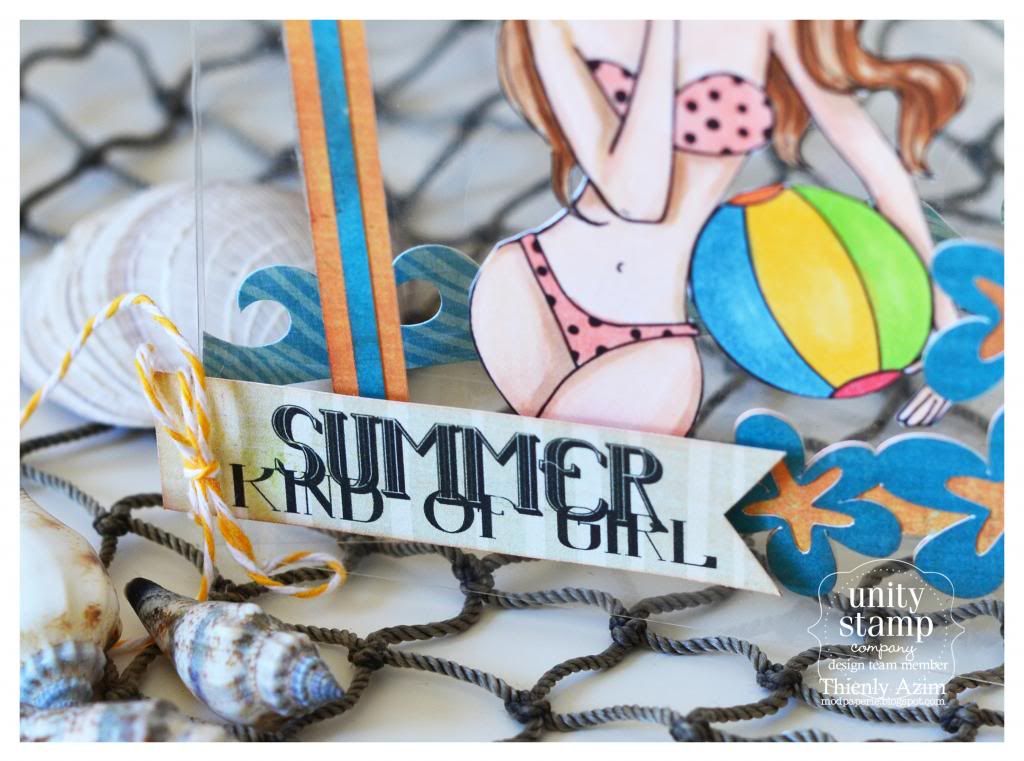
 photo DSC_1697_zps6d19e3dc.jpg

To give a dimension to the card - 
I added the sentiment on a foam tape to bring it out,
and the waves at the back are adhered to the inside of the card.

There's whole bunch of fun sentiments that have been released, too - 
all by Erin Schreiner! Go check it out!

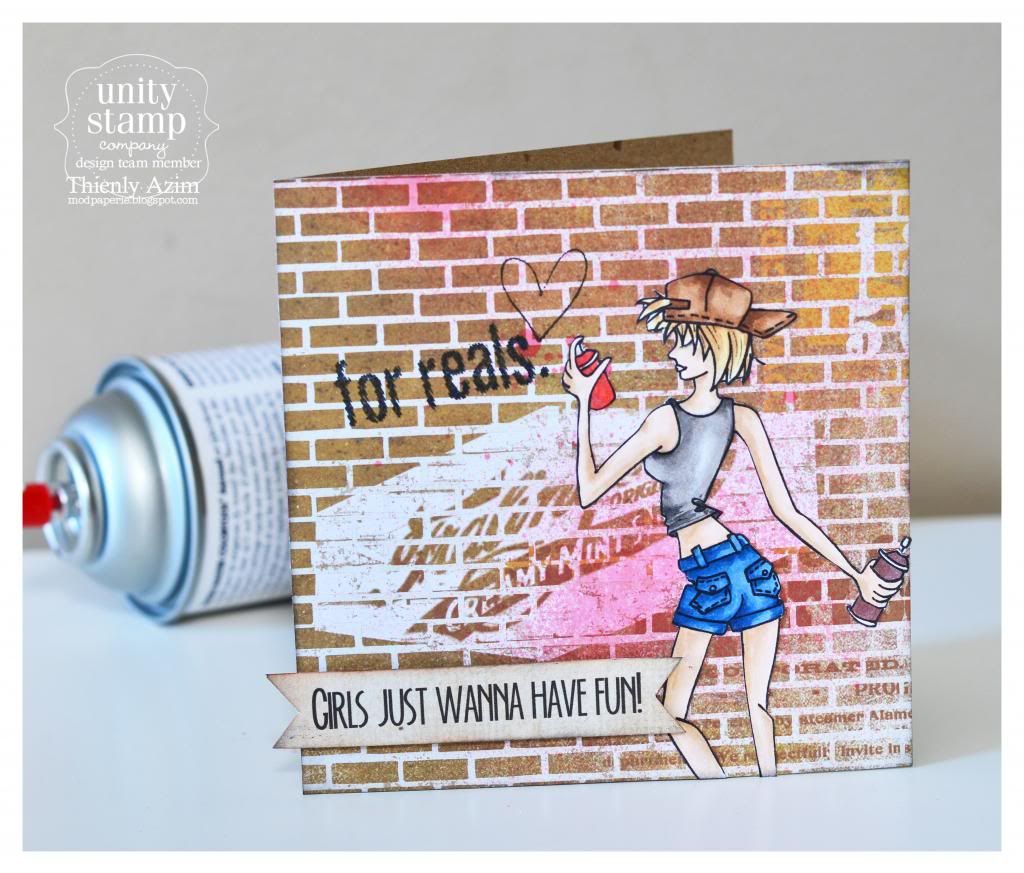
The next card is another FASHIONISTA release - 
it's a little edgy!
Oh, I challenged myself with this one.
I'm actually a very conservative girl, I'd say.
But - thought it would be fun to play with this stamp, 
and actually happy by the way it turned out!

 photo DSC_1688_zps33be9a8b.jpg

The actual stamp had a brick background, 
but found this paper from Farmhouse Paper Co,
and it was so perfect, 
that I had to cut it off!

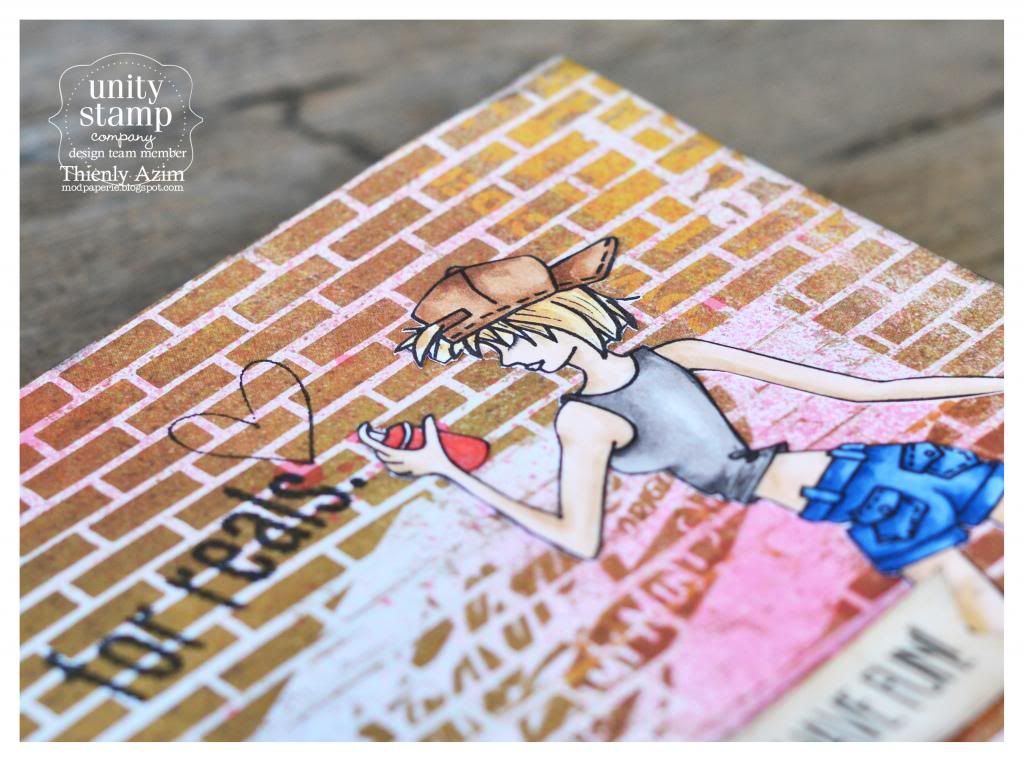
I used a mist to add 'grunge' to the card,
and also went through my Unity inventory to see if I can find any 'graffiti' kinda look sentiment.
'for reals' - was probably the best one that I can find!
(and it went so well with the bottom sentiment, too!)

 photo DSC_1690_zps4c20e5eb.jpg

It took me a while to bring this one together,
so I hope that you can appreciate all the thought that I put behind it :)

Lastly, but not least,
with your order this weekend, 
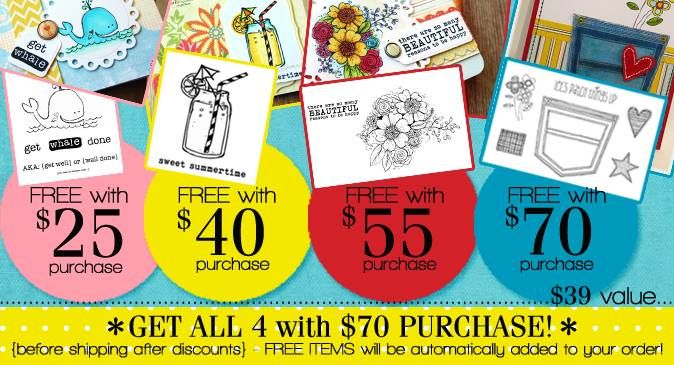
there's FREEBIE incentives! 
(will let you know about it in a bit!)
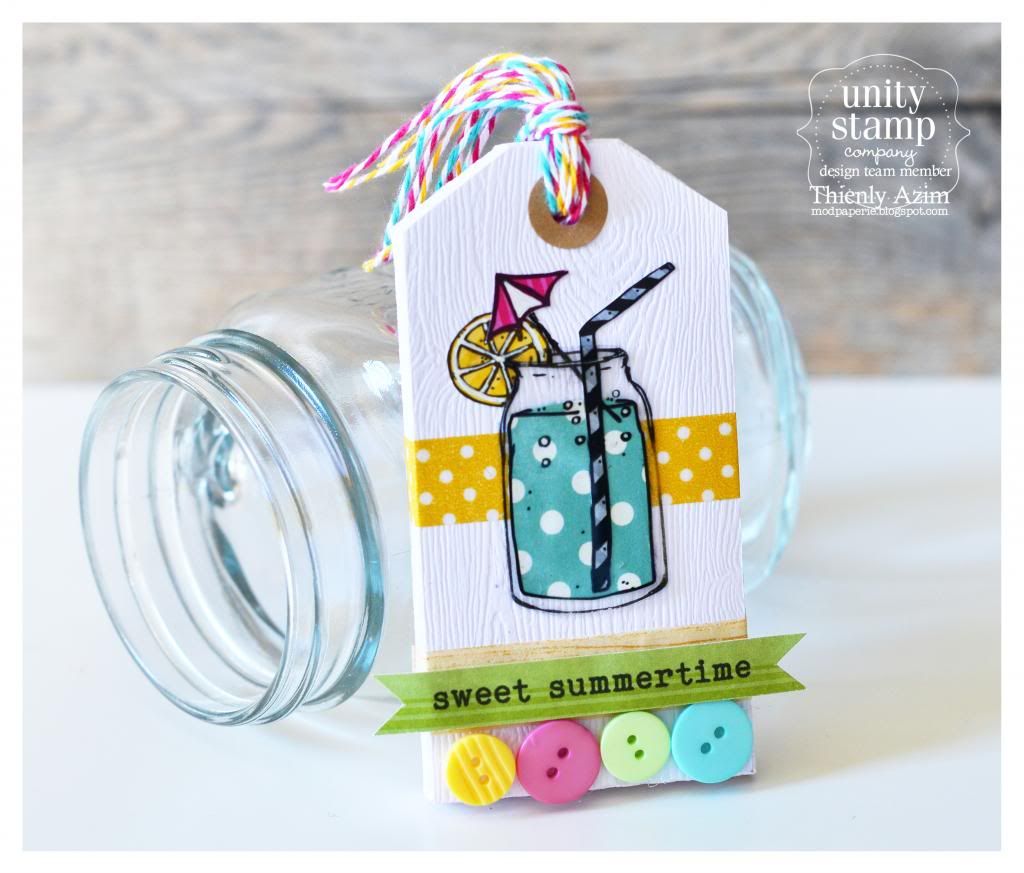
but here's one of the freebie stamp!

 photo DSC_1691_zps15037298.jpg

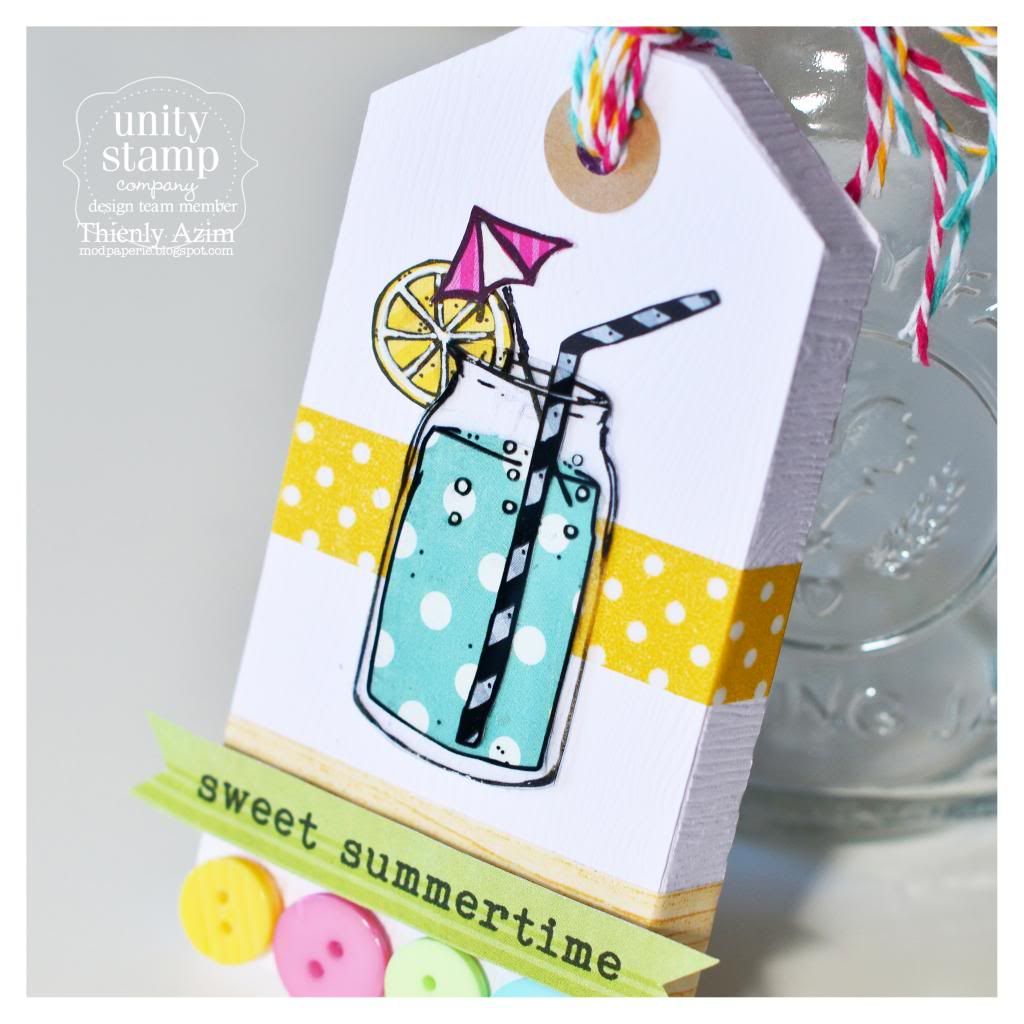
I made a DIMENSIONAL TAG with it!
Easy to assemble and it's super cute!

 photo DSC_1694_zps6a54196d.jpg

The jar is stamped and cut out on an acetate, 
and I focused on the polka dots,
since it's a POLKA DOT weekend! :)
(well, that was more coincidental! HA!)

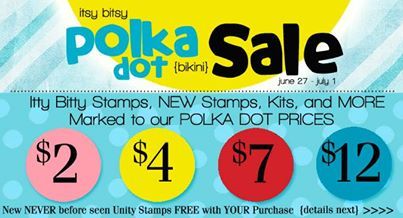
So, here are the deets on the sale happenin' this week!


 photo Unity3_zpsa74e38e1.jpg

 photo Unitysale1_zpsc5fc70b8.jpg

For the sale link - click HERE.
Click HERE to see all FASHIONISTAS.

 photo Unitysale2_zps6b3de230.jpg

That's it for my post today!
Thanks for coming by -
and I'm sending you over to Lisa's blog!


Friday, June 21, 2013

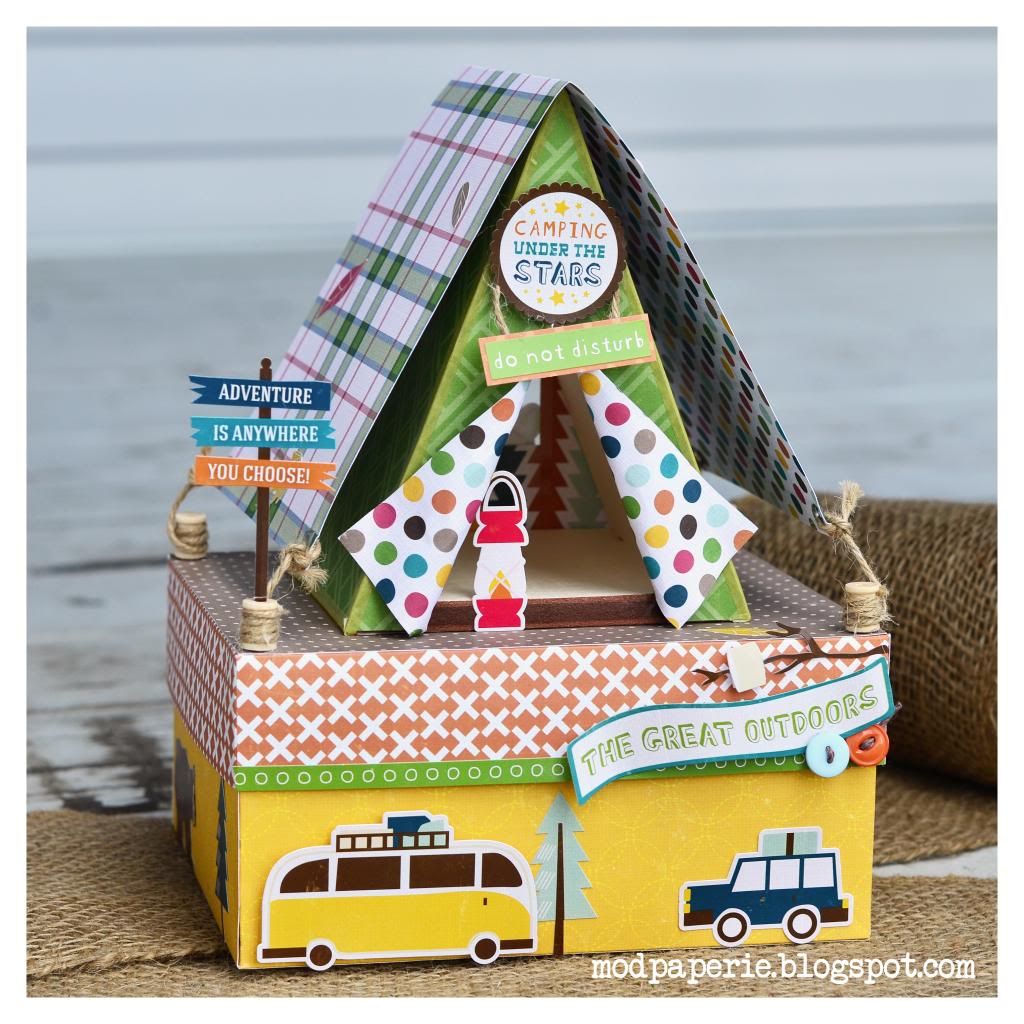
Camping Under the Stars...

Oh, how we all wish!
That is probably one of many dreams of us Calgarians right now.

I don't know how big of a news this is in the other parts of the world/North America,
but we've been getting SO SO much rain,
the most that I've ever seen in the history of Calgary living here...
and the schools were shut down,
25 communites were evacuated,
the zoo became underwater,
all the bridges into downtown were shut down today,
and 100,000 people are not in their homes tonight.
It's been so crazy here,
actually quite scary.
Thankfully, we live on a higher altitude than most that live in this city,
so our family is safe and sound,
yet we feel so sad for all those affected.

Anyway - we got about an hour of sunshine today,
so I ran out and got some pics of my latest fun project that I made this week!

 photo DSC_1584_zpsc9248478.jpg

It's a TENT BOX!!!
I got these cute papers from Echo Park last week,
and I was dying to use these up!
I had a Campin' Critter cartridge (yes, a Cricut one!)
and bought it 'cause I wanted to make the 3D tent that was on it.
However, it's still unopened, and rather...
I challenged myself to make one with SVG Cuts files!

Now, you're probably wondering which files I used, right?

The TENT is a 'modified' version of the tree from this kit.
I will let you know how to do one later in the post!

I just want to share all my fun little details before ...
keep you in suspense, let you drool all over it and make you want one of these real bad :)
Just kiddin'!

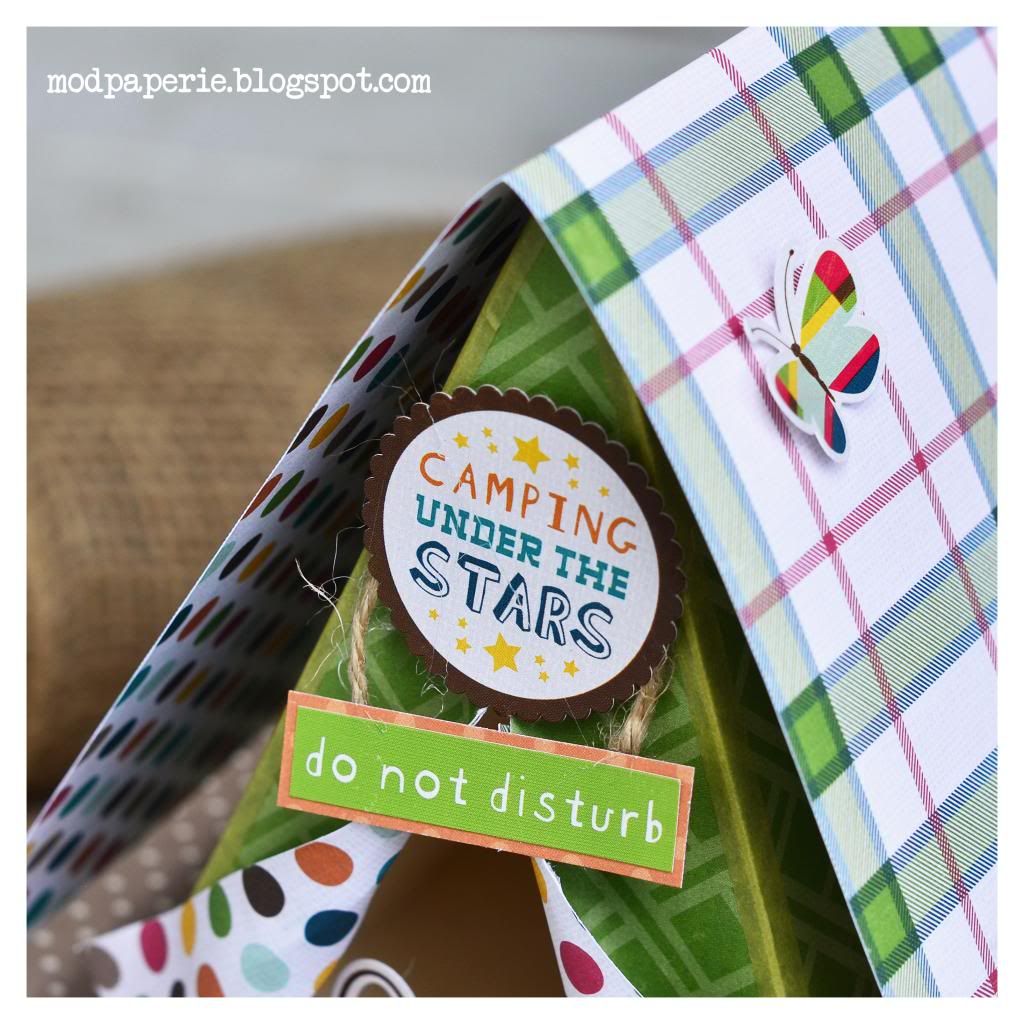
 photo DSC_1586_zps5ad38e6b.jpg

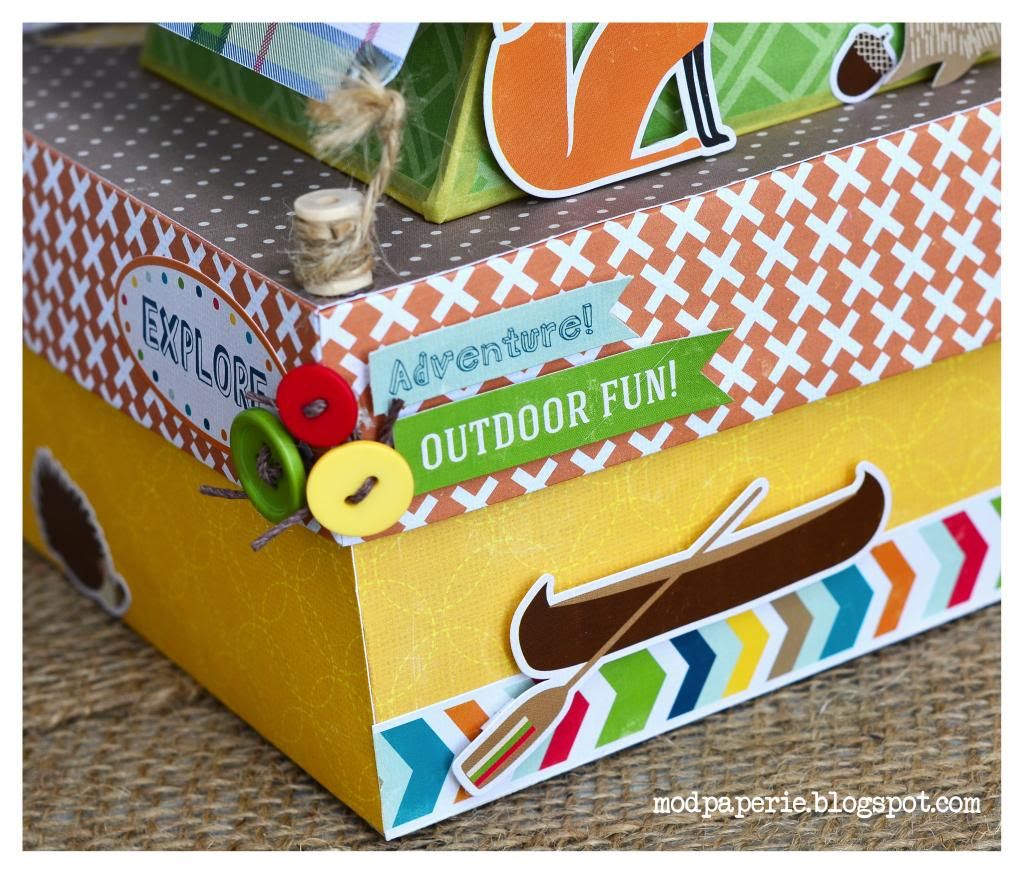
I LOVE embellishing with stickers!
It's so fun and so fast, but to add some originality - 
I like to use SVG Cuts files as the base.

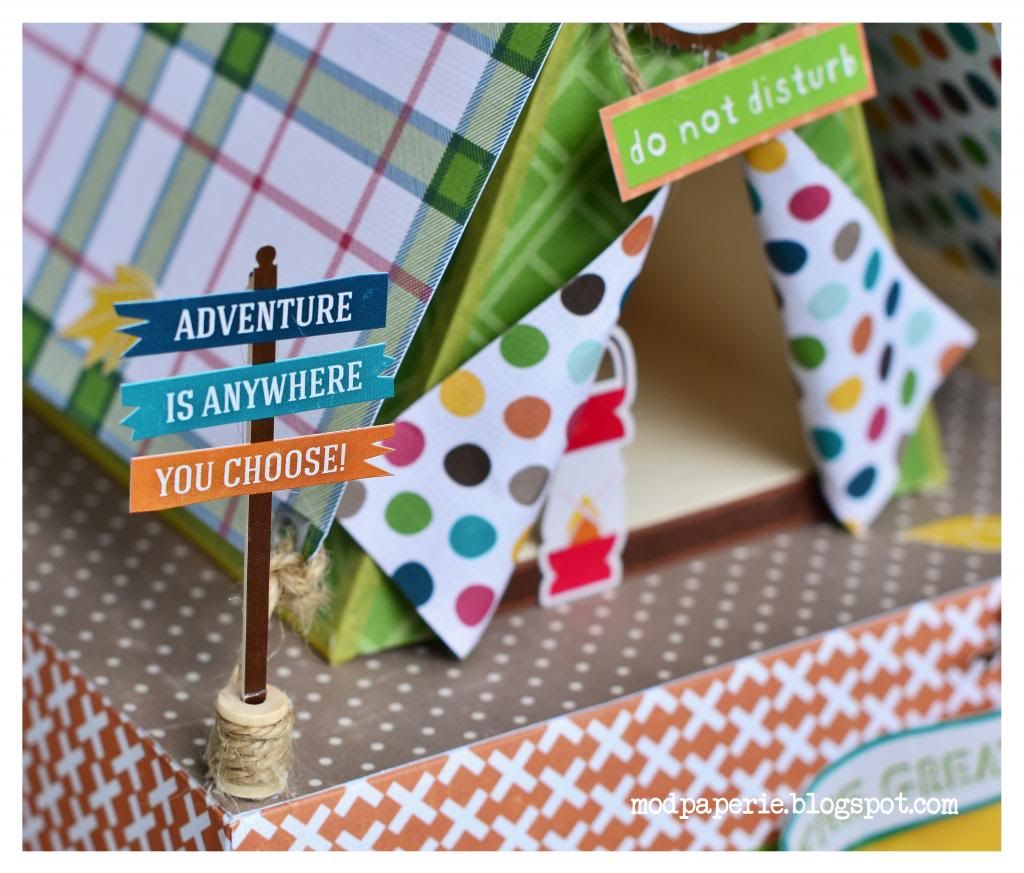
 photo DSC_1588_zpsdeb47f6e.jpg

I was wondering how I was going to use that cute sign.
It's pretty fragile, but yet just so cute, and couldn't leave the project without it.
I adhered a toothpick behind it and stuck it inside a little wooden spool!
PERFECT!

Now, these wooden spools were affixed onto each of the 4 corners of the box
and each of the corners of the tent canopy strengthened with an eyelet 
was tied to the wooden spools with twine.

 photo DSC_1581_zps2a6e1ca3.jpg

I love the color combo for this paper collection, too - 
so vibrant and fun!

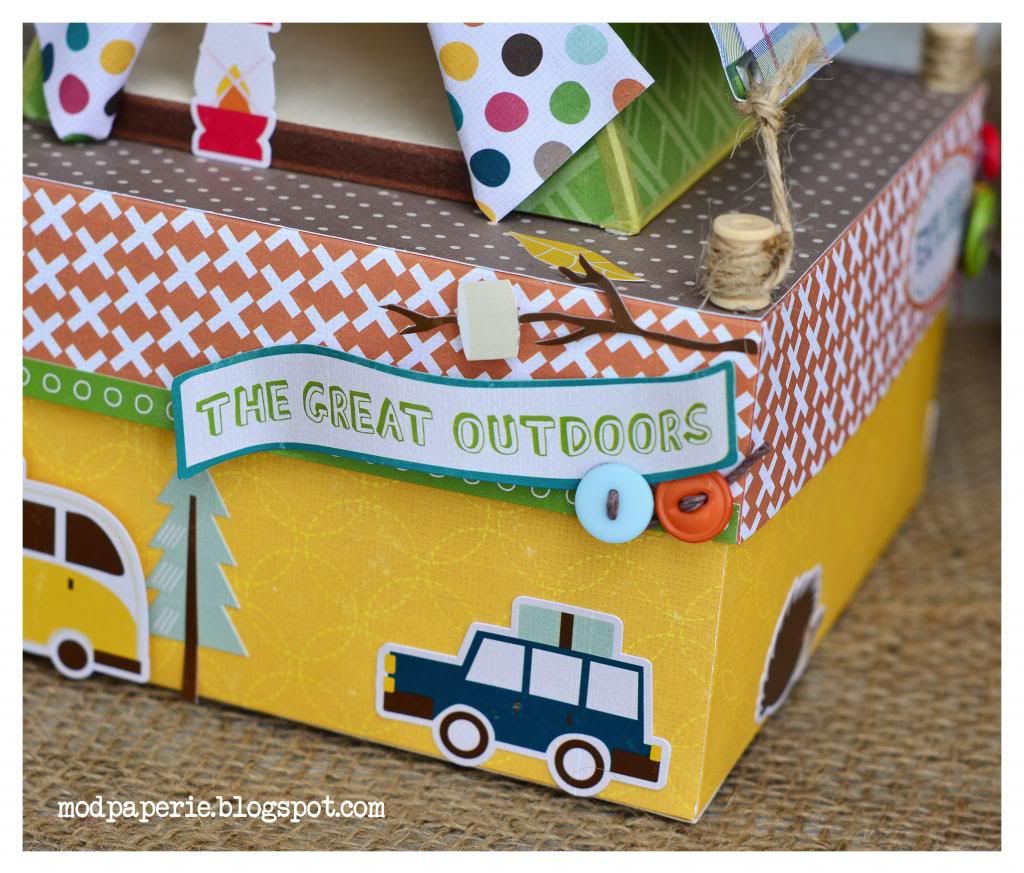
 photo DSC_1582_zps2173d974.jpg


I tried to embellish all the sides of the box, which made it more fun!
Hopefully not too busy!

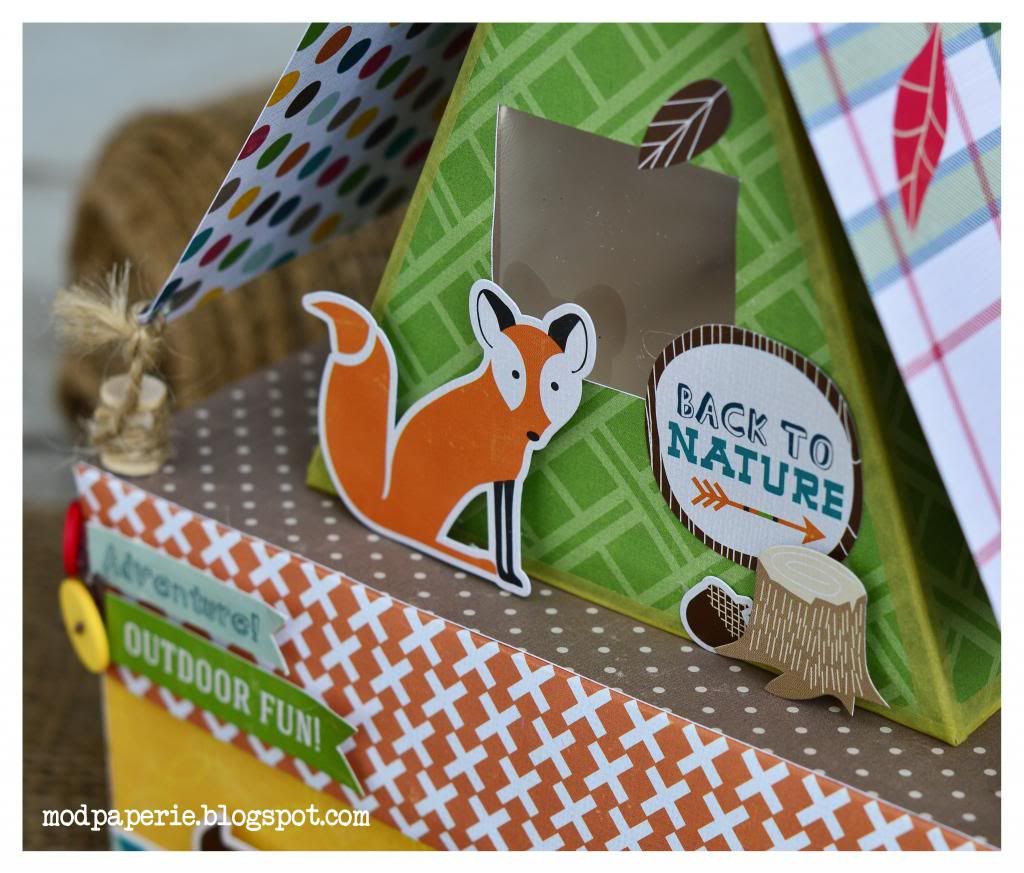
 photo DSC_1590_zpsb9e2b2ab.jpg

This is the back of the tent... 
fox peekin' in...
Oooh, that would freak me out if an animal came and peeked into my tent!

Anyway - soo... 
to make this - 
all you need are these two kits

I used the default size from the Advent Calendar Tree (Tree 5)
and instead of cutting the door piece for the front and plain back - 
I replaced it with these files:


Using the file with the door as a guide,
take the triangle from Basic Shapes Library and make it exactly the same dimension.
Delete the door.
This is for the front.

For the back, add a square onto a triangle and back it with an acetate.

For the sides, I resized each of them to 5" high but kept the width the same.
Cut and assemble.

Cut another plain triangle, same dimension, but no inside cutouts,
and cut a slit down the middle.
Adhere this to the front, only on the sides,
and flip open the slit and adhere to each of the sides.

The canopy that goes over the top of the tent is 5.25" by 12.0"
folded in half, with the eyelet holes in each of the corners.

I used the rectangle from Big Boutique Boxes 
and I sized the box to 8" wide and 6" high for the top rectangle.
You will need to adjust each of the sides to correspond to each measurement.
I hope that this makes sense, 
but if you have any probs-
feel free to contact me!

Anyway - I should go - 
I have a birthday party that I need to plan for my son's 11th birthday tomorrow!

Oh, and before you go - 
did you see the newest SVG Cuts kit?
It's gorgeous!
It looks so real!
You can customize your own handbag! 
It's free with purchase of $9.98 or more this week!


Alrighty -
thanks for dropping by here!
Have a great rest of the weekend, 
and may your city be flood/rain free!


Saturday, June 15, 2013

Travel Pooch Gift Card Box

Happy Saturday!

It's a week and a half 'til my kids are out of school 
and it sure does NOT feel like summer is anywhere close.
The weather has been miserable, WET and COLD... (the worst combo ever)
For those of you that are complaining about the hot weather,
you may want to consider that there's people like me suffering the 55 degrees Fahrenheit... :)

Anyway - got a little project to share with you today -
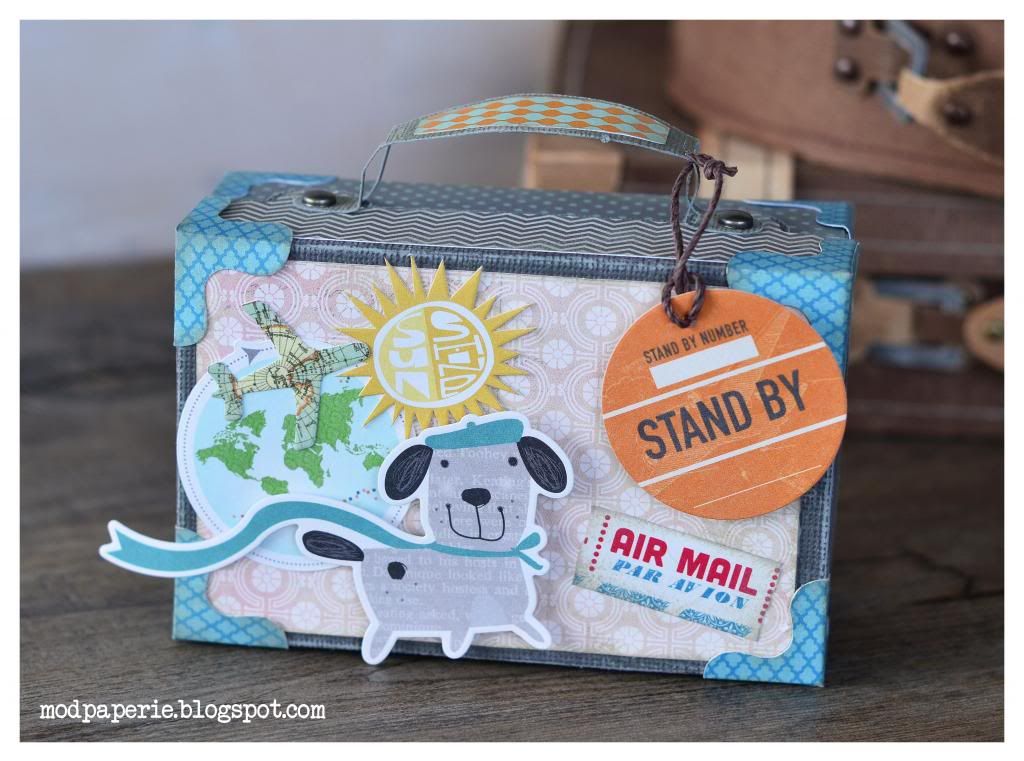
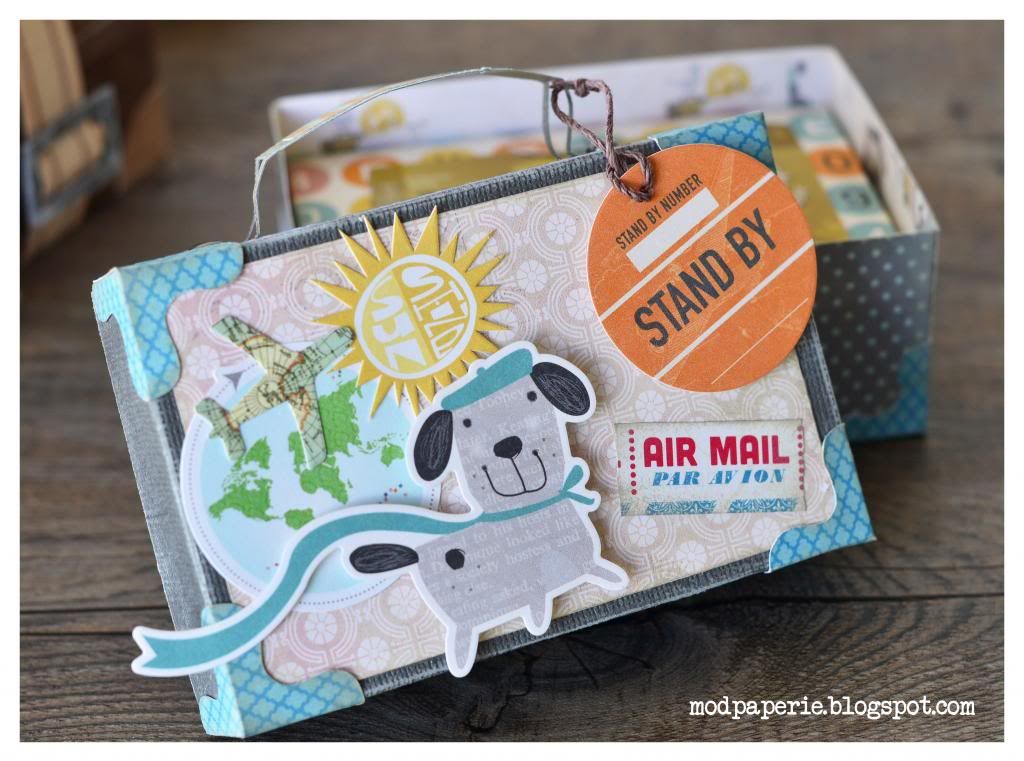
it's a suitcase from this kit,
but I shrunk it down quite a bit...
(hey, it rhymes!)
just small enough for a gift card box!

 photo DSC_1545_zps9877b860.jpg

Isn't that pooch SO super cute?
I'm LOVING this paper collection from October Afternoon's recent collection - 

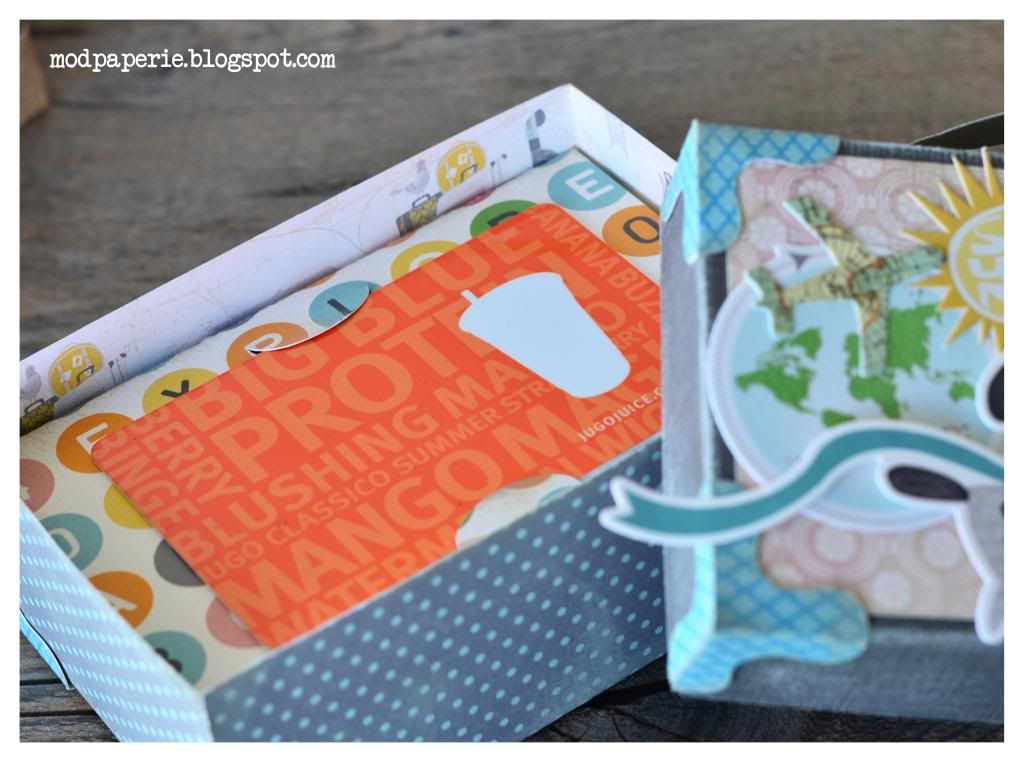
The suitcase doesn't have a hinge - 
it opens up just like any ordinary box.
It's a tighter fit though - 
so you can hold by the handle and won't break open :)

 photo DSC_1496_zpsb48a28b7.jpg

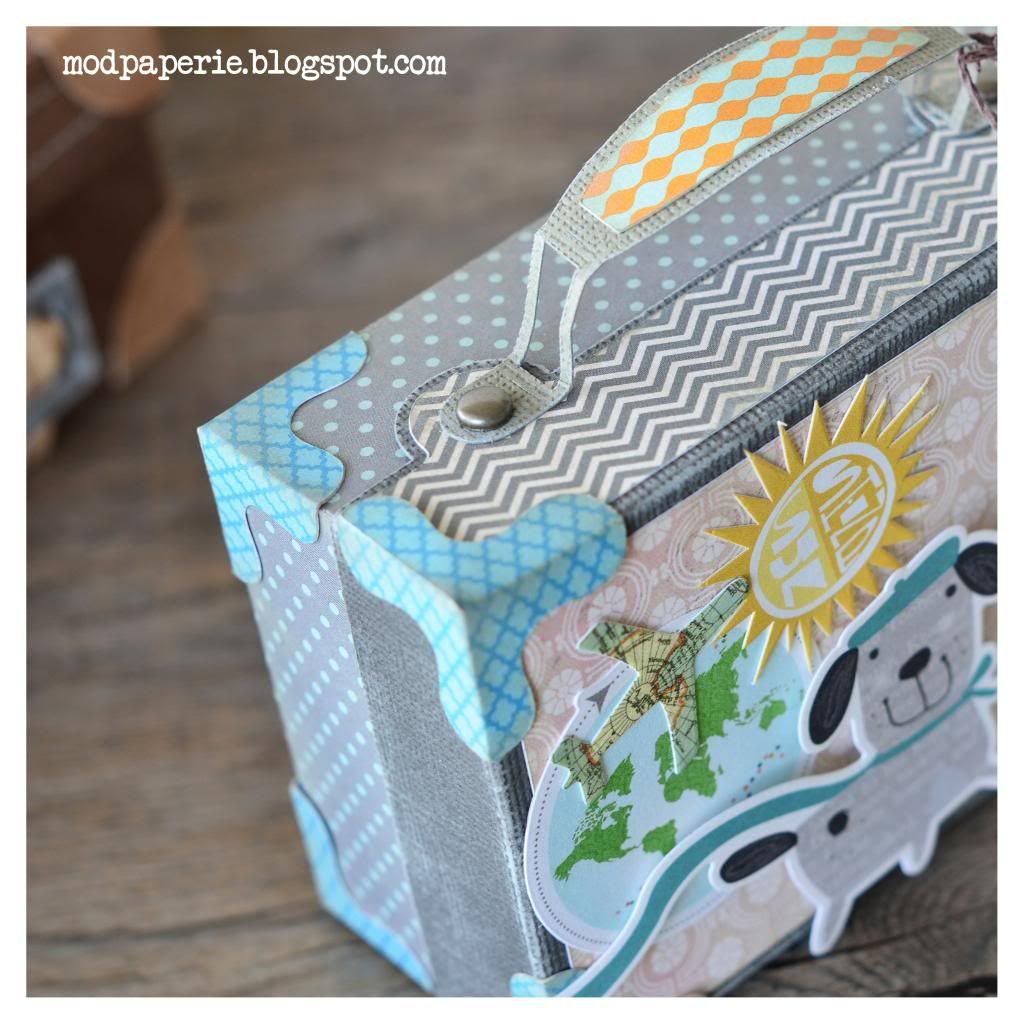
I just love how Mary from SVG Cuts pay attention to all the little details in her files.
The handle, not to mention the handle accent.
The corner bumpers.
The accent piece that goes on top of the suitcase...
all these little things add to how cute the project comes out in the end!

 photo DSC_1493_zps80310b70.jpg

Sorry about the redundant pics, 
but had to share this one, too... 
at least you can see how the box opens ;)

 photo DSC_1498_zps88bc7a90.jpg

Inside the suitcase, I placed a tad bit smaller version of the bottom part of the box, 
upside down. (Did I confuse ya?)
I also 'welded' on a gift card holder slits from this kit,
so that it'll hold the gift card in place.

It's a simple idea, but cute, isn't it?

Here are the dimensions if you want to make one!

Suitcase from Summer Holiday SVG Kit
 lid.svg: 6.216" wide
bottom.svg: 7.90" wide
corners.svg: 5.691" wide
background.svg: 4.158" wide
top_accent.svg:  4.366" wide
accents.svg: 3.471" wide (didn't use the flower)

Now, for the gift card holder insert:
1. Open ball_ornament.svg from this kit (Give a Gift Card SVG Kit). 
Use the default size (4.5" wide).  
2. Break apart, and delete the outside shape, leaving the two slits for the gift card insert.
3. Regroup. Place this in the middle of the bottom.svg (suitcase), this time at 7.80" wide. Cut.
4. Trim off  0.50" off from all ends, and assemble.

...and while you are here - 
did you see the latest SVG Cuts Kit?

My, oh, my... everything is just so beautiful...
the piano, the topiary, and amazing cards...
Oh, people are gonna have so much fun this weekend!


This is free with purchase of $9.98 or more with coupon: FREEGIFT.

Thanks for stopping by - 
you have yourself a beautiful weekend! :)


Thursday, June 13, 2013

Unity Sentimental Thursday!

Hey everyone!
Graduation and end of the school year...
Good byes, and beginnings of new venture...
It's all quite sentimental,
and Unity is getting SAPPY this weekend!

You should be arriving from Shemaine's blog (as always :) )
but here's a whole list for your reference.

Thienly Azim - YOU ARE HERE
Angie Blom - http://angieblomdesigns.blogspot.ca/

We've got a special guest today (she won our last month' challenge) starting us with the hop,
so make sure that you swing by and leaving her some welcoming love!

Make sure to leave a comment here for your chance to win
one of three $20 gift cards to the Unity store!

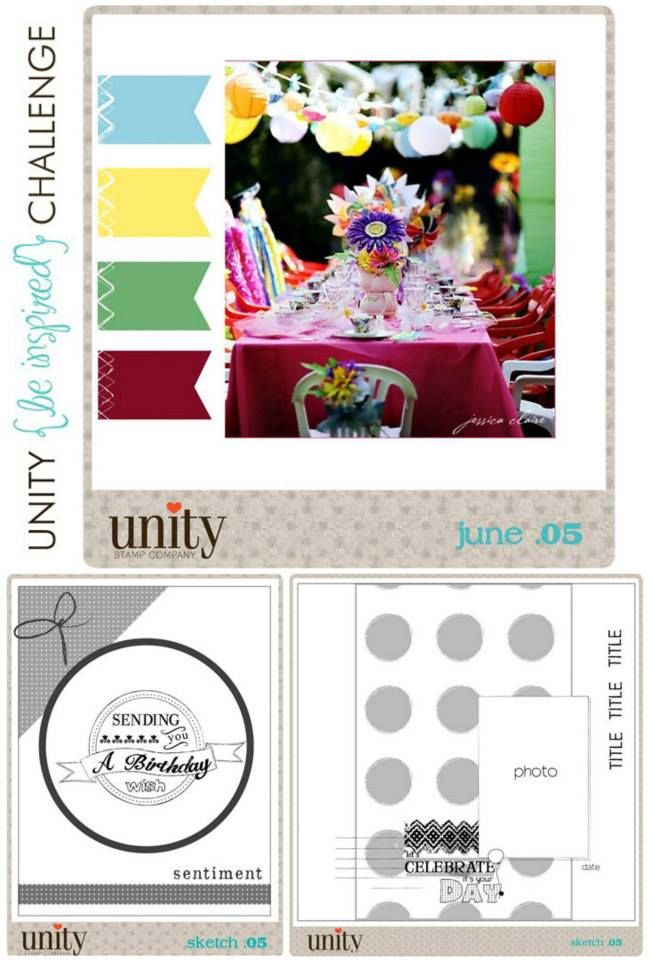
Anyway, first up is the NEW June/July be-inspired Challenge!
...which means there's a new Sentiment Kit!
I love this one... probably my fave so far!
It's all about BIRTHDAYS!
Again, for a limited time, you can purchase this kit for $10 instead of $26!

...and with that, is new challenge layouts and colors!


 photo challenge_zps3357dc29.jpg


Aren't the colors beautiful?
It's definitely a combination of colors that you don't come across often,
so I'm looking forward to your entries!

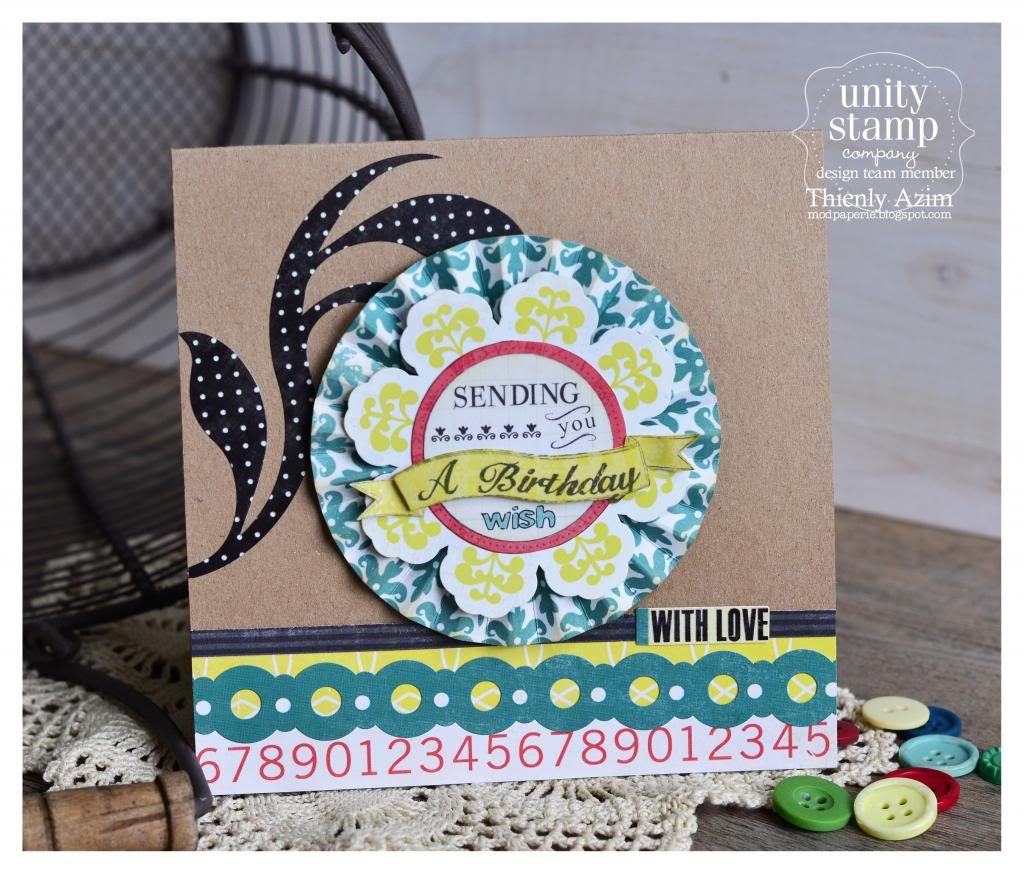
Anyway, here's my inspiration card!

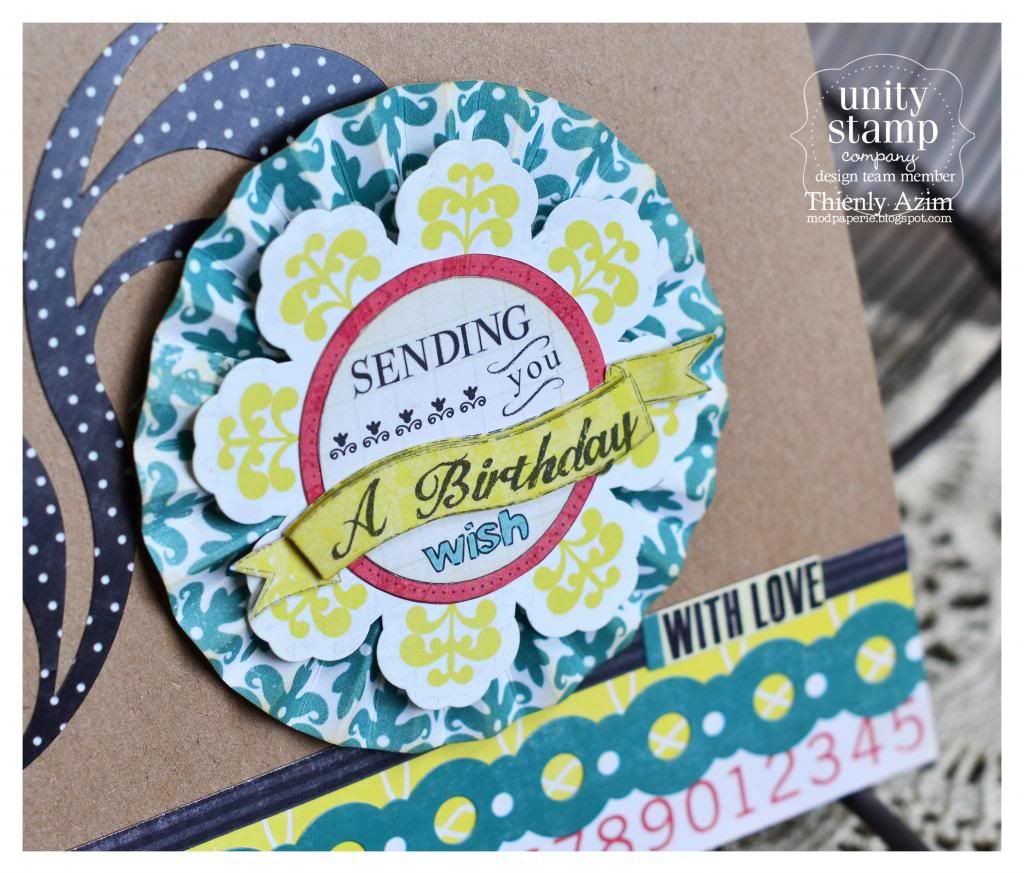
 photo DSC_1489_zps2df70fbb.jpg


The colors from Echo Parks' For the Record collection pretty much was perfect for this!

 photo DSC_1490_zpsd46467dc.jpg


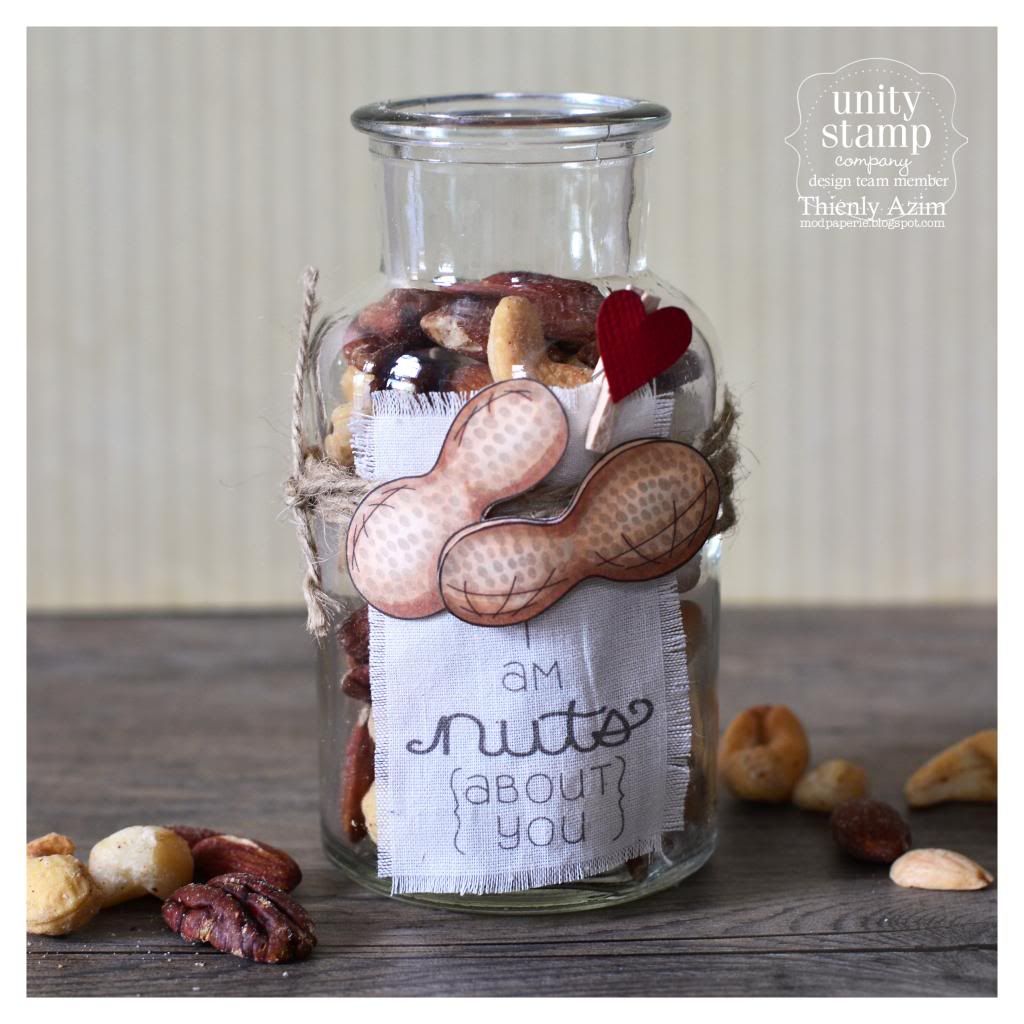
Oh, and I have a little project from the current stamp of the week which I forgot to share!

 photo DSC_1468_zps7cedc53d.jpg

Isn't it such a cute stamp?
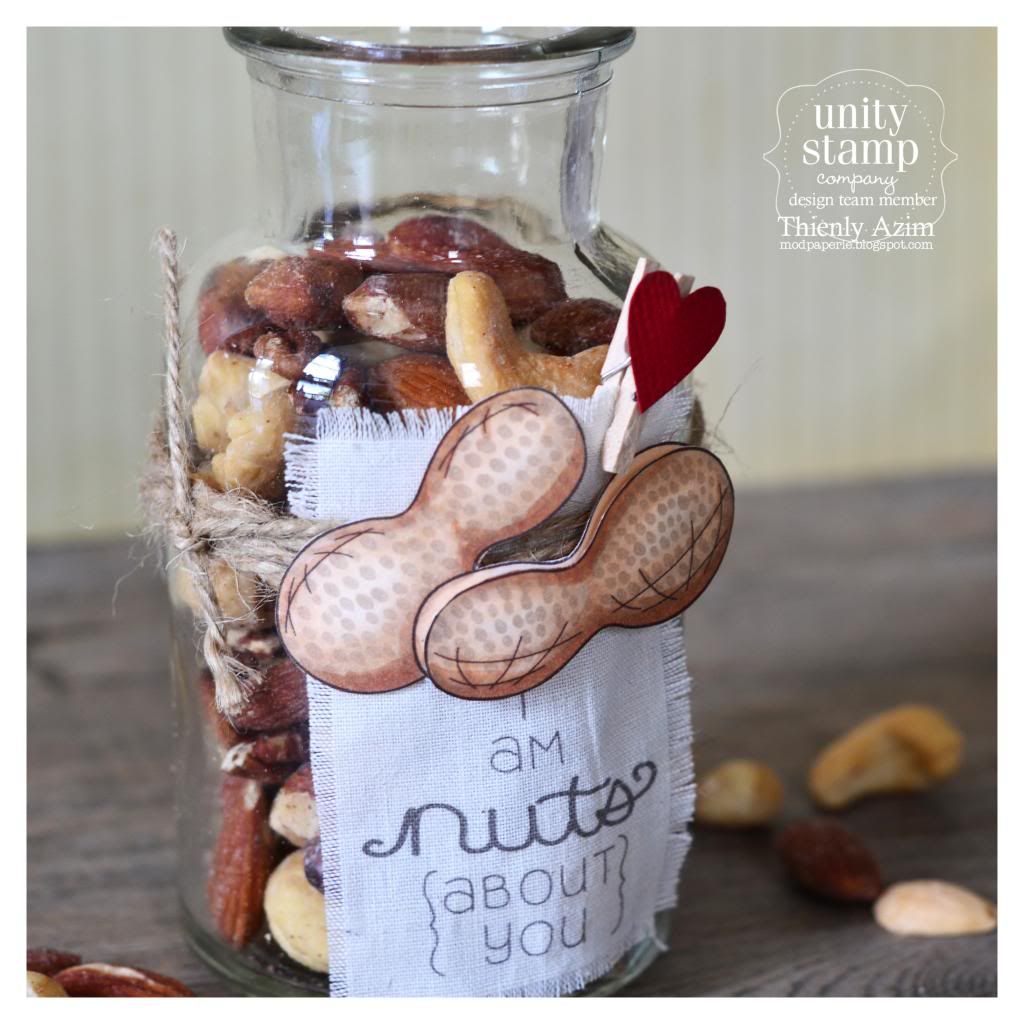
I decided to be a little adventurous and add some peanut texture on to it!

 photo DSC_1469_zpsf0641dfd.jpg

The front peanut was given dimension by foam tape underneath.
It added to the cuteness factor!

If you haven't signed up for Stamp of the Week, 
click here for more info!

Alrighty - now onto my two fave cards I made for this hop,
both are newly released sentiments!

 photo DSC_1480_zpsd0b1033e.jpg


Totally loving all these sentiments -
the font and the layout of the quote is so well done and so fun to play!

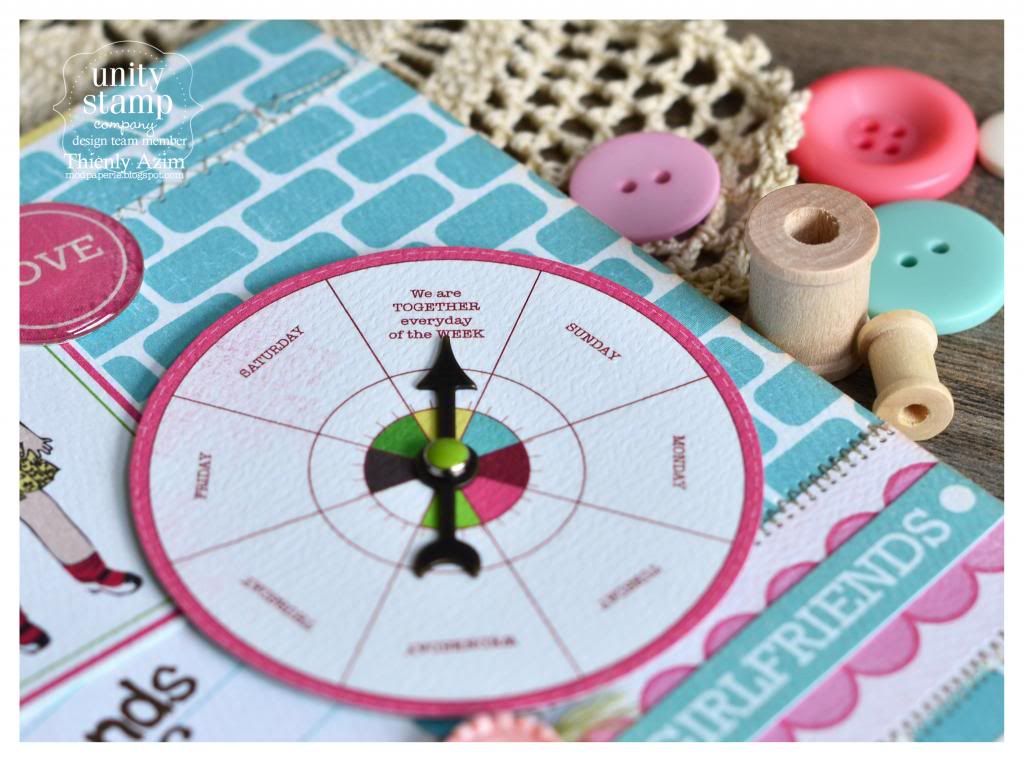
When I saw this sentiment -
 I knew that it would be perfect one for my Carta Bella True Friends collection.

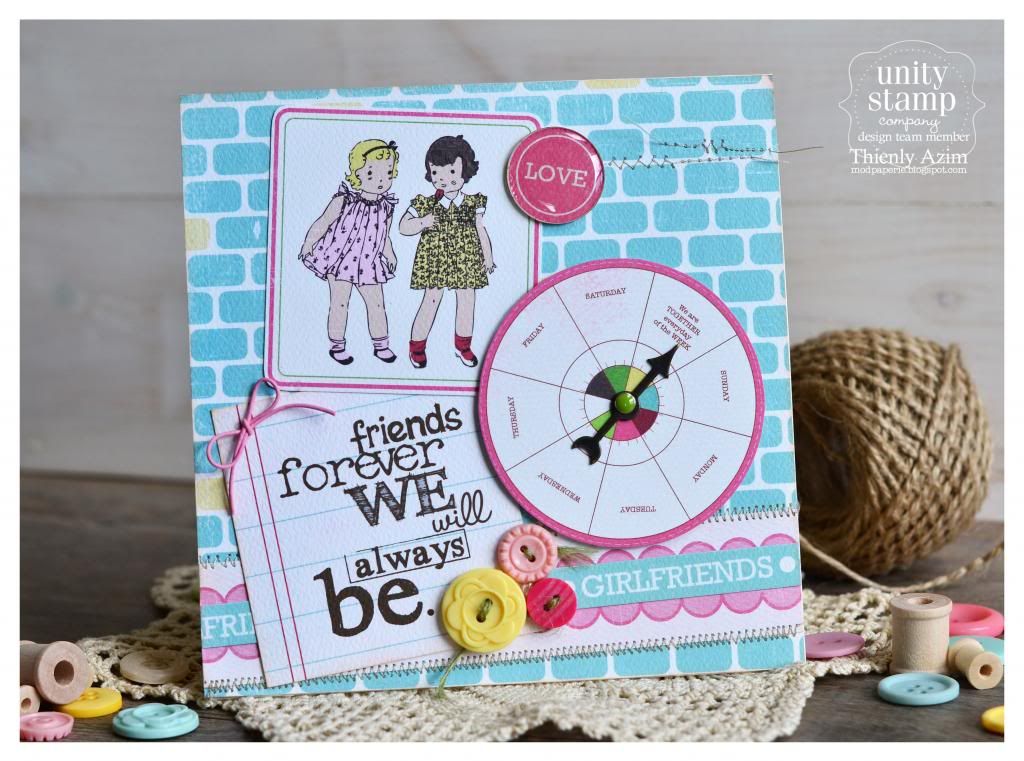
 photo DSC_1485_zps57284147.jpg

I had to add a little spinner onto this :)

...and my last card (is my fave!) comes from another sentiment kit!

 photo DSC_1479_zps004a64fe.jpg

This is the EASIEST card, 
and these cards are personally more stunning, I think :)
It's always so hard to keep it simple though -
as I love to add and add and add...
love clumping embellishments, 
and love layers.

 photo DSC_1477_zpsec8fa5a1.jpg

This would be a perfect GUY card, too!
(My hubby loved this one!)

There's a Graduation Party Sale going on over at Unity this weekend, 
so make sure that you go check it out!

 photo Unitysale_zps0d9e6e60.jpg


Alrighty - hope that you were inspired today 
and that it was worth it for you to spend a moment of your time visiting me today!

Have a WONDERFUL day!

Now, I'm sending you off to the wonderful Angie's blog!


Saturday, June 1, 2013

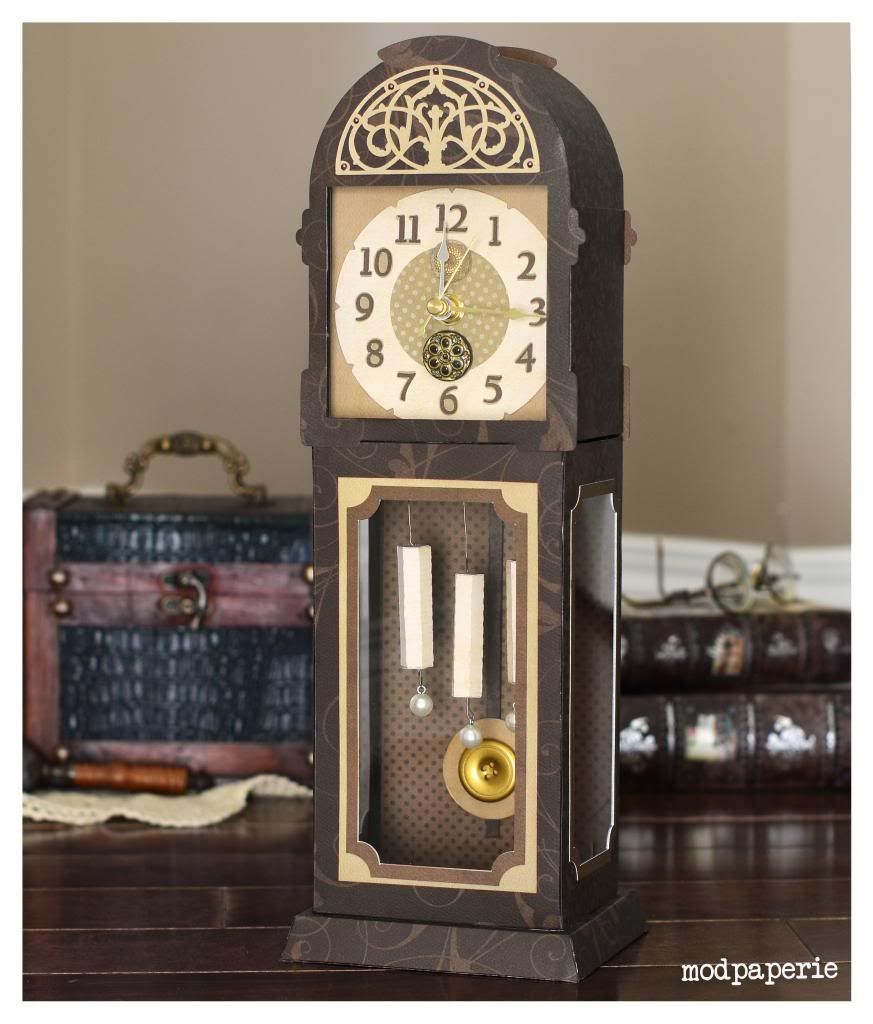
My Grandfather's Clock - SVG Cuts DT project

Hello again!
Wow, it's been a busy week for me for blog writing!
Lots to share, so fun!
I hope to create things over the weekend, so I'll have more to show next week!
(no promises though!)

This project that just recently got posted over at SVG Cuts -
I was SO excited about!

I love how this turned out, and probably one of my favorite projects I ever made!
It looks so real in person!

 photo DSC_1398_zps4edd8945.jpg

I thought that it would be a stunning gift idea for Father's Day.
I've actually wanted to make this for the longest time as an SVG Cuts project...
but not having the clock file made it difficult...

As soon as I saw Maison de Madeline SVG Kit come out -
I knew it was time.
(Get it? Ha ha.)

The next question came as to HOW am I going to make it?
What files are there available from SVG Cuts that would mke it look the most like the clock?

Of course, there weren't any that I can just quickly use, so I had to break this together into 3 main parts:

After what files I was going to use -
everything came together smoothly.

 photo DSC_1407_zps10d45b5a.jpg

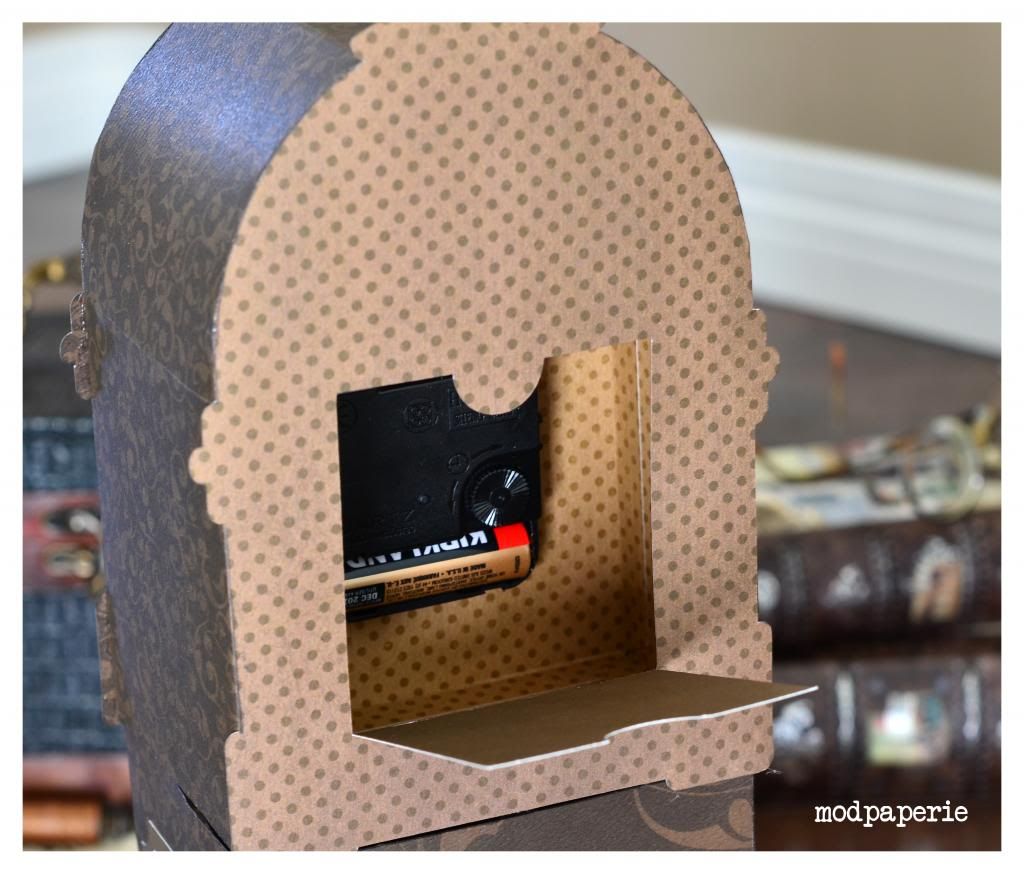
I wanted to have the clock works 'encapsulated and sunk in' within the outside case,
so I created another little box which I mounted the clock on, and put it inside the jukebox.

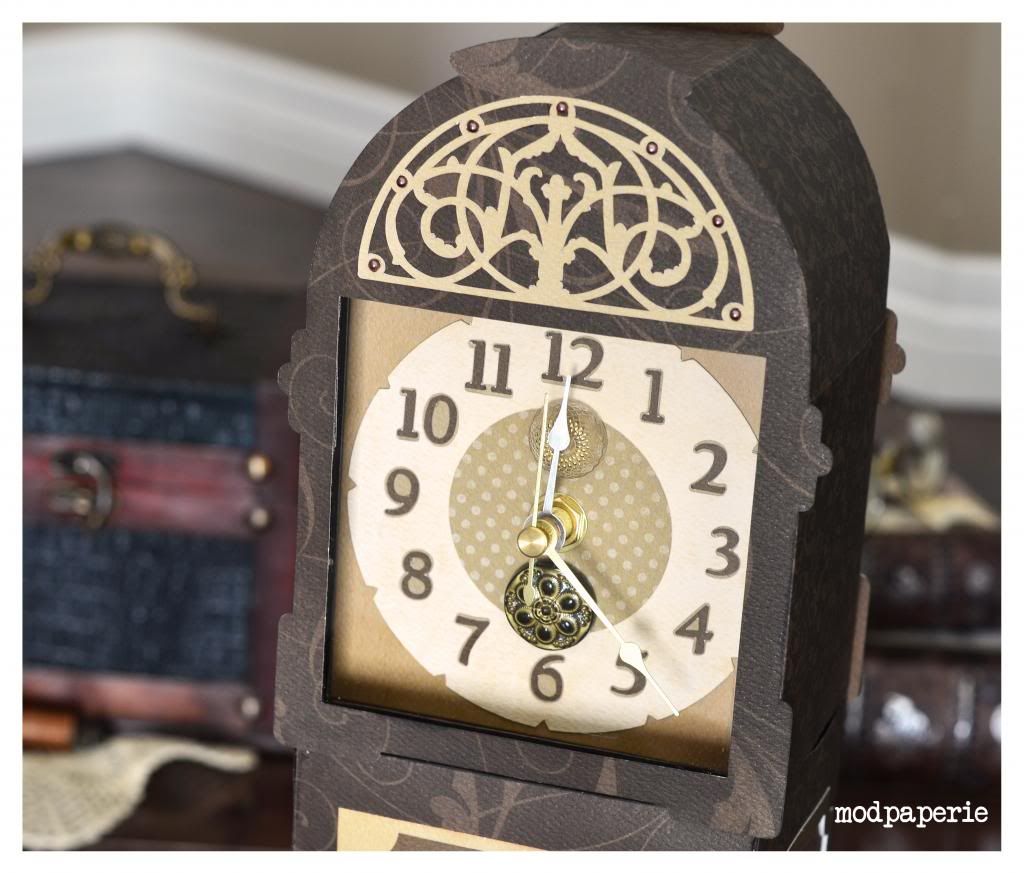
That decorative accent at the top was perfect, too - totally just gave it the 'antique' look.

What's perfect about the jukebox file is that 
because it was made originally to have a little battery-operated candle inside,
it already had a little 'door' that opened at the back.
This was the perfect size for you to be able to change the time and battery from the back!

 photo DSC_1406_zps1cdcbf84.jpg

Another bonus to using a jukebox file was that the bottom had a 'base that overhang'
which 'covered' up a portion of the letter "I" below...
making it look more 'attached' and together.

 photo DSC_1414_zpscd7193d7.jpg

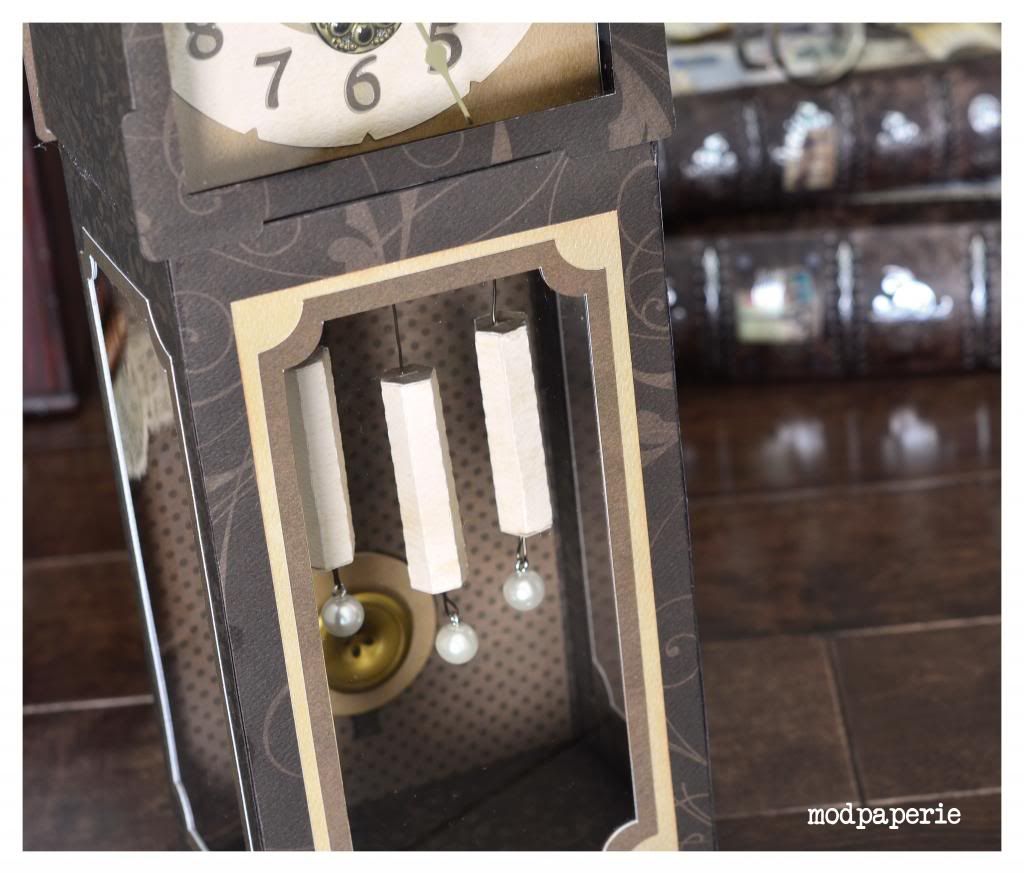
Oh, and a birthday candle was also PERFECT for the pendulum base!
It even had a little opening already, which I used to attach wires :)

This was a tricky part...
not only because I had to let these three weights hang,
but also - I didn't have a way to allow it to open as I put acetate opening on four sides,
and the two ends were attached on.
This means that I HAD to make sure that the weights are in place,
and that it's not gonna fall off after I seal all the sides :)
IF you're really keen and up to the challenge -
you COULD take one of the 'door' from this advent calendar
and weld it to the front.
This would actually make it look more like the real thing -
but just didn't want to complicate my project oh, so much.

You can even omit the whole base, too  -
and just make the top part, the jukebox clock.
That's pretty cute, too!

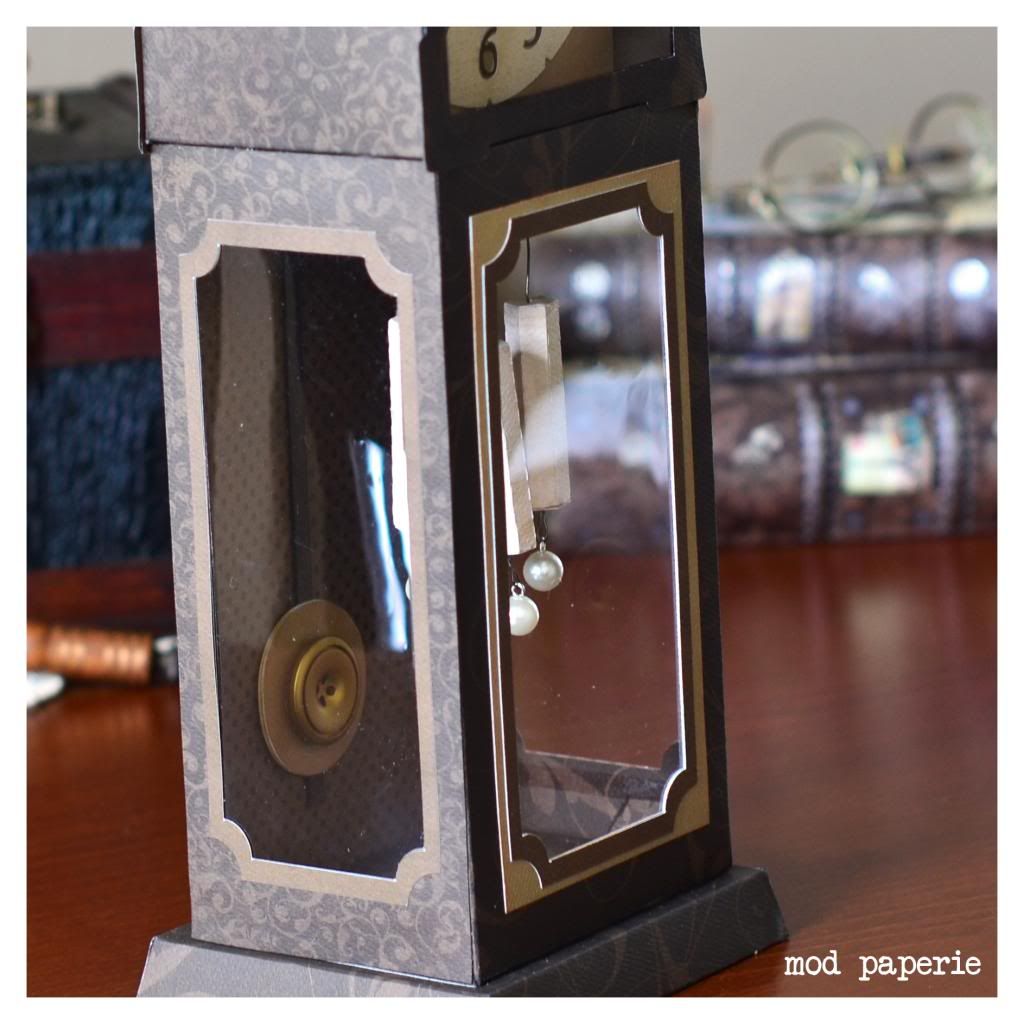
Here's a shot from the side:

 photo DSC_1347_zps6ddfd543.jpg

So fun to be able to see through your project :)

So... if you're interested in making this,
you will need these following kits/collections.


Then - head over to SVG Cuts blog for exact file size dimensions and detailed instructions.

I hope that you liked my project and that you'll give it a try!
If you do - please do share it on the FB wall - I'd love to see!

Oh, and before I let you go - 
I'm so excited for the latest kit that is just going to be posted tonight!
(I know they are super busy trying to get this done, 
but have seen most of the kit contents, and it's to die for!
Definitely worth the wait!)


I know how we've been all asking and asking about this file... 
and Mary finally made it for us!!!
I can't wait to play with this,
and can't wait to see your version of it!
SO SO FUN!


LinkWithin

Related Posts with Thumbnails