
Happy Holidays everyone!
Today, I'm so excited to share what I've been tediously working on this month!
I've created a whole party set up all with SVG Cuts files!
I just wanted to do everything...
from invitations, to banners, to garlands...
to napkin holders, crackers, coasters, cutlery holders -
place cards and table lanterns and ornaments...
all the way to the party favors!
Here's a snapshot of the whole party!

... and here's a detailed shot and instructions for each of the projects!

1. Party Invitation: Use the


2. Merry and Bright Banner: Enlarge the Banner1.svg,
banner2.svg and frame2.svg from BicycleBuilt for Two SVG Collection (change to vertical orientation) to a desired
size and cut. For my letters, I used
Credit Valley Font to cut in glitter paper and created a shadow in cream to
make the letters ‘pop’. Adhere a snowflake from Santa’s North Pole Workshop SVG Collection and top it off with a
bell in the center. Attach clothespin on each side of the pennant and use jute
twine and Shimmer twine to hold up the banner. (I found it helps to glue the
clothespin at the back to add sturdiness)

3. Snowflake garland: These are easy to make and adds so much to a party! Cut as many snowflakes in a desired size from Santa’s North Pole Workshop SVG Collection. Using a craft circle punch, make two holes opposite from each other on the snowflake. String through the snowflakes with Shimmer twine and suspend them between the walls. If you do not have a punch, you may add the circle cut outs to be cut on your machine.


5. Cutlery Bag: Set your cutlery inside this fancy holder to
impress your guests! Simply cut 5”w by 10”w with a pretty cardstock, and sew on
a 5”w by 5.5”w vellum for the top layer.
I added on a lace from BattenburgLace and Crochet Trim SVG Collection on the vellum before sewing onto the
backing piece. I added a sentiment stamp, Shimmer twine, and a bell to ‘jazz’
it up.

6. Poinsettia Crackers: Can you believe that the file for
these pretty party crackers (under SVG Collections used) is FREE?
I love using them for various occasions. Here, I dressed up these crackers with
corrugated paper, Shimmer twine and a spindly poinsettia from 3D Wintergreens SVG Kit.
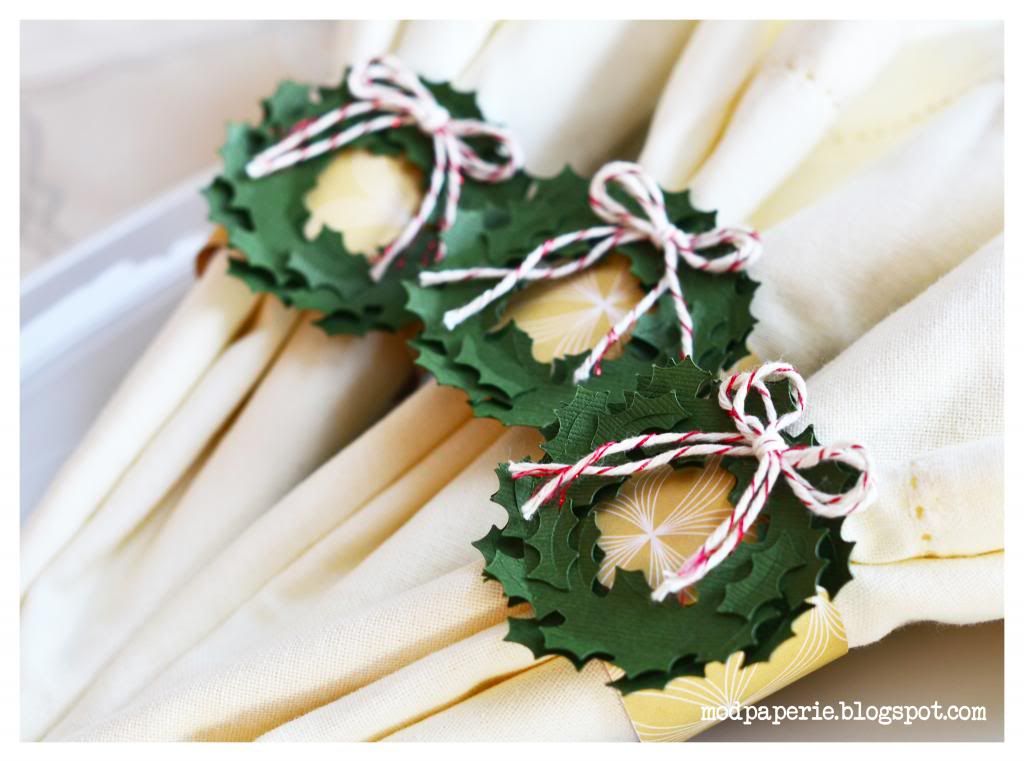

7. Wreath Napkin Rings: Reduce size, simply cut and assemble
the wreath.svg from Silent Night SVG Kit.
These already have so much detail and dimension that it doesn’t need much more
to dress it up. I added Shimmer twine bow and attached them onto a paper strip
ring.
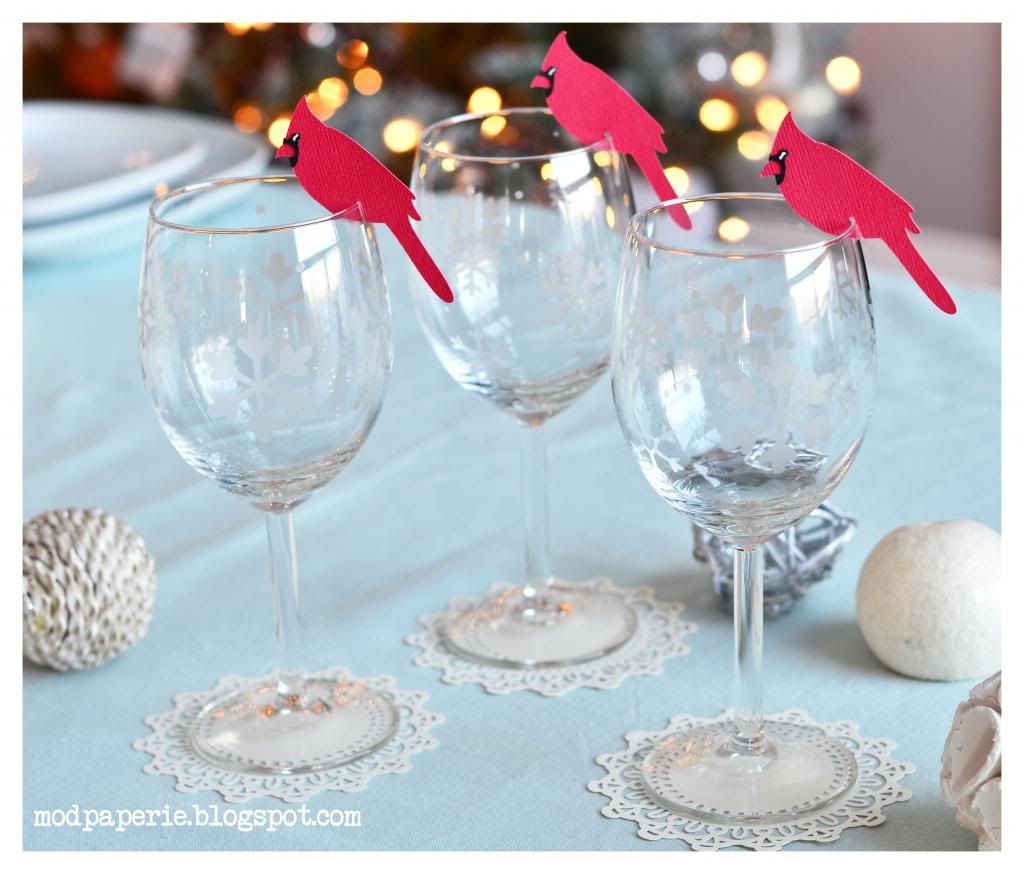

8. Cardinal Wine Glass Rim Topper and Coaster: Mini
cardinals were made using the Cardinal Hideaway bag from the Christmas Gift Bags SVG Kit. A small
slit was made at the bottom, and adjust the slit width to fit your glasses.
Don’t make the slit too wide as it will not hold its position. You can also add names of the guests on each
of the cardinals to use as wine 'markers'. A mini doily from Doilies SVG Collection makes elegant
coasters in no time! Size the doilies making sure that it is bigger than the
base of the glasses you’re using for your party.
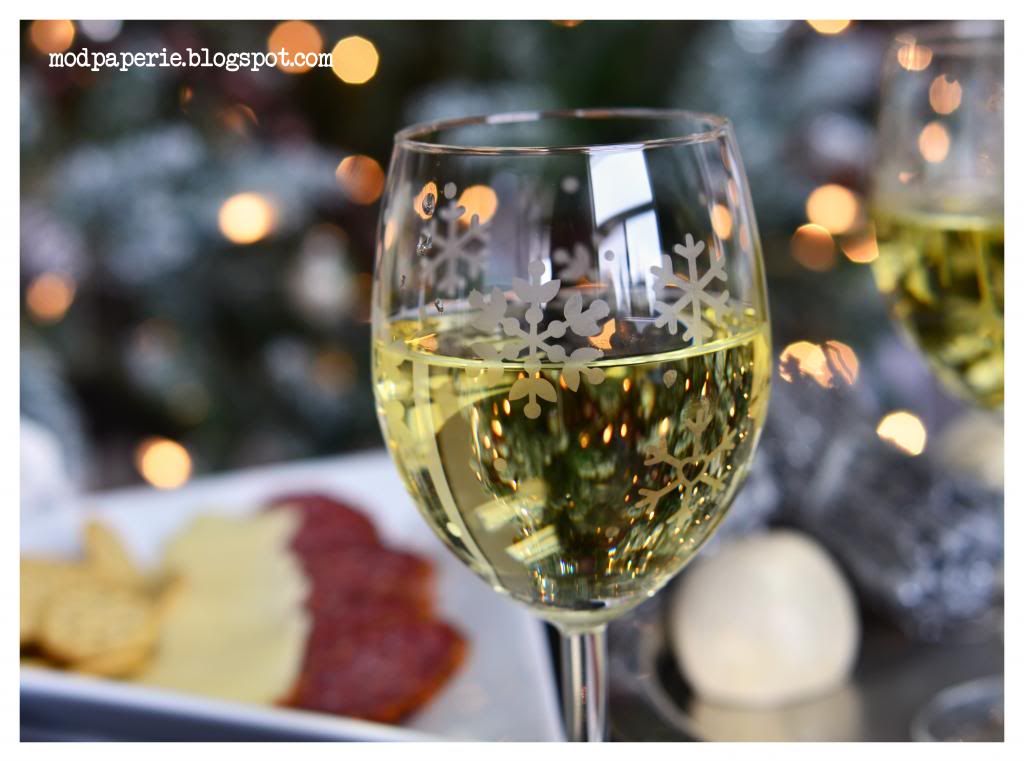
9. Etched Snowflake Wine Glasses: see Winter Wonderland Etched Wine Glasses blog post
for detailed instructions.
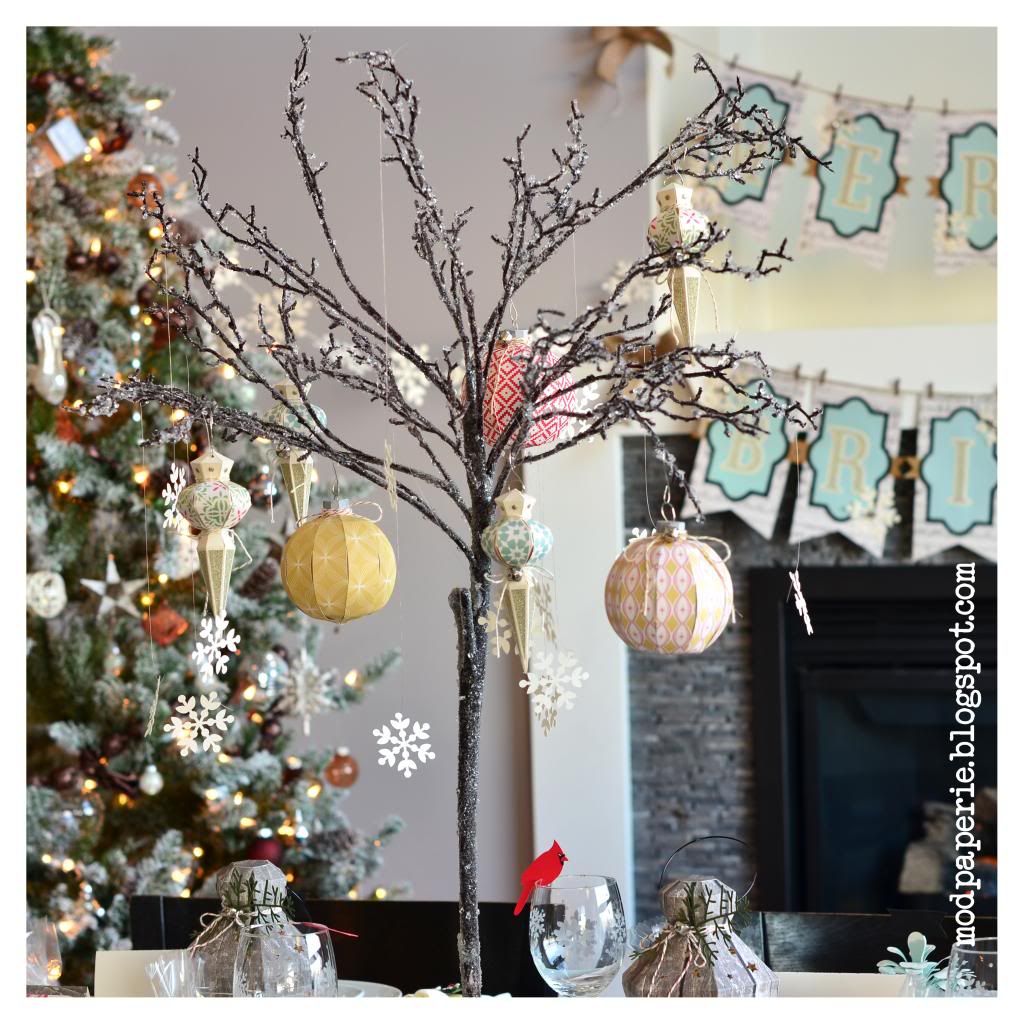
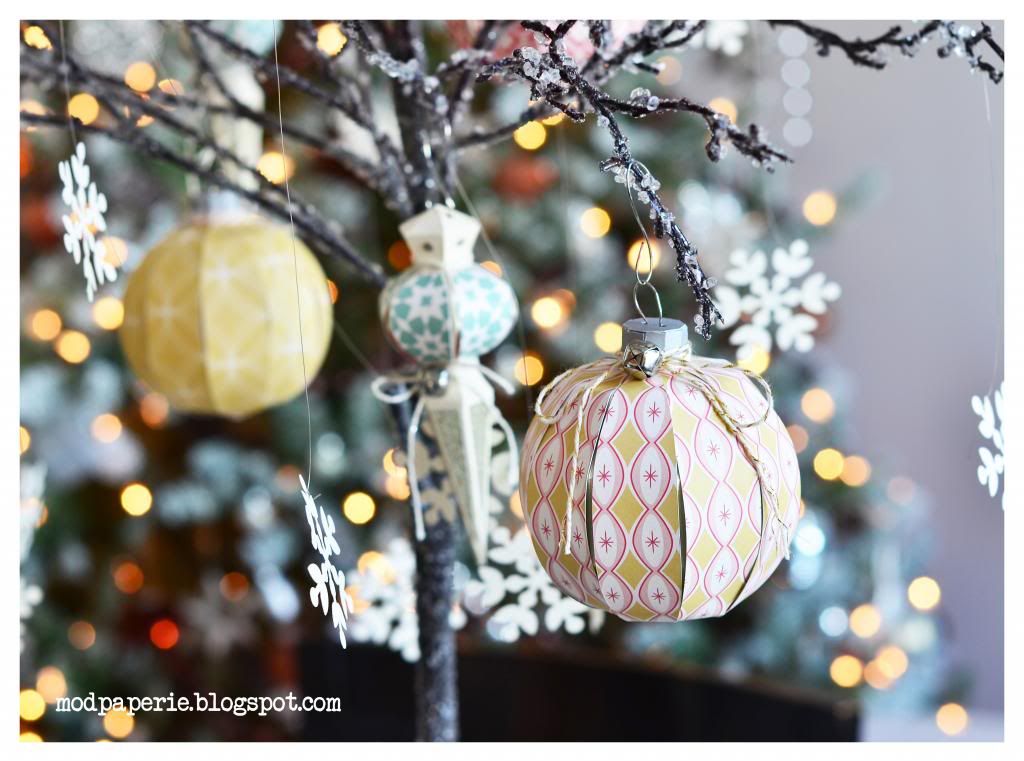
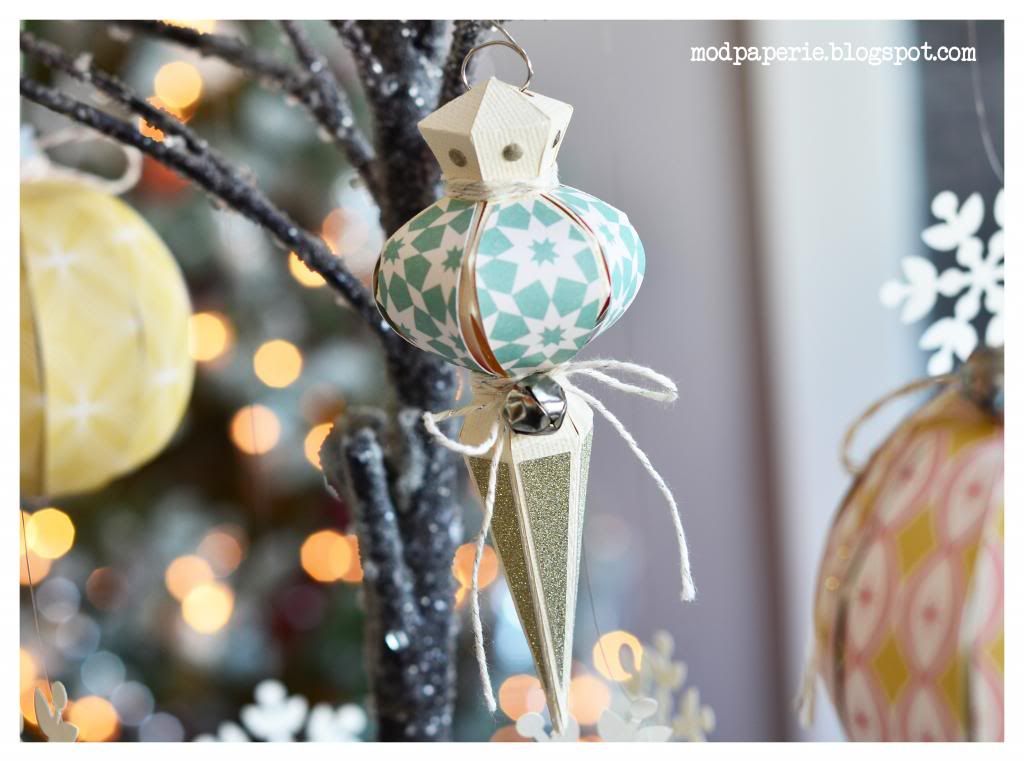
10. Tree Ornaments: Make some beautiful ornaments that
coordinate with your party theme and hang them on a miniature store bought tree
to create a stunning dinner centerpiece! Reduced size Ball Ornament from Silent Night SVG Kit and Spindle
Ornament from Christmas Ornaments SVGKit were used here. Simply add some Shimmer twine, glitter dots and a bell
for a festive look! You may use the commercial ornament hangers or simply make
them out of wire or use twine to hang them on the tree.
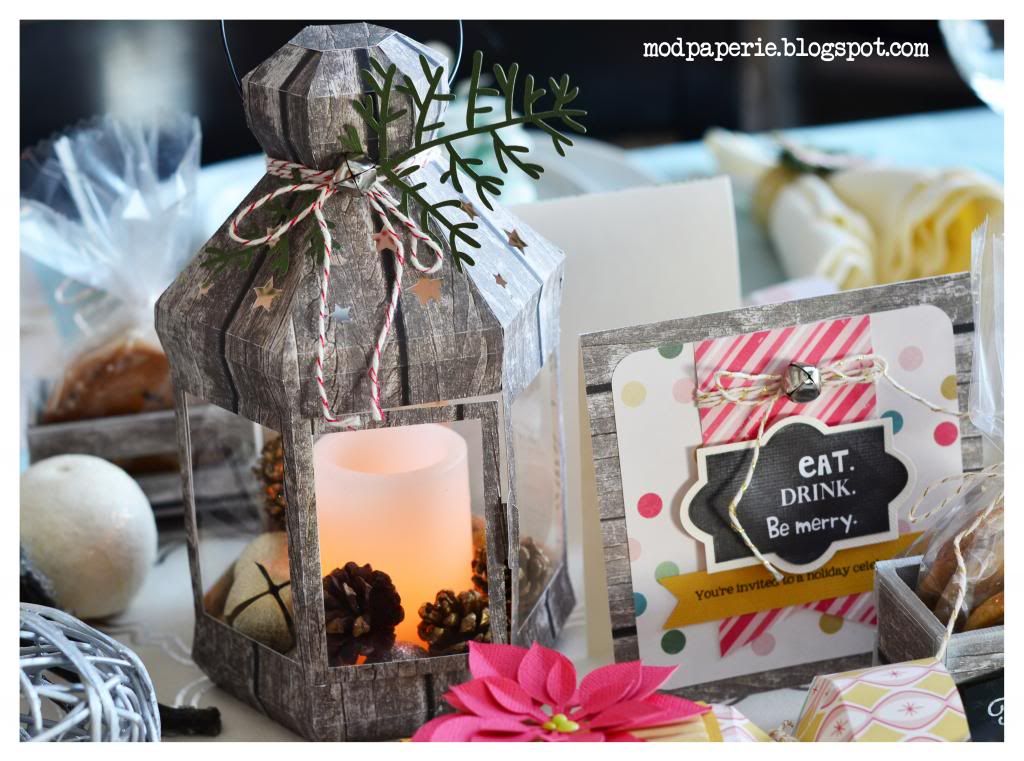
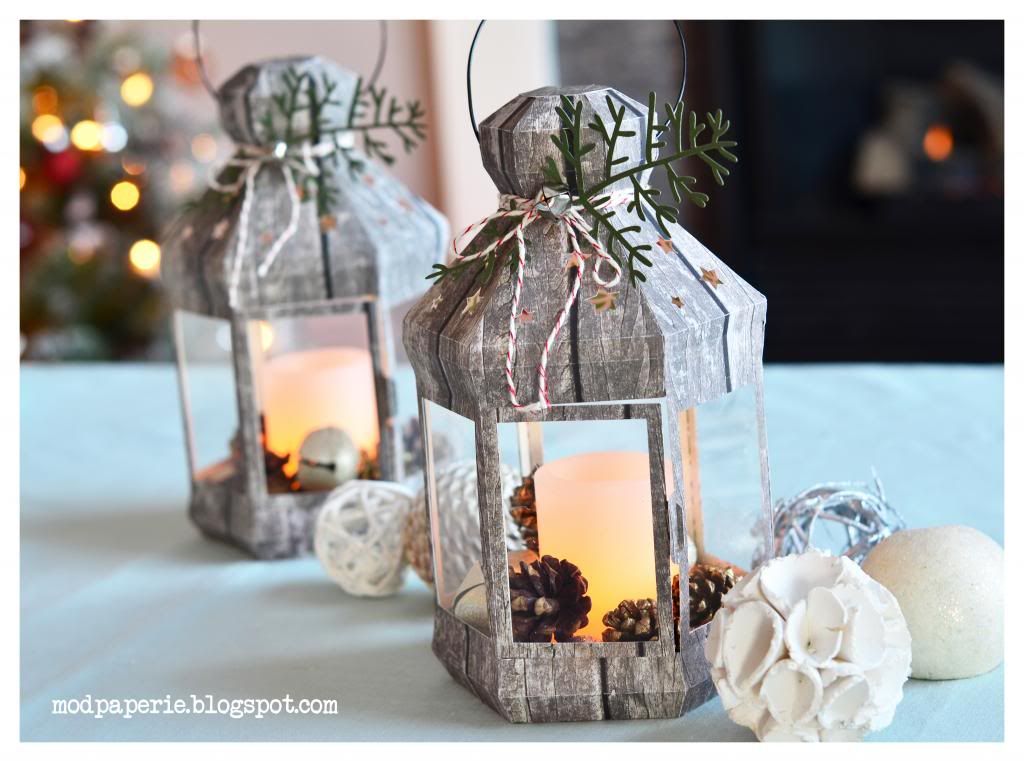
11. Table Lanterns: Add a bit of a glow to your dinner table by adding in some luminaries. I used a lantern from the Stars and Stripes SVG Kit and accented with ferny evergreens from 3D Wintergreens SVG Kit, Shimmer twine and a bell. Inside is a LED flameless candle surrounded by pinecones, mini cinnamon stick and bells.
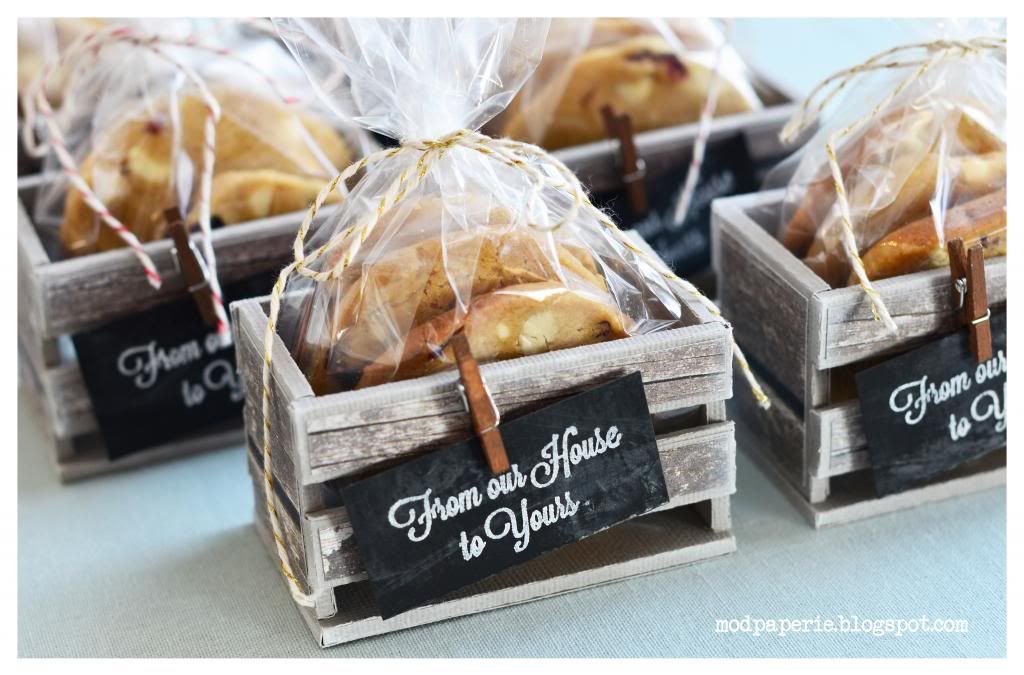
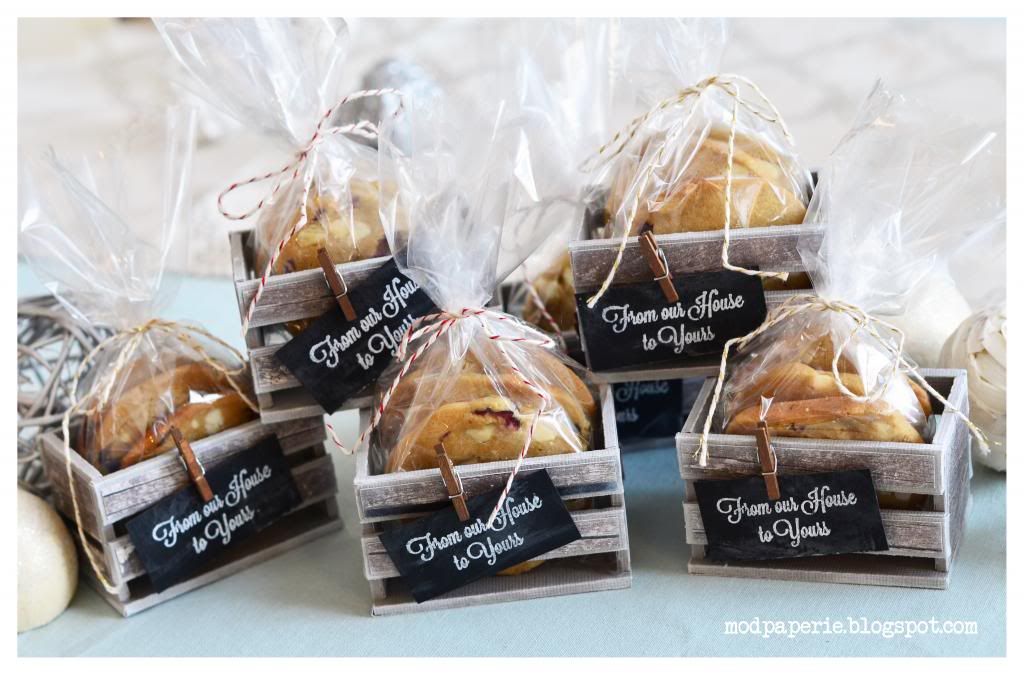
12. Crate Party Favors: Adjust the size of the crates from Caramel Apple Pie SVG Kit to make mini sized ones. I stamped a sentiment on the chalkboard cardstock and adhered on using a clothespin. Fill them up with bags of cookies tied up with Shimmer twine and a tag for a special gift your guests can take home.
That's it!
Thanks for coming to my party!
I hope that you enjoyed my projects and how I customized each of the items
to make them special!
Merry Christmas everyone!
OMG. You are absolutely AMAZING
ReplyDeleteditto to what Amy said, I think we will just pop over and join your beautifully designed party! wow Thienly you are so talented and creative!
ReplyDeletethis is awesome!!!! love every part of it!!!
ReplyDeleteWow...wonderful party EVERYTHING!!
ReplyDeleteI wish you lived closer to me. I would love to sit and just watch your brain work! Such inspiration!!!!
ReplyDeleteThis is just so BEAUTIFUL and stunning!! I am in awe.
ReplyDeleteWhen I saw the first picture my jaw just dropped. This is unbelievable! You have some real talent. TFS
ReplyDelete