Hello All!!!
Some of you may have already seen this project as it is from last year.
However, this post is a bit different -
for those of you that want to make this -
I've made it super duper easy by adding a step by step tutorial of making the stones :)
Some of you may have already seen this project as it is from last year.
However, this post is a bit different -
for those of you that want to make this -
I've made it super duper easy by adding a step by step tutorial of making the stones :)
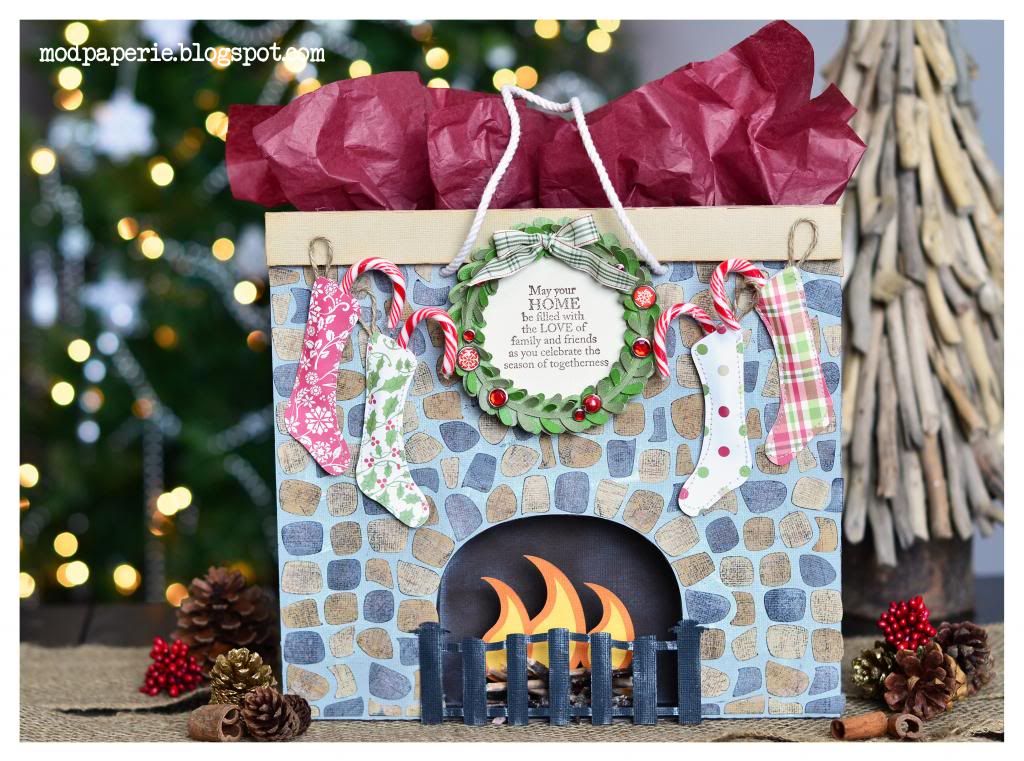
I thought that it would be so cool to create a Fireplace gift bag using SVG Cuts files!
There's one from the store (and it is a bag!),
but I thought that it would be so cool to actually have a 3D effect to it
by making the burner part indent a bit into the bag!
It's one of those ideas that was lingering around in my head for the longest time,
and finally decided to make it!
So, wanna see?
I was really excited to share this one!
(like any of my other projects! HA!)
So so cool, right?
Those 'stones' are actually separate pieces!
I cut them out and inked them all!
Craziness, you may say, but it wasn't so bad!
I'll share a technique that I did below!
and yep - those stones are actually from SVG Cuts files...
you may wonder where???
It's from Moonlight Garden Party SVG Collection.
HOWEVER - you will need to do something 'special' with it, for you to cut like that!
(refer to the instructions below!)
Okay, hope that you're not giving up here... it's really not that bad!
OR, you can simply use a brick or stone patterned paper,
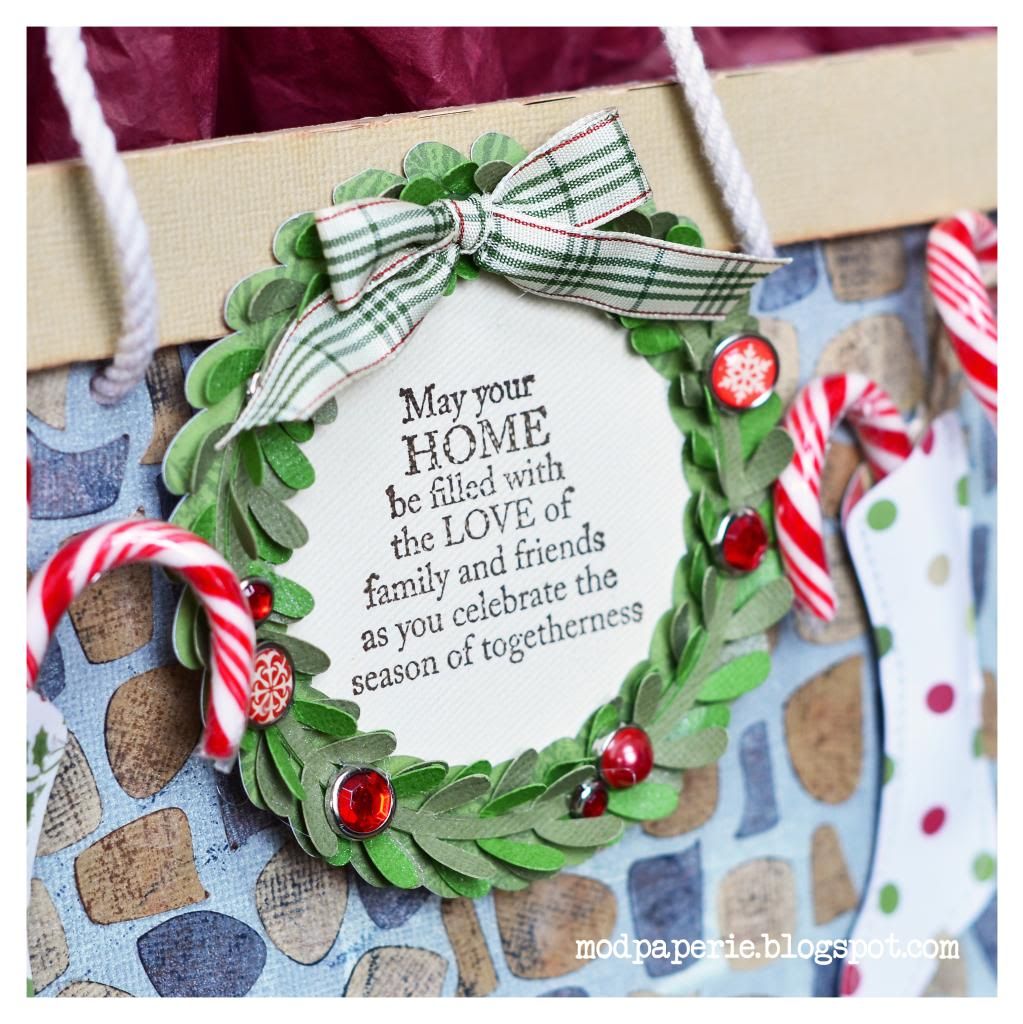
I just LOVE this sentiment stamp -
of course, this stamp coming from my favorite stamps company - Unity!
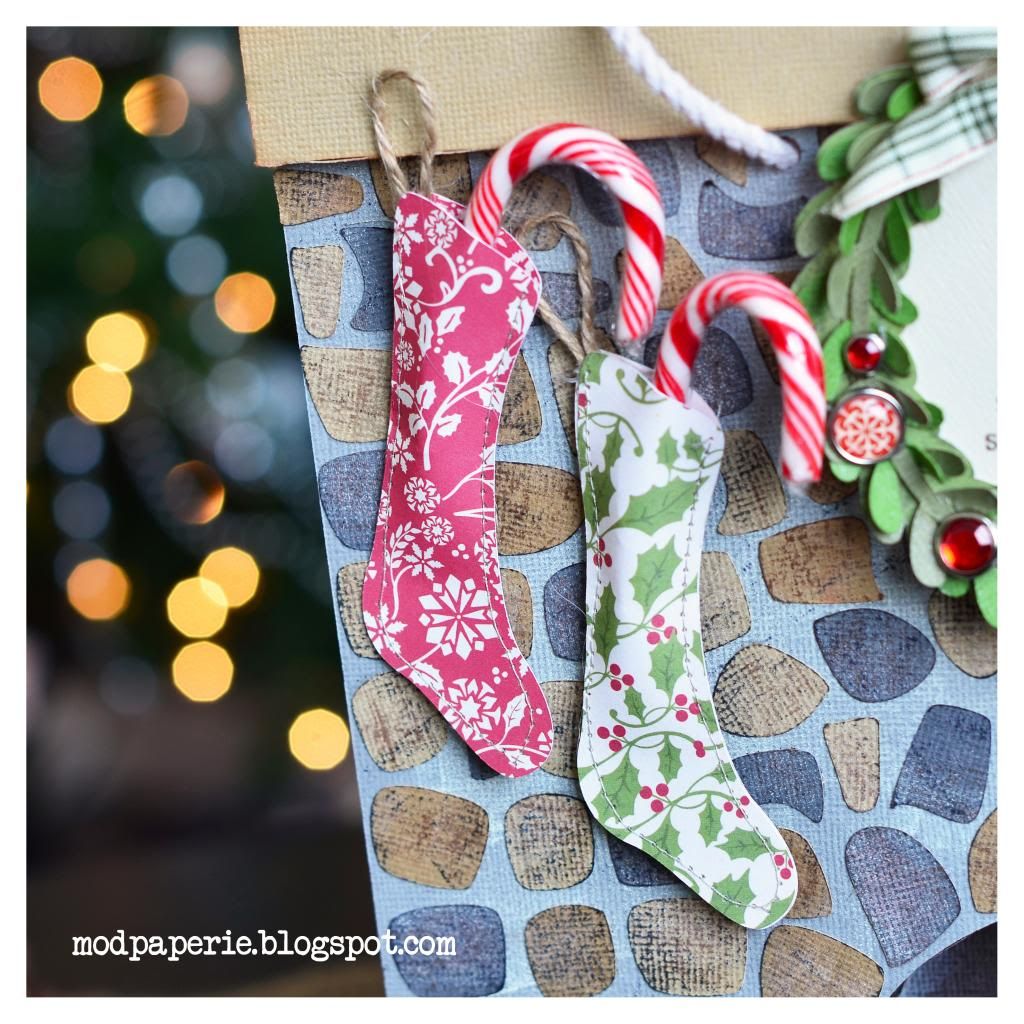
With these stockings, I cut two of them out and stitched it together.
It was just the right size to stick in mini candy canes :)
The main part of my project was made using just the AC plain colored cardstock,
but used Echo Park This and That Christmas to accent my project.
The main part of my project was made using just the AC plain colored cardstock,
but used Echo Park This and That Christmas to accent my project.
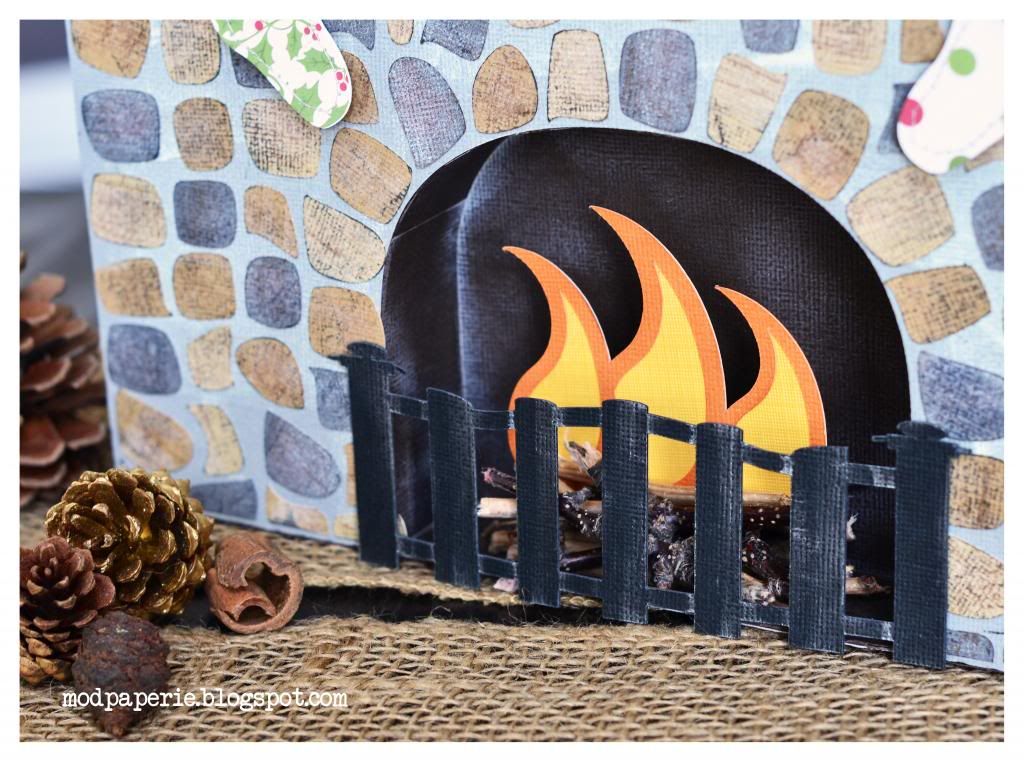
...and here's the fireplace!
I inked a bit on the inside with grey to add to the 'worn' look of the fireplace.
The logs are actual twigs all held together by hot glue.
It just adds to the 'coziness' by using some natural elements.
Here are the collections needed to make this:
Christmas Gift Bags SVG Kit (flame SVG)
Caramel ApplePie SVG Kit (mantle SVG)
Christmas Cookie Party SVG Kit (wreath SVG)
Moonlight Garden Party SVG Kit (the stones and the 'fence' SVG)
Merry and Bright SVG Kit (stocking SVG)
FOR FULL INSTRUCTIONS - REFER TO THE SVG CUTS BLOG.
TUTORIAL: HOW TO MAKE STONE TILES
ON SIZZIX ECLIPS
1. Open up column_top and bottom.svg and resize.
2. Break apart, and delete the top of the column. Regroup.
3. Overlap the column_top.svg on top of colum_bottom.svg - should look like this.
4. Select all, right click and choose 'Path' and then 'Front Minus Back' option.
Cut and past multiples on a page.
ON SILOUETTE CAMEO
1. Open column_top.svg and column_bottom.svg and resize.
2. By right clicking, or choosing 'Object' - choose 'make compound path'
3. By right clicking on the column_top.svg, 'release compound path'
and delete the unnecessary shapes. Regroup.
4. Place column_top.svg and top of column_bottom.svg
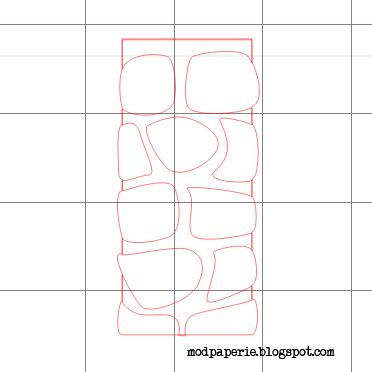
5. Choose 'modify' category and 'subract'
This is a bit different from eclips as the middle stone disappears.
In order to get the middle stone, do the same as above, but at step 5, instead of choosing 'subract', choose 'intersect'
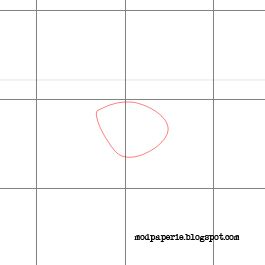
FOR FULL INSTRUCTIONS - REFER TO THE SVG CUTS BLOG.
TUTORIAL: HOW TO MAKE STONE TILES
ON SIZZIX ECLIPS
1. Open up column_top and bottom.svg and resize.
2. Break apart, and delete the top of the column. Regroup.
3. Overlap the column_top.svg on top of colum_bottom.svg - should look like this.
4. Select all, right click and choose 'Path' and then 'Front Minus Back' option.
5. When you hit preview - you will notice that there is a vertical line down on one of the sides.
That IS okay :)
ON SILOUETTE CAMEO
1. Open column_top.svg and column_bottom.svg and resize.
3. By right clicking on the column_top.svg, 'release compound path'
and delete the unnecessary shapes. Regroup.
4. Place column_top.svg and top of column_bottom.svg

5. Choose 'modify' category and 'subract'
This is a bit different from eclips as the middle stone disappears.

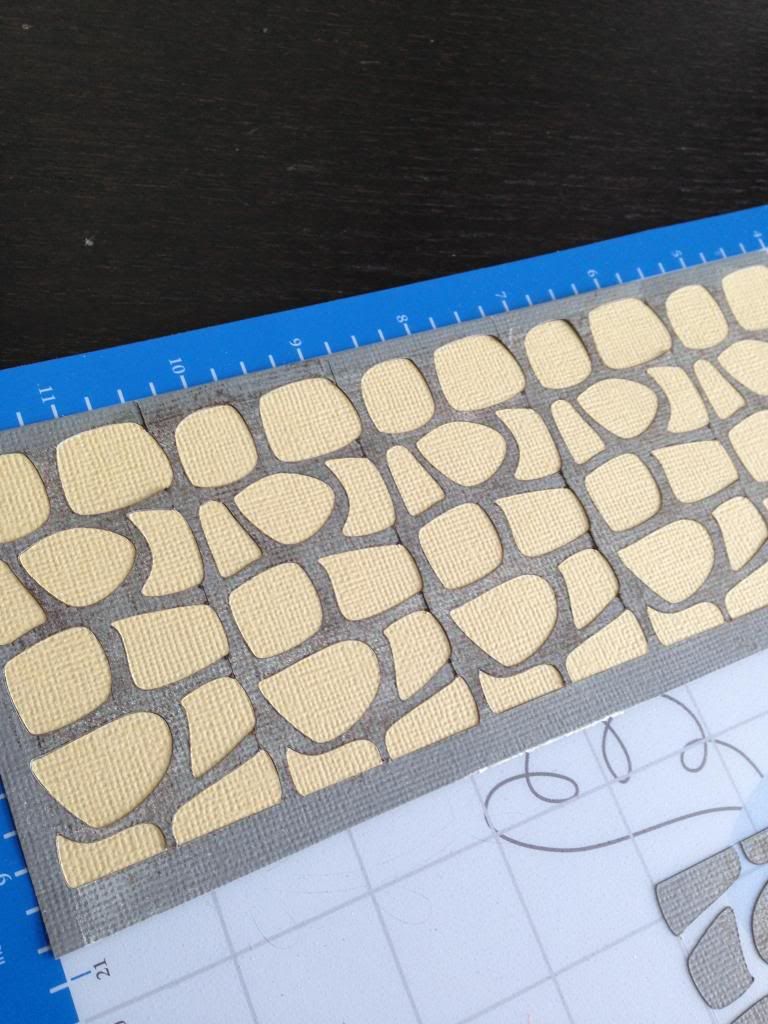
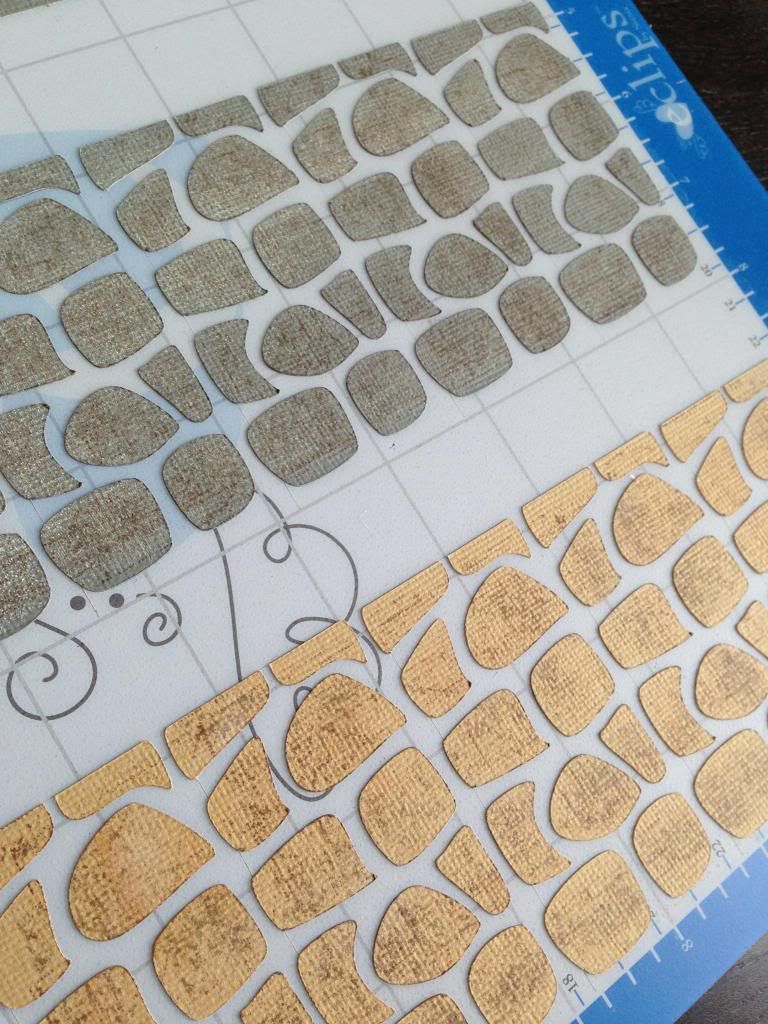
6.For the inking the stones, I found it useful to 'ink' them before taking them off the mat.
(While the paper is covering the 'rest' of the mat,
I inked it with brown, black, grey and distressed ink to get the look I wanted :)
I inked it with brown, black, grey and distressed ink to get the look I wanted :)
I really enjoyed making it, and any gift given in this bag would be extra special!
Alright, that's it for today!
Make sure that you pick up the latest free kit of the week, too -
it's beautiful!
(must spend $9.98 or more, coupon: FREEGIFT)
Alright, that's it for today!
Make sure that you pick up the latest free kit of the week, too -
it's beautiful!
(must spend $9.98 or more, coupon: FREEGIFT)




Holy cow! This bag is amazing! So many great details! I love the candy canes in the stockings and the sweet little wreath!
ReplyDelete