I had the hardest time coming up with my next project. I don't know if I was just out of ideas, or all the things that I thought of doing was way too complicated - and there was no way I was going to explain how to make that in my directions. Then, as I was flipping through my SVG Cuts' bible (my PDF binder), I came across that crate file from Caramel Apple Pie SVG Kit. Hmmm... boards and slats. There's gotta be something cool that I can make using them. Really - carpenters do amazing things from wood... so then, I started thinking about all sorts of fun wooden projects that people make... and ta.da! My project idea was brought about!
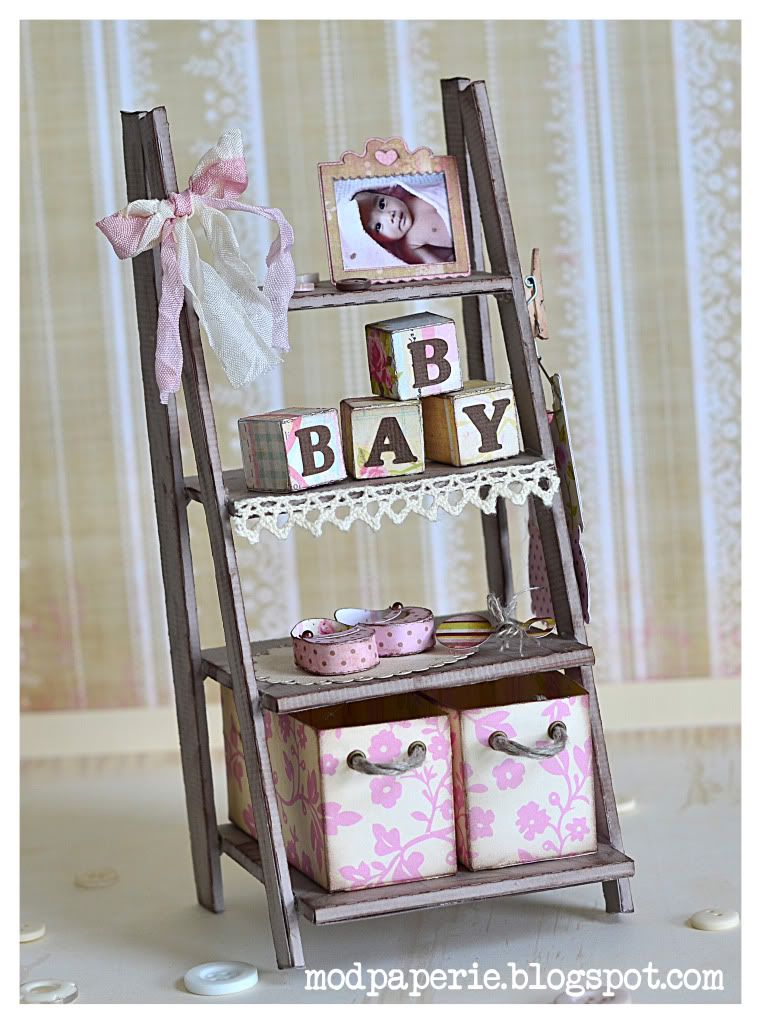
I first contemplated on doing one of those wooden ladders with both sides at an angle... and make it more like a spring garden project. That would've been cute, too, but decided upon a bookcase stand - where you have endless possibilities of customizing your project. You can add embellishments, boxes... wherever your imagination takes you - and you can pretty much change it up according to the theme and style.
Here's the side view:
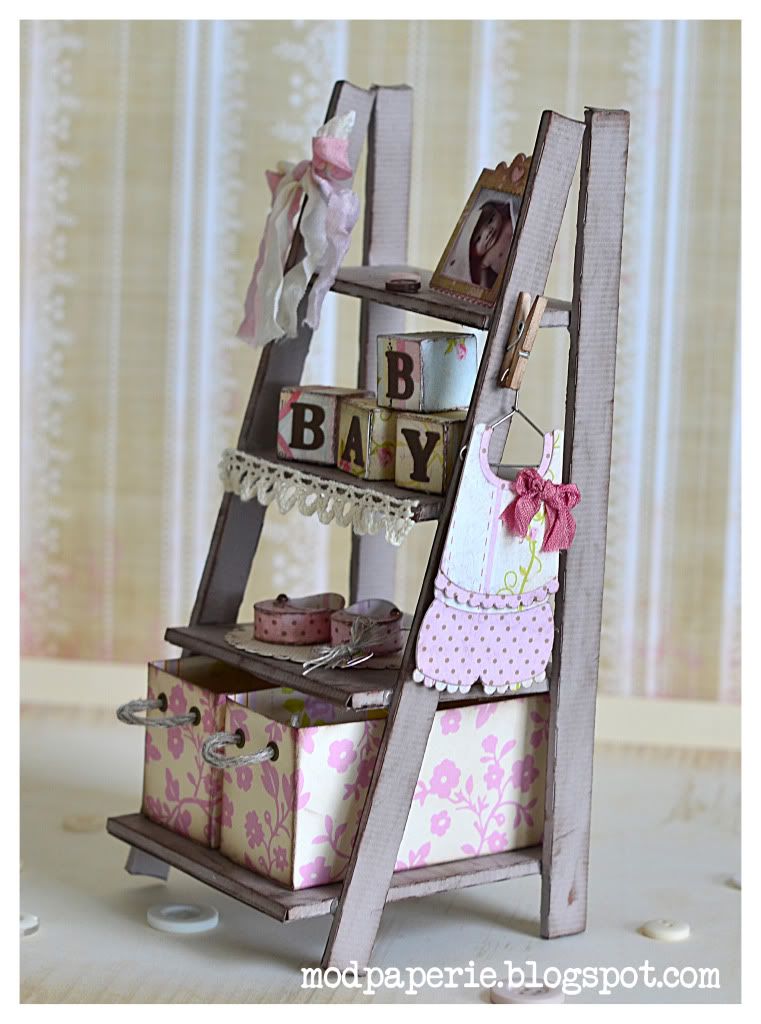
Anyway - to make the actual stand - all you need is the Caramel Apple Pie SVG Kit. Yup, that's all you need! You don't need to weld or break apart elements and such like all my other projects! How easy, right? Just resize the boards accordingly to the instructions given on the SVG Cuts blog!
I used 3 other collections for my project - yes only THREE (this doesn't happen very often and they are: Bundle of Joy SVG Kit, Crush on You Boxes SVG Kit, and Little Sweet Peas SVG Collection.
And, of course, you want to see more pictures, right?
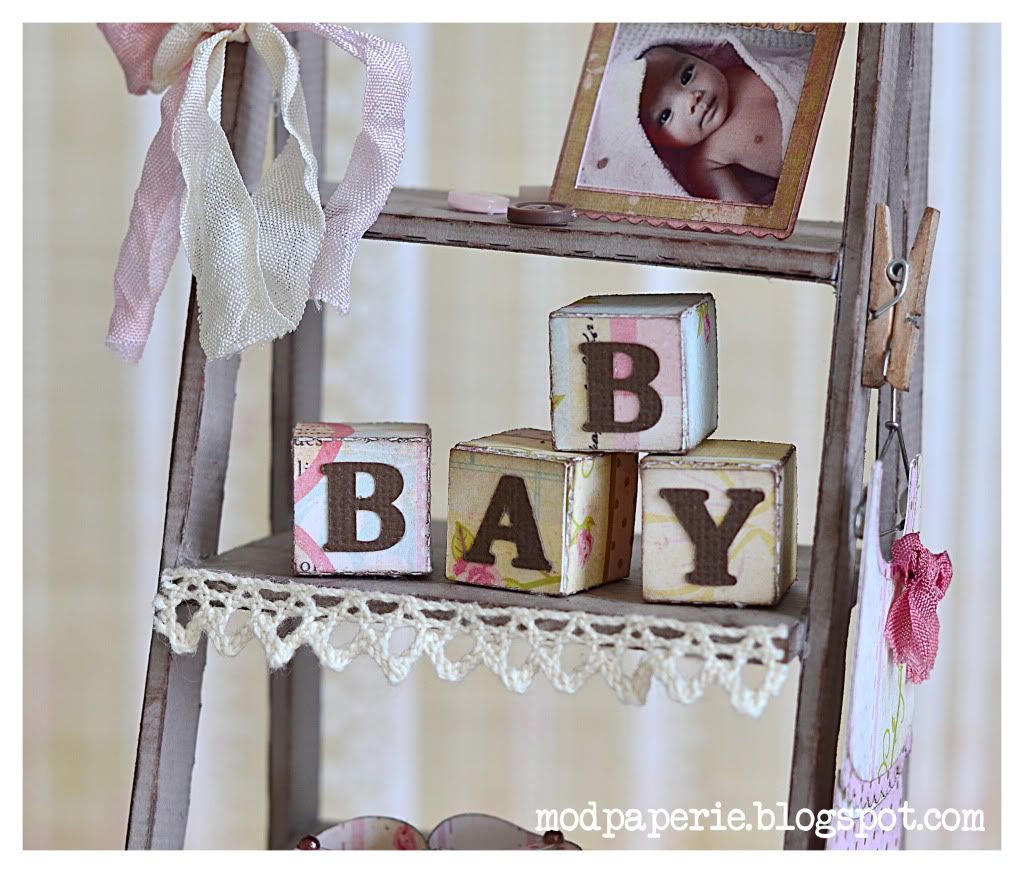
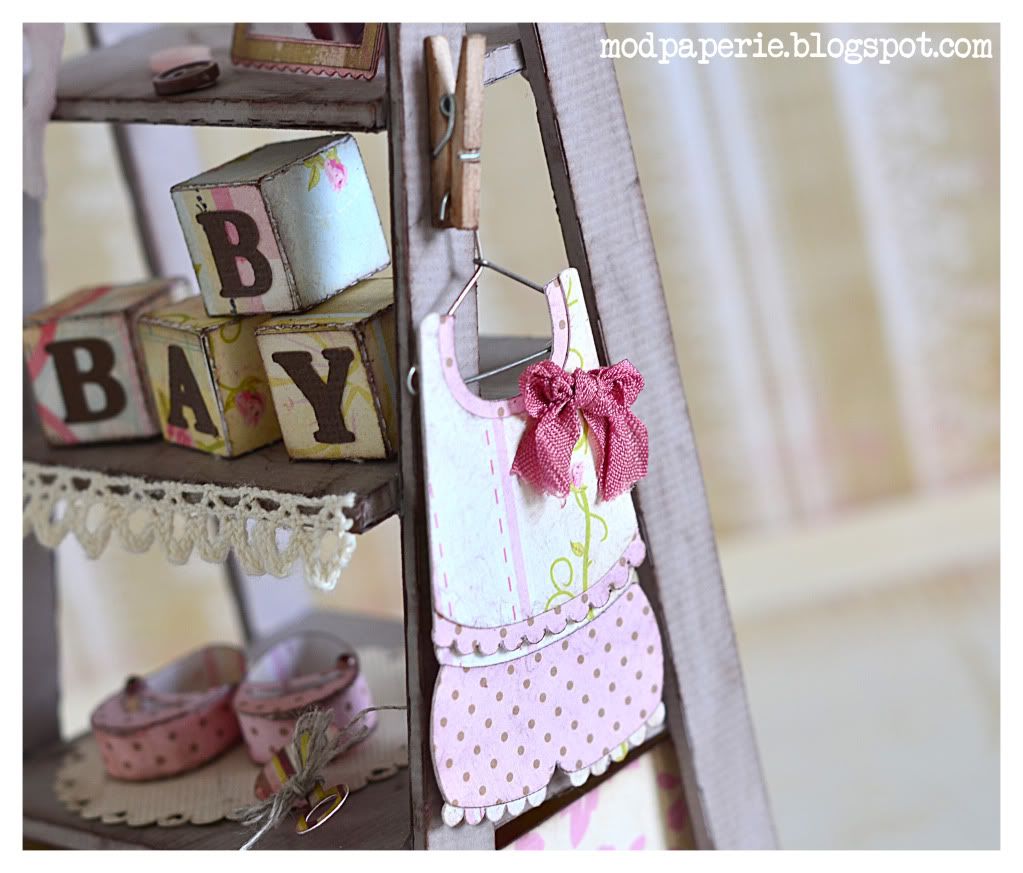
Aren't these blocks cute? I LOVE them, and you can pretty much make these blocks into any size! Wouldn't it be cute to spell out your child's name here?
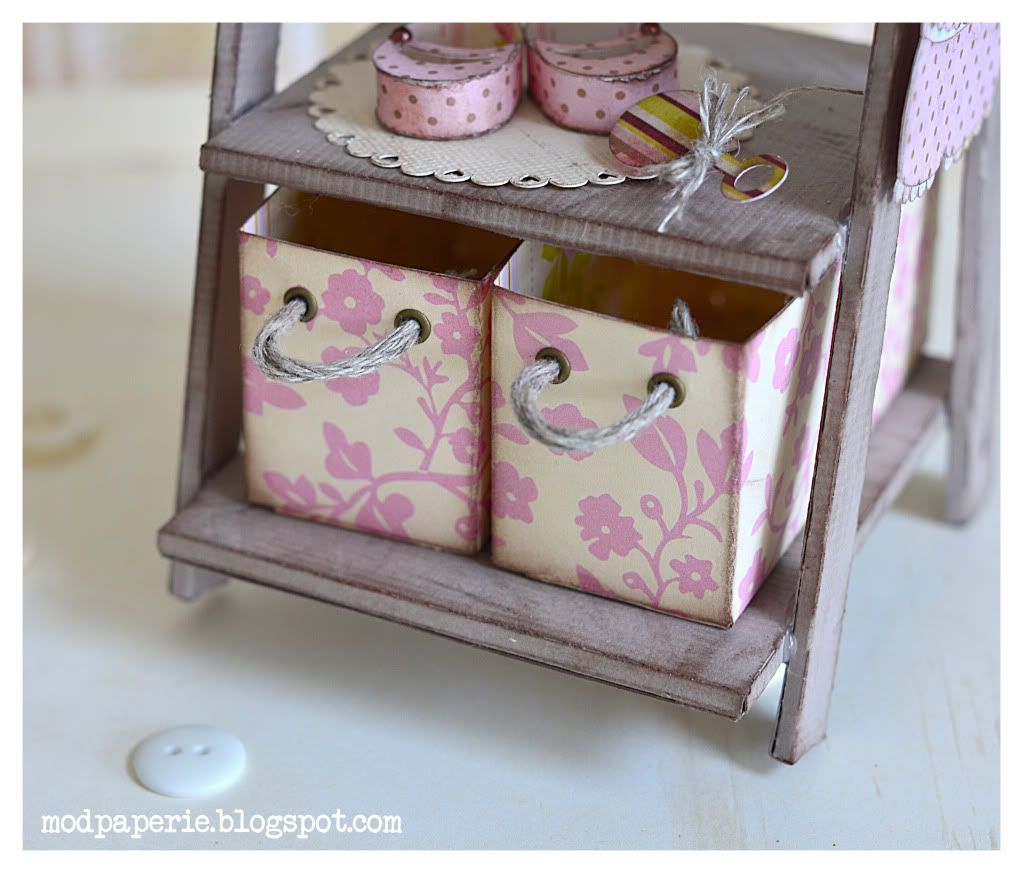
And... these drawers that's on the bottom shelf can be used to store some memorabilia items! It slides out - just like a real furniture!
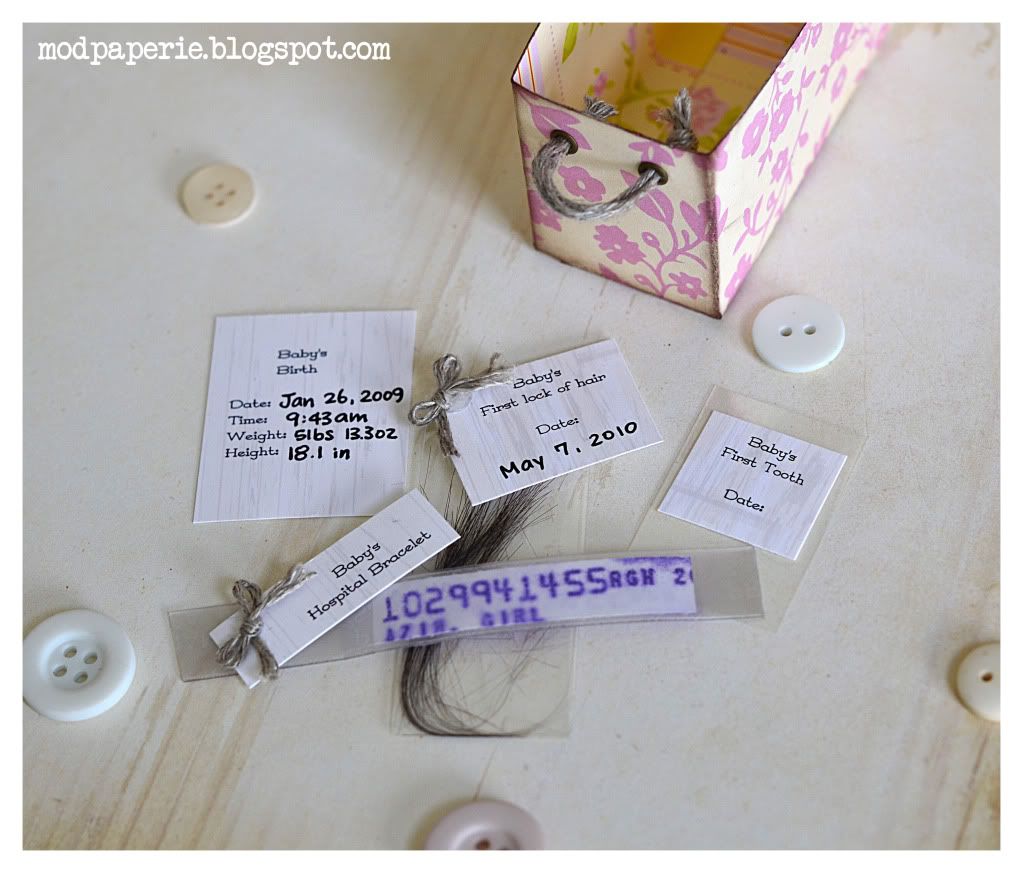 So, on the inside of the boxes, I collected some keepsake things of Amelie - birth info, hospital ID wristband, first lock of hair and a little bag to put the first tooth.
I also thought that it would be so cute to decorate the side up a bit - and decided to use that cute romper SVG and hung it at the side using a clothespin.
My mom told me that this is her favorite project EVER of my creations! That's saying a lot - and she even said that about my Christmas Lantern Streetlamp, but this tops it! and I must say - I fell in love with this project as well. Maybe because I know this is going to be given to Amelie, so I put my 100% HEART and LOVE into it.
Hope that you enjoyed this project and for directions and actual SVGs used and its dimensions - please visit the SVG Cuts' blog.
So, I have another cool idea using these slats... stay tuned - maybe I'll do a summer project with this!
Thanks for stopping by - and have yourself a wonderful lovely day!

Thienly, this is truly precious! I might have to make one for Jeremy! I LOVE it! (and I have all of the collections! LOL
ReplyDeleteThat is awesome. My Son and his wife just added a new little girl to their family so seeing your project was perfect timing!
ReplyDeleteWhat an absolutely FABULOUS project! Just gorgeous!
ReplyDeleteShelly
you never cease to amaze me!this is spectacular!!!
ReplyDeleteOh my Thienly, this is amazing! Got to check out SVG Cuts! Thanks for sharing!
ReplyDeleteThis is the BEST papercrafting I have ever seen!! I love your work!!
ReplyDeleteKaren
This is the most fabulous project I have ever seen! Your talent is AMAZING!
ReplyDelete