Sunday, November 13, 2011

Merry Advent Calendar - SVG Cuts DT Project.

Hey all! It's been a LLOOONG time again!

It's been pretty hectic lately, and I've been hardly home during the day EVERYDAY!  I'm at a point I actually just want a day at home so I can catch up on my laundry!  I know it has only started and it's just gonna get busier for a little while...  So, please just get used to the idea of seeing a new blog post once a week until Christmas...  I'm sure you're also busy - so I'm being nice.  The more posts I make, I'm taking your time away from all the things you need to get done. Right?  Me always thinking of others :)

Anyway, it's another SVG Cuts DT project day!!!! and I was soo excited to share this one.  I have always wanted to make 3D Letters - I see so many of you making them, but I had never made them before.  As well, I had such a blast making my last Halloween Advent Calendar, so I HAD to make one for Christmas.  So... why not combine these two files and make a 3D Letters calendar??? 

Okay, honestly, I wasn't too sure how it was going to work out...  Having never made these letters before, I didn't know if the compartments would fit.  The depth of the calendar and the 3D letters are different - how would I go about that?  All in all... after some serious thinking, it all came to me! I maximized the letters big enough to be able to cut on a 12x12 mat and I broke apart the doors, and brought them over to the letters.  IT FIT! Barely, but it worked! I also changed the height of the compartments to match the depth of the letters! It worked like a charm!

So... here's my project!!! Yes, finally you get to see it!
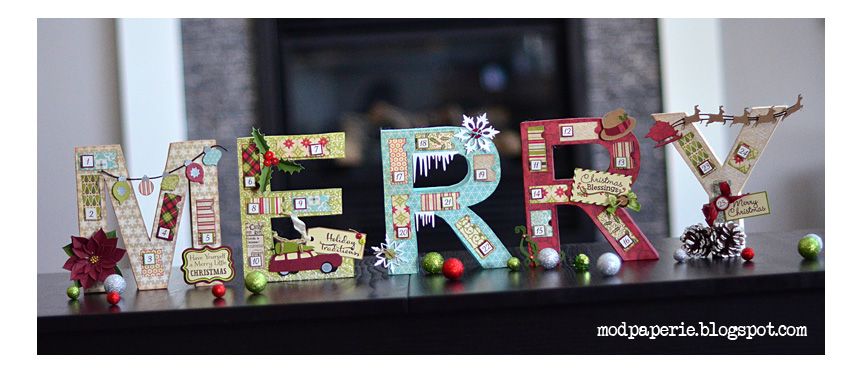
Photobucket

Okay, I don't want to brag about this, but I think that this turned out pretty darn cute. It was so fun to make - this definitely is one of my favorite projects that I've EVER done in my mod paperie life :)

Don't you just love the paper? It's the Season's Greetings Collection from Echo Park - LOVE their papers - I must get EVERY LINE that they make! The numbers that I used the dates are from the stickers from Christmas Dots & Stripes collection - the dates went up to day 25, so it was just PERFECT!

Okay, you are so lucky today - you're gonna be able to see LOTS of pics from me and get all the fine details that I've put into my project!

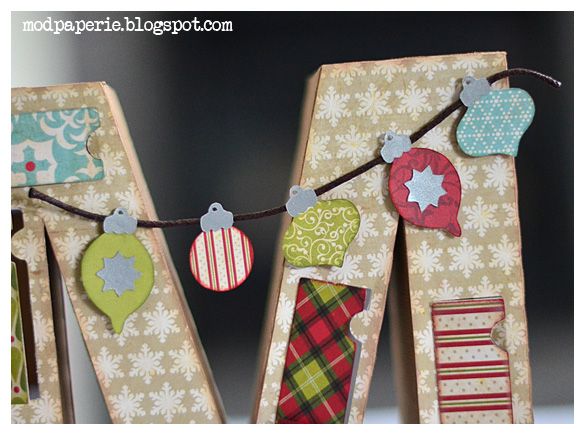
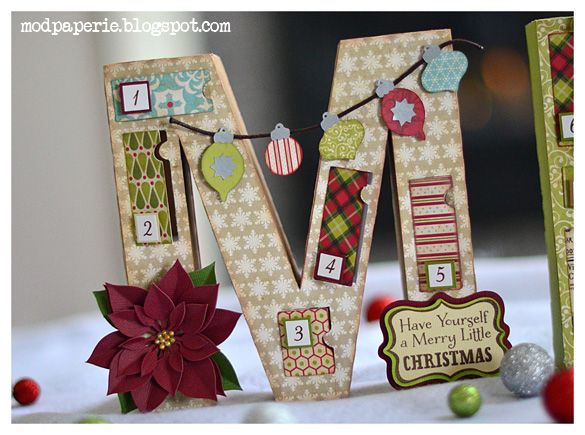
Letter M
Photobucket

Photobucket

Photobucket

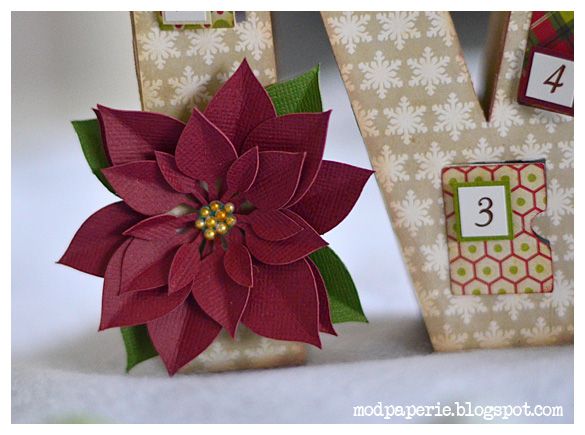
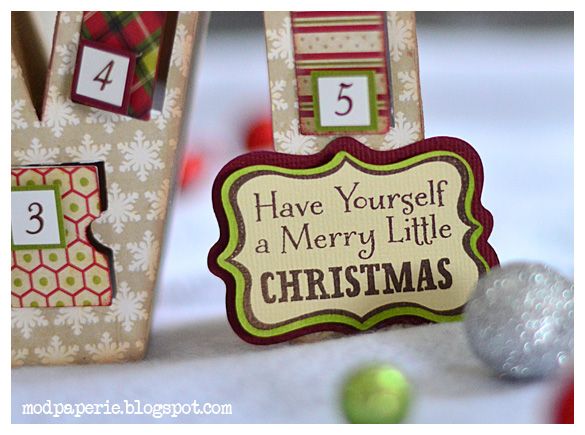
Love the 3D poinsettia - from the 3D Wintergreens SVG Kit :)
Photobucket

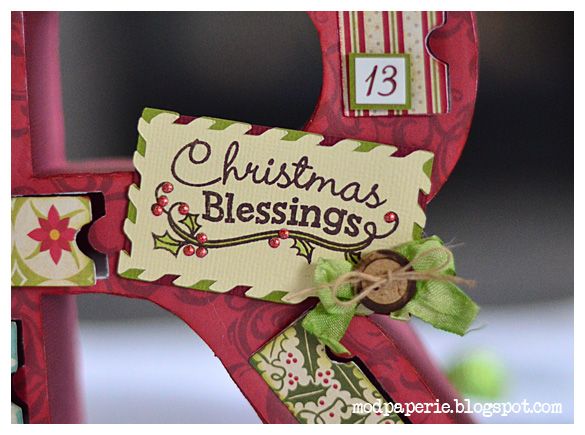
Arent' the stamps cute? It's from the Holiday Traditions set from Punkin' Patch Stamps - and I also used the matching Stampables to create the exact cut around the stamps! Neato!

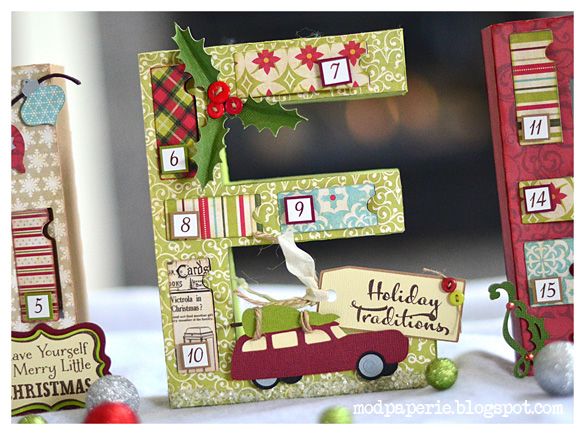
Letter E
Photobucket

Photobucket

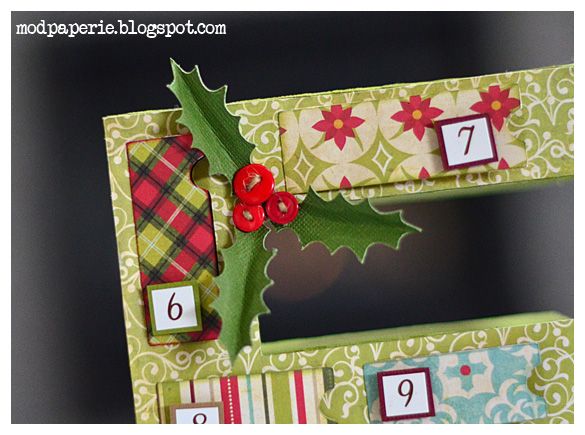
Holly, again from 3D Wintergreens SVG Kit.
Photobucket

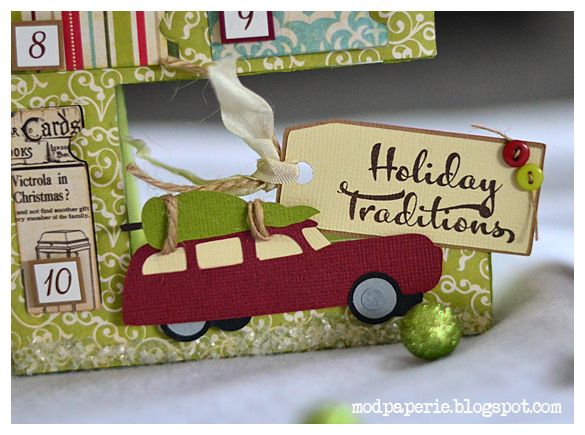
This stamp is from Holiday Traditions, too! Such cute stamps!

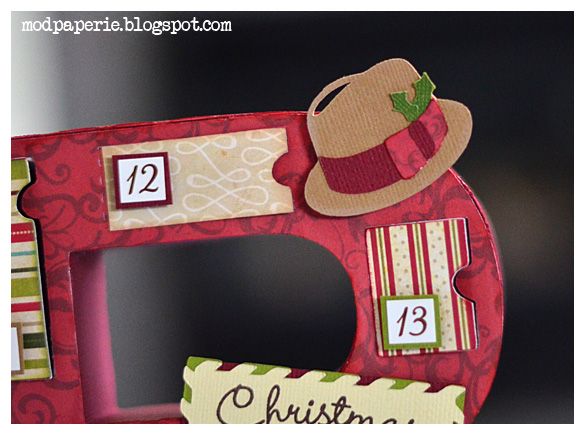
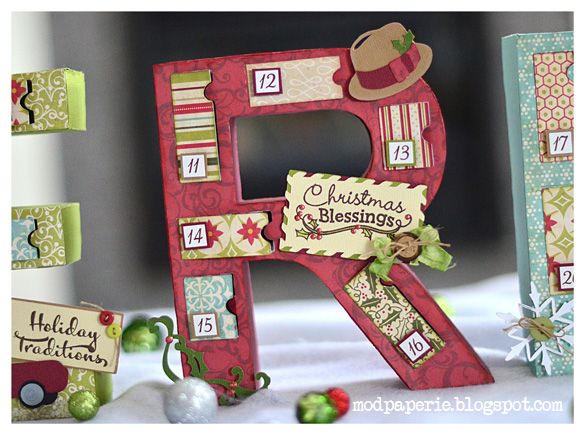
Letter R
Photobucket

Photobucket

Photobucket

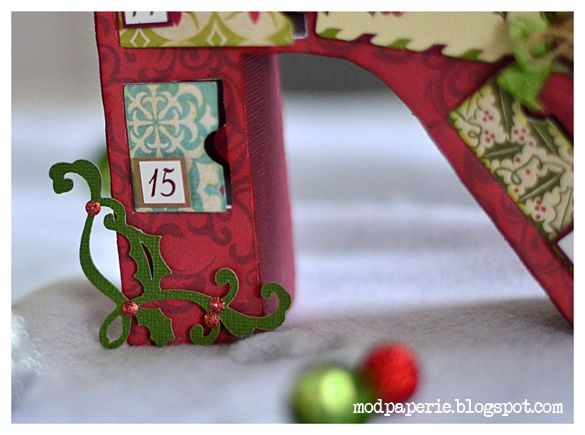
Okay, I think that this stamp usage is my favorite one - on an airmail package! You can get the file from the Rockin' Around the Christmas Tree SVG Collection. I just love how it brings out the stamp from the Gingerbread Kisses set.
Photobucket

Second Letter R

Photobucket

Photobucket

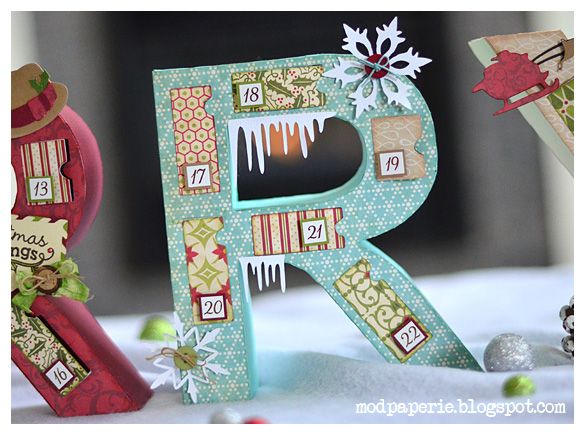
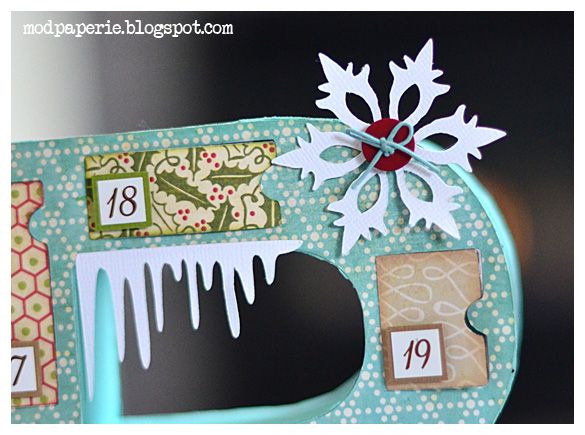
I added the icicles and the snowflakes on this one to make it all frosty!

Letter Y
Photobucket

Photobucket

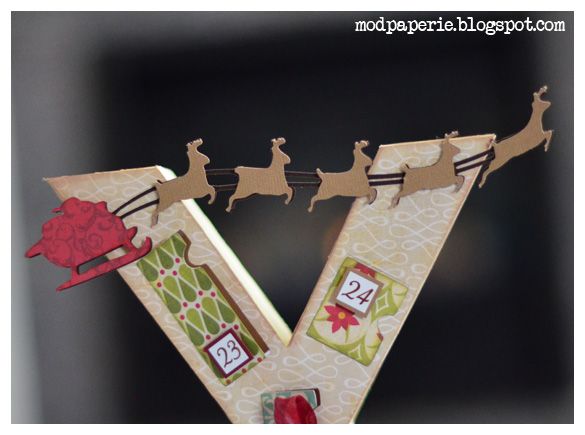
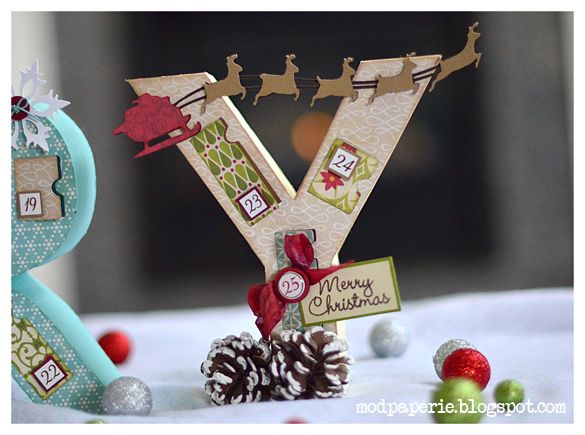
This Santa Sleigh was the VERY last element that I added to the project. I wanted something to finish off the project, but didn't want a heavy looking embellishment - it would look unbalanced. Then, it hit me - Christmas Eve... SANTA! and it's the last letter! AND, better yet - there was a simple Santa sleigh SVG file from Christmas in the Village SVG Collection!
Photobucket

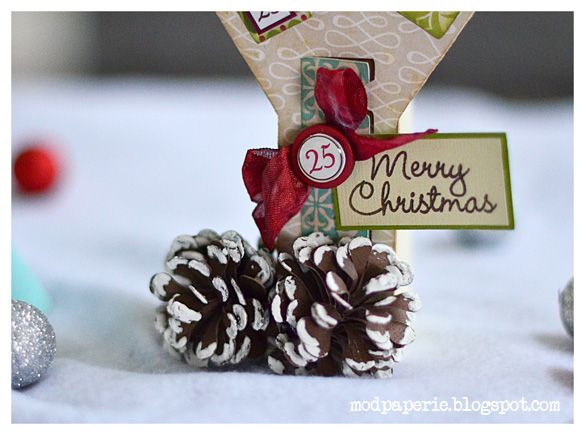
...and beautiful pinecones to finish off the last letter! from 3D Wintergreens SVG Kit. I used Sno Writer and made nice white puffy surface on the tips of the pinecones.

So, here's how I did it! For more info on the sizes and exact files used, please go visit SVG Cuts blog.

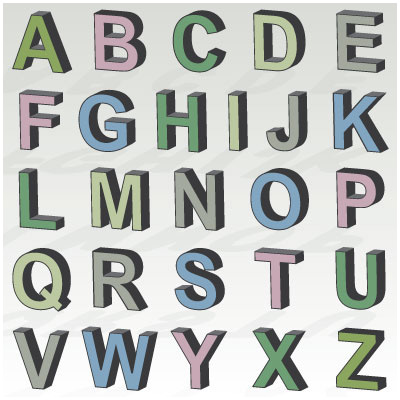
Here's the quick run down - to make this project possible - you need TWO collections from SVG Cuts. They are 3D Letters SVG Kit and Classic Advent Calendar SVG Kit.
Photobucket

Photobucket

You resize, break apart, paste and such and each of the letters before cutting out should look like this:
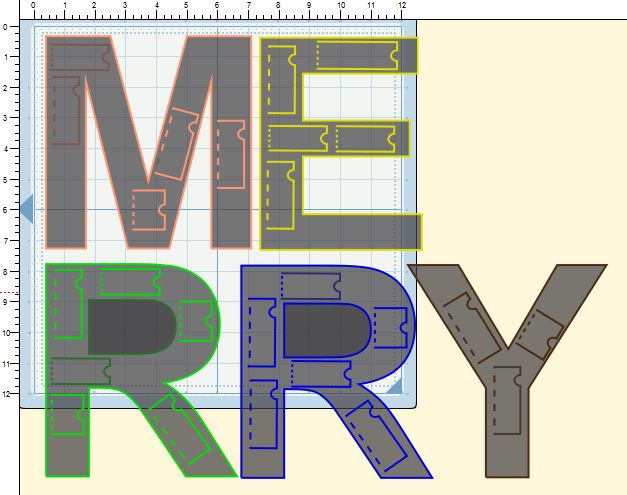
Photobucket

You also need to adjust the compartment height from the Advent Calendar to fit the letters.
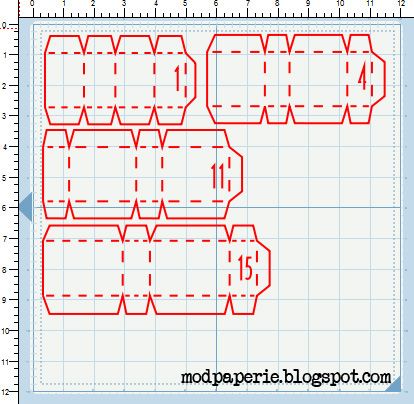
Photobucket

These compartments will be deeper than the regular advent, so it will give you more space to fill up with goodies :)
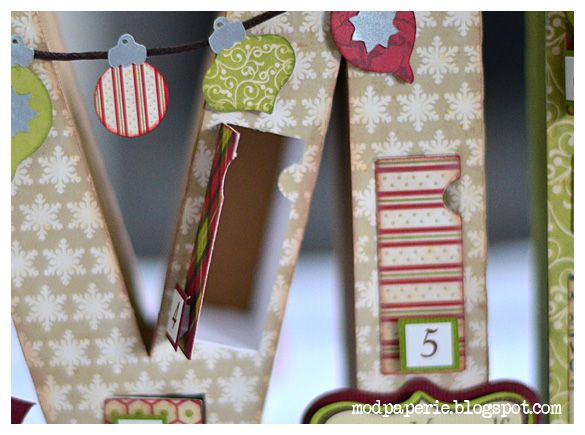
Photobucket

Photobucket

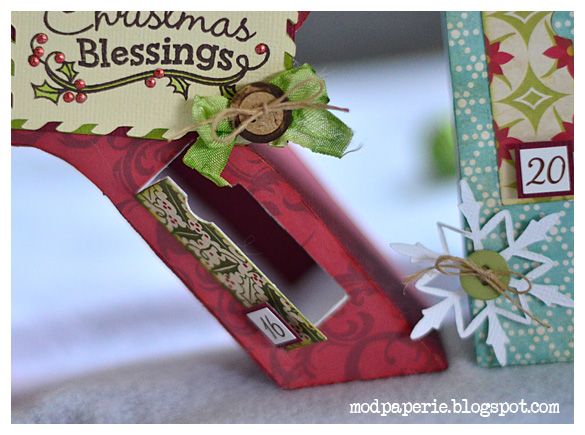
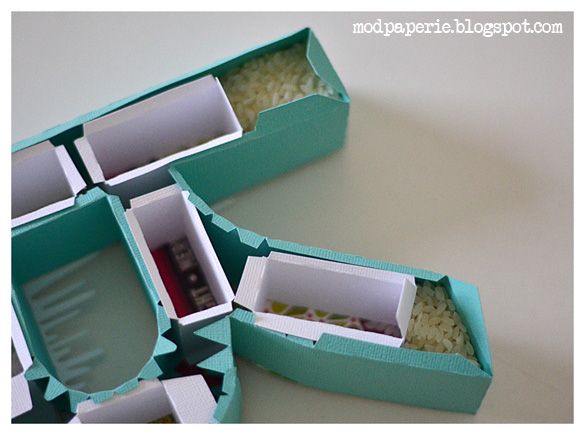
Then comes assembly - when assembling, because you are adding in such a tight space, you WILL NEED to cut off parts of the tabs. Then add some heavy weight material (I used rice), in order to make the letters stable to stand :)
Photobucket

Anyway, don't get overwhelmed - it's actually pretty fun to make, and once you make one letter, you'll get a hang of it! You don't have to embellish like mine - you can do whatever you want with it!

That's it folks! and leave me some love if you like my project! (Only if you like my project! LOL!)

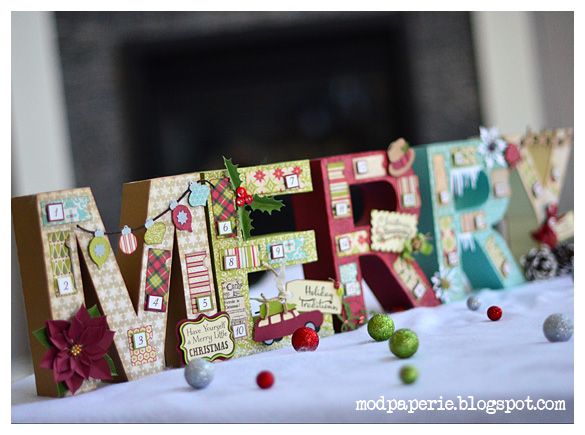
Here's the last peek at it:
Photobucket

Ohhh, did you hear the latest in my exciting news??? Leo and Mary from SVG Cuts have given us the whole DT team a Sizzix Eclips and eCAL software as a Christmas bonus!!! We were so shocked when we found out!!! This is the machine that they recommend as the BEST - so I can't wait!! I am not braggin' here... I just want to express my thanks to Leo and Mary and let you all know how generous these two are, and how well they treat us :) I must say that I am very lucky to be working for a such great company! Stay tuned for my posts on Sizzix Eclips!

Have a great crafty day!

Saturday, November 12, 2011

My two things that I made today!

Just thought that I'd share two cool things that I've made today!

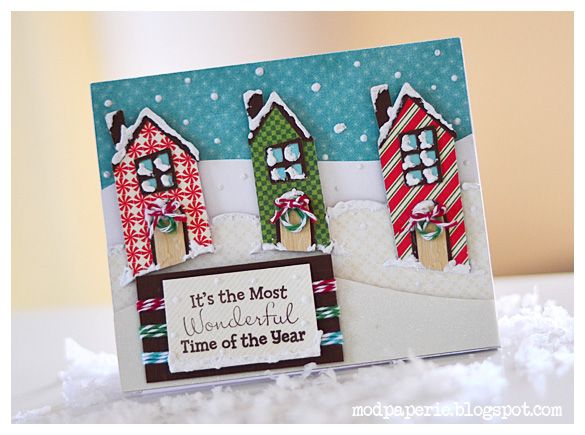
One - is a quick card for the SVG Cuts newest collection - Merry and Bright SVG Kit!  It was actually hard to pick which I should attempt as they are all so pretty! The collection features NINE cards that are already presized to what you need to cut, so it's really simple!  This is the free gift of the week if you spend $9.98 or over with coupon: FREEGIFT!!!

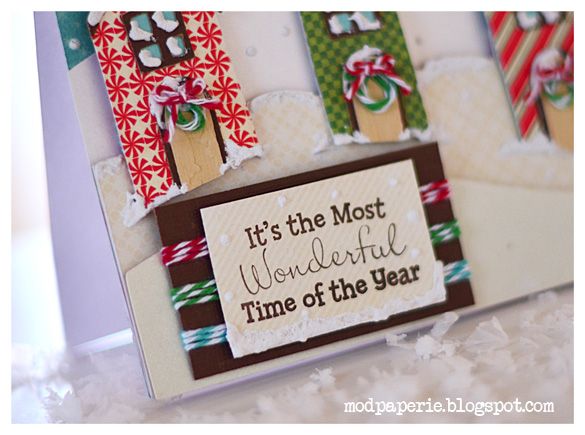
I chose the Snow Houses card.  I used My Mind's Eye 12 Days of Christmas paper (I love this line - so cute!) and made a whimsical cheerful holiday card out of it! I used the Snow Writer and The Twinery twine to embellish the card.  The hills were adhered using the foam tape to give dimension to each of the layers.

Photobucket

and don't you just love the stamp? It's from the Holiday Traditions stamp set - my favorite!

Photobucket

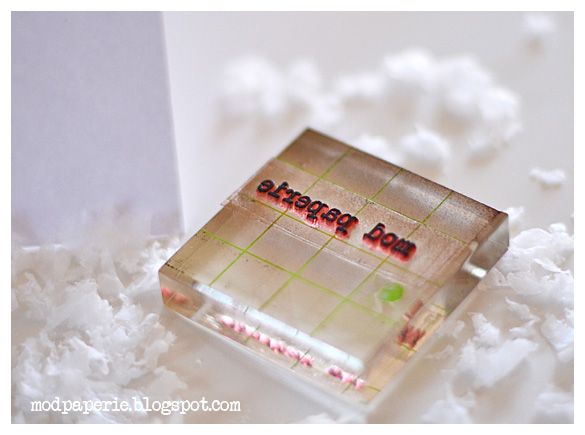
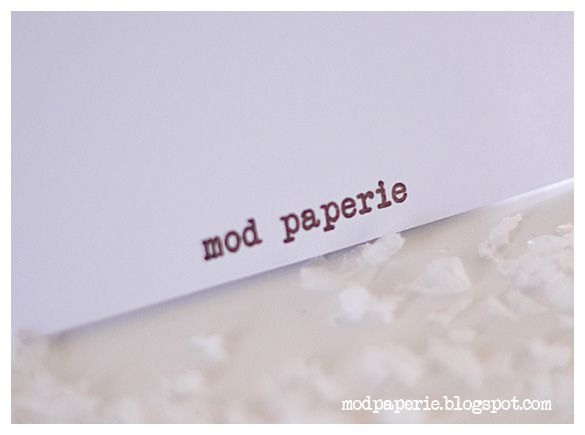
Okay, and the second thing that I made today was my own 'mod paperie' stamp using my Teresa Collins Stampmaker. It's been a while since I've touched this machine, and this is actually the reason that I got it in the first place! I finally got the hang of it, and this time, my letter images were nice and crisp! Take a look!

Photobucket

Now that I have this, I can stamp onto all my cards at the back :) Pretty cool, I think!

Photobucket

Anyway, that's it folks! Just a quick little post in case you've been missing me! (Yes, my SVG Cuts project should be coming out real soon... )

Tuesday, November 1, 2011

My Thoughts Exactly - November Stamp Release!

Happy November!!!  Ack - it's hard to believe that next month is already Christmas!!!  Gotta starting thinking about my annual Christmas cards...  stressful, but how exciting!

Did ya all have a great Halloween?  We sure did!  I took the kids out to the farm for a hayride and a pumpkin pickin' and decorating in the morning. The kids had so much fun and it would've been so nice to have pictures from that but silly me - took my camera, only to realize that I had forgotten to reinsert my battery which I freshly charged up at home! Then we had friends over in the evening and went Trick-or-treating together - and my kids were well behaved and only had ONE candy before going to bed!  Oh, we also do this tradition where the kids put aside a portion of the candy that they get for the 'Halloween witch' and in return, they get something instead...  yes, only if the kids would realize that this witch is ME! Muahahaha... (hope none of your kids are reading this)

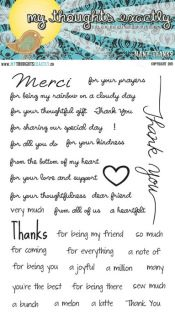
Anyway, back to my post...  The day has come.  I'm sure you've all been wondering what the next stamp set was going to be...  This one is NOT holiday related, so you can use this ALL year round... and so versatile to use, because they've done it again!  (Well, it's so fitting as Thanksgiving is coming up in the States :) ) It's a Thank you set, but it has a sentiment for pretty much any 'thank you' you can even think of!  How clever is that?  My Thoughts Exactly Stamps rock!

So... you ready to see this set?  Of course you are! 

Here it is!!!!  Many Thanks stamp set!


Photobucket

Isn't it cute?  Well, I actually found more appreciation for these stamps when I started playing with them and made some cards.  They are so fun and easy to put together a simple card!

For my project, I made 3 cards to share with you today!

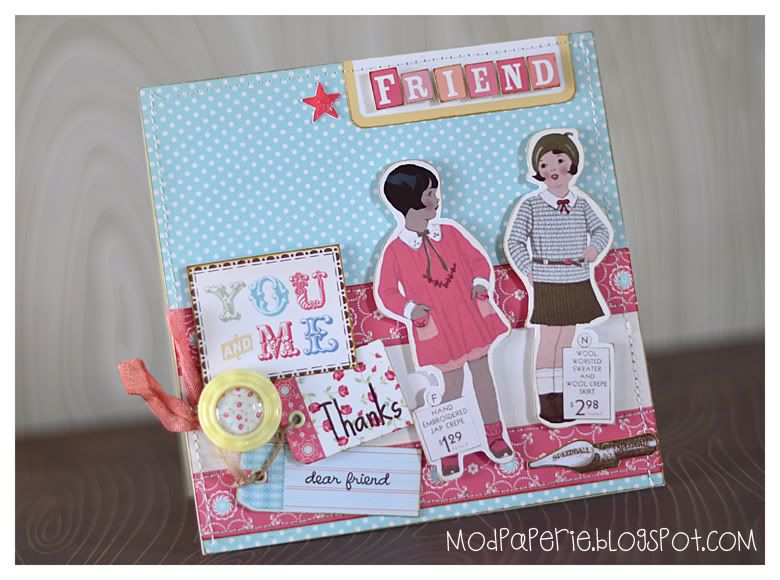
Here's my first one:

Photobucket

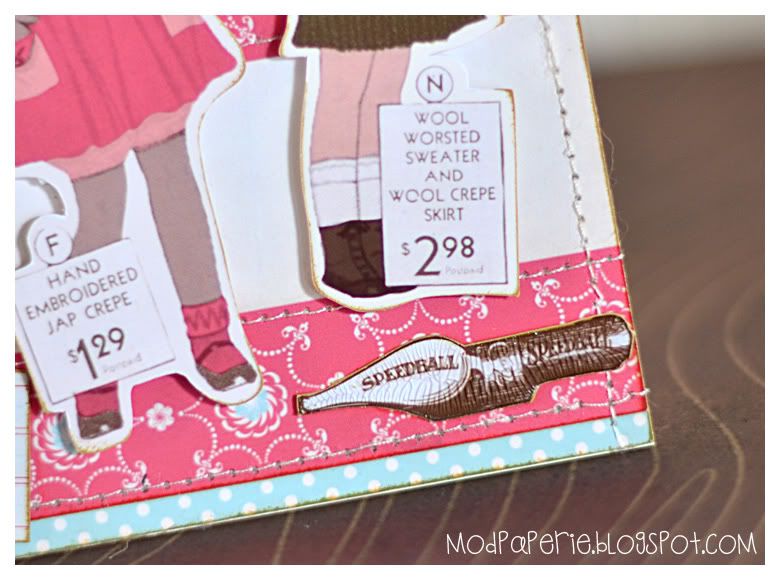
I went with the retro feel with this card using the Cosmo Cricket Odds and Ends digital packs.  Oh, I just love these vintage images!

Photobucket

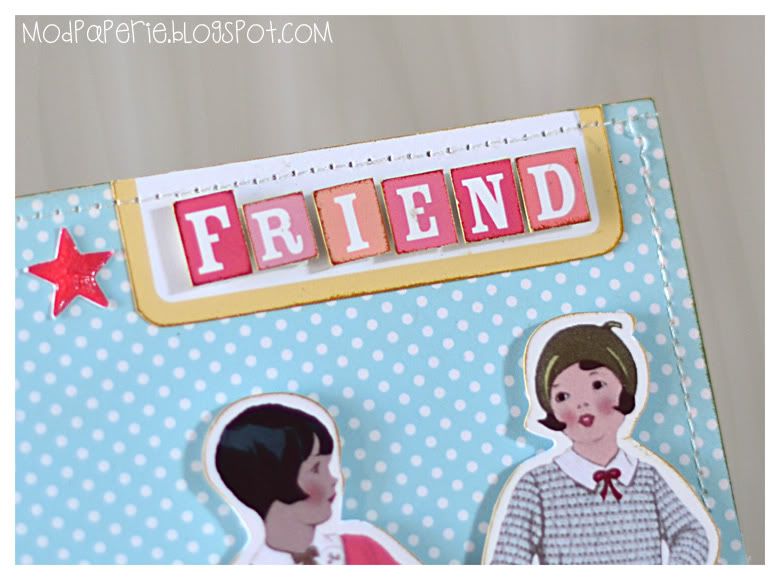
See how pretty it is to use these stamps on this card? 

Photobucket

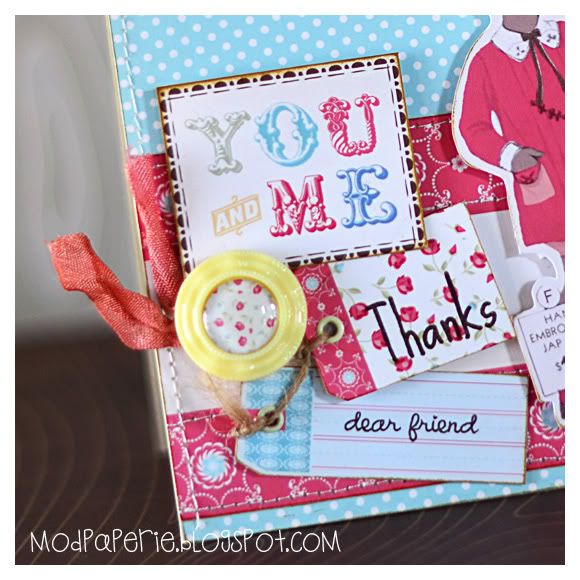
I used Crackle Accents on the pen nib - love the look that it adds!

Photobucket

Okay, for my next two cards, I went super simple, but loved how both turned out!

Photobucket

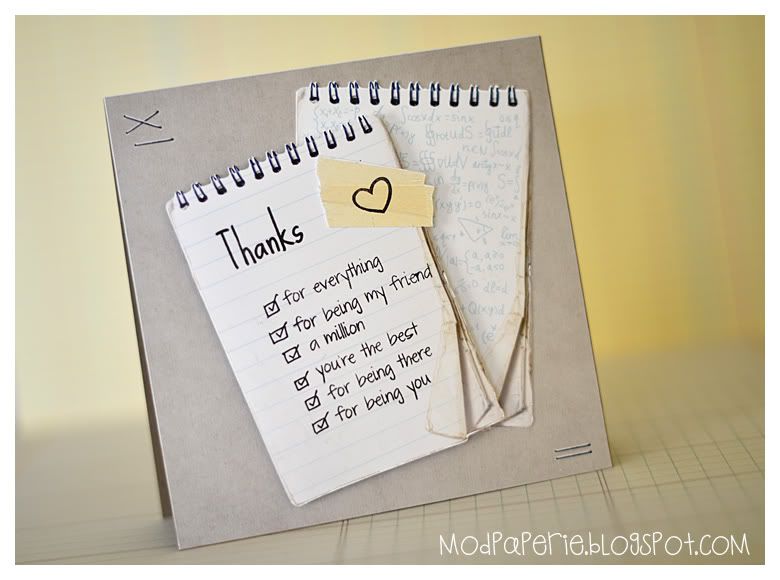
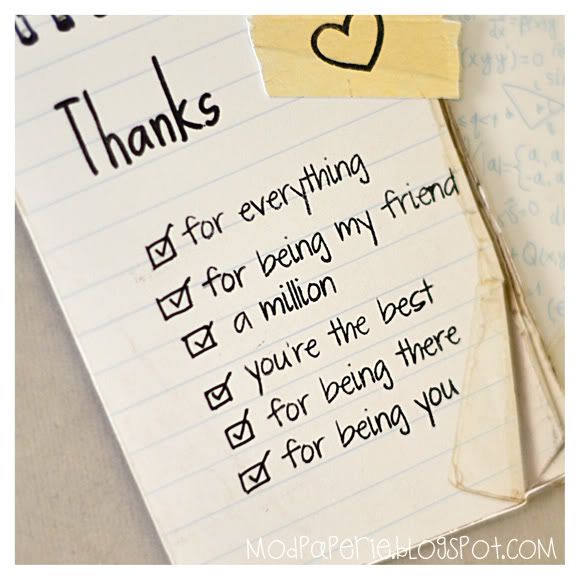
This is using the images from Back to School Elements pack.  I print and cut the memo books and stamped these sentiments onto them making it look like it was written on a note.  I added the box in front of each of the sentiments and checked off each one.

It kind of makes sense right?  These stamp sets are made to mix and match, so why not take the advantage of this feature and make a card out of it?

Photobucket

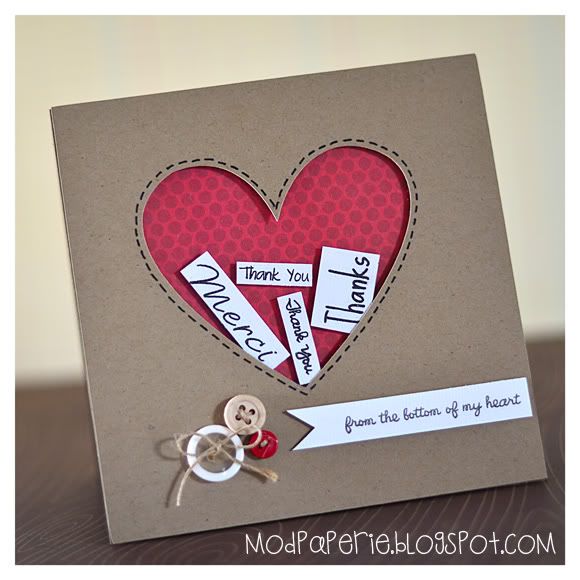
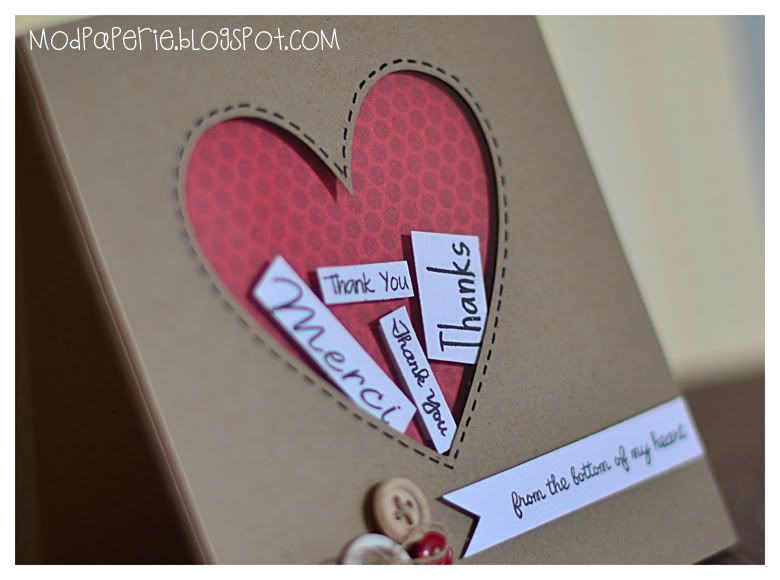
The last card is actually my fave - I cut out a heart on a cardstock, covered with an acetate sheet, used foam tape to bring it out from the card and placed various thank you stamped sentiments inside. 

Photobucket

Photobucket

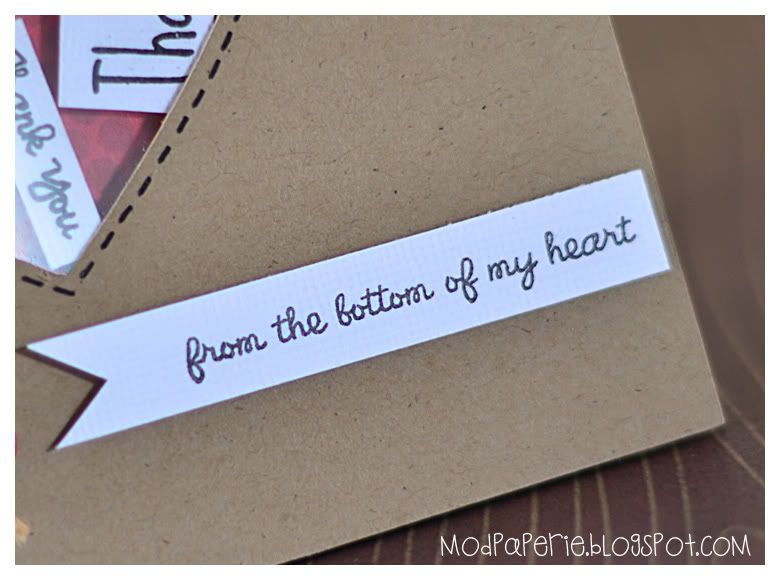
The main sentiment just ties it all together... on a ribbon strip (cut by hand)... get it? All the 'thanks' images are on the bottom of the acetate heart?

Photobucket

So, here it is!!!  You like these stamps? Sure you do! Head on over to My Thoughts Exactly - and be one of the first ones to have these cool stamps in your hands!

Make sure that you go and visit all my fellow DT members to get some inspiration with this amazing release!

Belinda (Bee's Hive O'Drama)
Bee (Dare to bee creative)
Jessica (Crafty Rocket Science)
Jennifer (Our Change of Art)
Lenae (Sugar Gem)

Thanks for stopping by - have a crafty day everyone!

Thursday, October 27, 2011

I'm a guest designer over at Jillian Vance today!

Hey everyone! It seems like I've been gone forever! I haven't forgotten about my blog - but I think that I did go through a few days where I didn't even look at my own blog!  It's been crazzzyyy over here, and I'm still recovering from this stubborn cold that I had a week ago.

Anyway, I'm proud to be a guest designer over at The Princess & The Paper today.  This is a stamp company owned by Jillian Vance, and the most interesting thing about it is that she's only 11 years old! Can you believe that???  She started her own business last year and has designed many sets of wonderful clear photopolymer stamps. 

I had the pleasure of 'meeting' her and her mom when Tamara and I owned the Paper Dolls blog.  We featured them as artists, as well as they became our guest designer for one of our challenges and even generously sponsored our final challenge. 

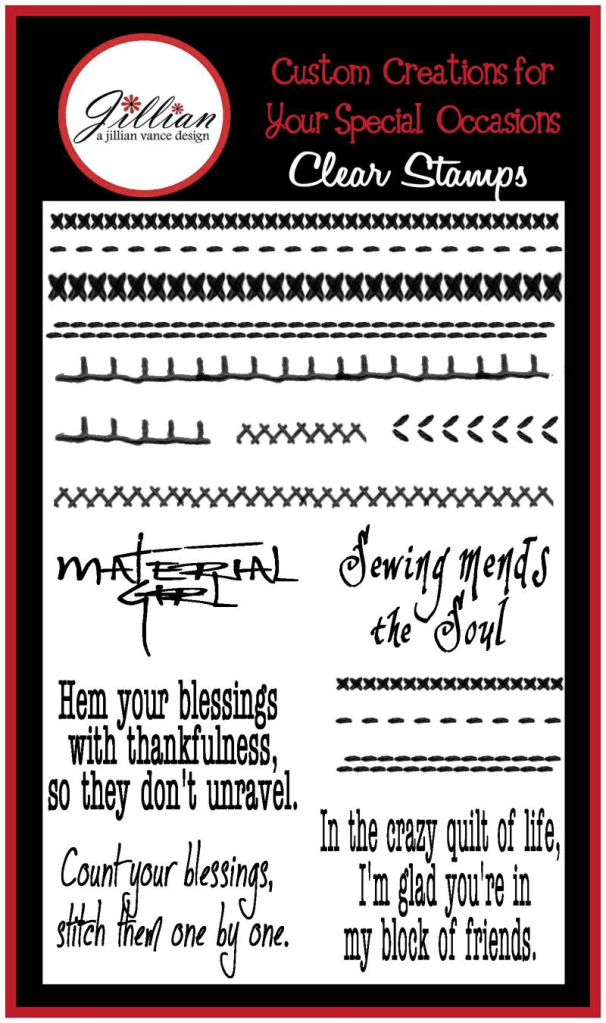
Anyway, so just to show you all how special they are and their wonderful stamps that they make, I made a card using one of Jillian Vance Design Stamps - More Stitches set. 

Photobucket


This set is so cute – with various stitches in two widths as well as some cute sentiments to go with it! Jillian is so talented – I can’t believe she’s designing all these amazing stamps at her age!

Okay, here’s my card:

Photobucket

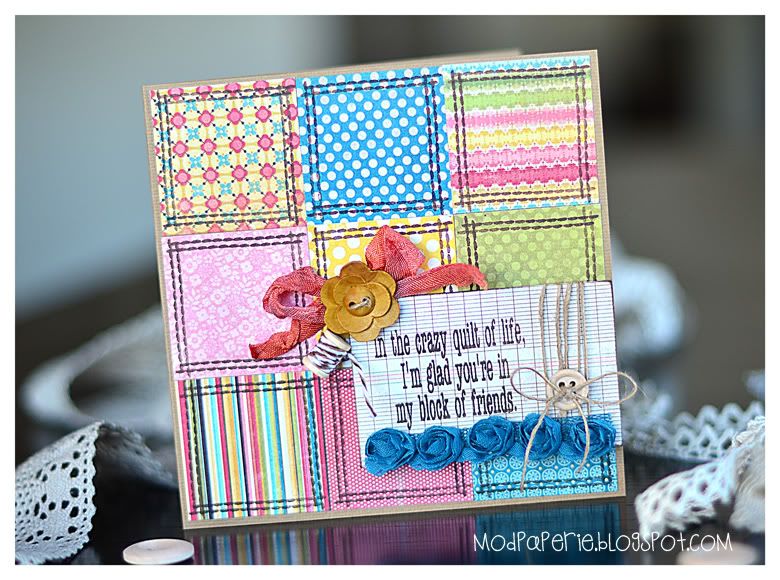
You like???  I went with something simple, but I think that I personally think that it bring out these beautiful stamps this way :)
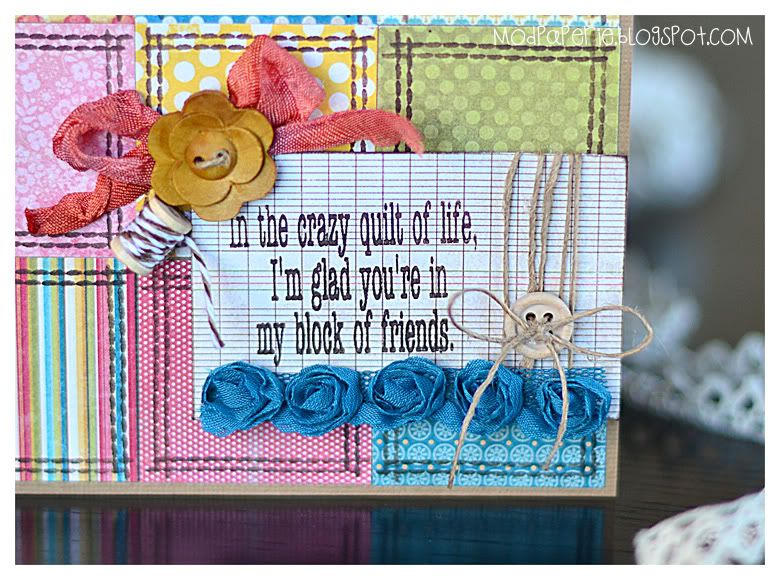
To make this card, I just cut out 9 square pieces (1 3/4” x 1 3/4”) of various patterned paper, and I stamped the edges of them.  I adhered them on the 5 ½” x 5 ½” card.


Photobucket


I stamped the sentiment onto another paper and adhered onto the card using a foam tape to give dimension.  I embellished the rest with rose ribbon, natural twine and Chocolate Truffle (Annie's Paper Boutique) twine, buttons, mini spool, and crinkled ribbons (Scrapinkris).

Anyway, I hope that you go over and leave some love on their blog for having me there :)

Oh, one more thing... did ya all check out this new collection that is going to be coming out from SVG Cuts??? This is amazing (Mary has done it again!) - and I just can't wait to play with it! I LOVE gingerbread houses!!!!  You've got to watch this - here is the link to the teaser video!

...and I'm working on several different projects at once, so I'll probably be seeing you next Tuesday with My Thoughts Exactly Stamp Release!  This is a cute set - you don't want to miss!  and it's so versatile and can use it all year round! That's the only hint you're gonna get!

Thanks! and Have a crafty day!
Thursday, October 20, 2011

You Take the Cake!

Hey you crafty gals!  What's new?  Any exciting things going on with ya?

Well, I've been given this awesome 'gift' from my kids this week... one brought it home from school last week and ever since, this 'gift' has been going around...  and I really didn't want it, and I tried so hard to not get it, but somehow the biggest 'gift' ended with me...  Yes, it's that icky word - COLD, and I don't get sick that often, but this time, it's taken a toll on my body and I've been achy, sneezing, coughing, wiping my nose.. you name it, I have it. 

So, this week, I've actually been laying on my bed for longer than I have been sitting at my crafting chair...  That says a lot - coming from someone that rather craft than sleep.

Anyway, today is My Thoughts Exactly DT Thursday and due to above, I don't have a whole lot of things to share today, but I made a pretty card that I'm gonna share!

It's actually perfect as it's my mom-in-law's birthday this weekend, and I was able to make a card for her AHEAD of time, instead of my usual night before crisis.

Photobucket

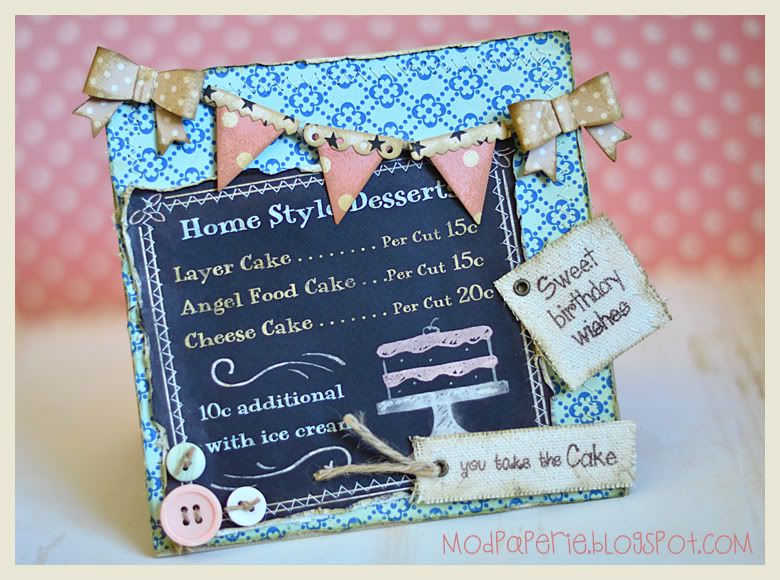
I just love this paper line - it's the 5 & Dime collection from October Afternoon. So pretty!

I also stitched around the edges of the cardstock, distressed it and inked it to give it a little vintage look.

Photobucket

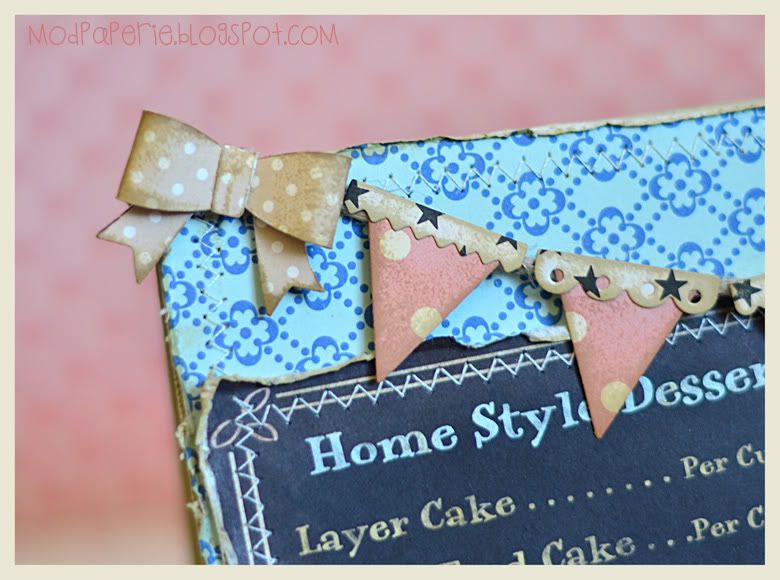
I finally even got to use the Papertrey Ink's Banner Builder Collection dies that I've had sitting in my drawer for the past year! It's so cute - and I must use this more often! You like the bow? The bow is from My Grafico Ribbon Bow Template collection.

Photobucket

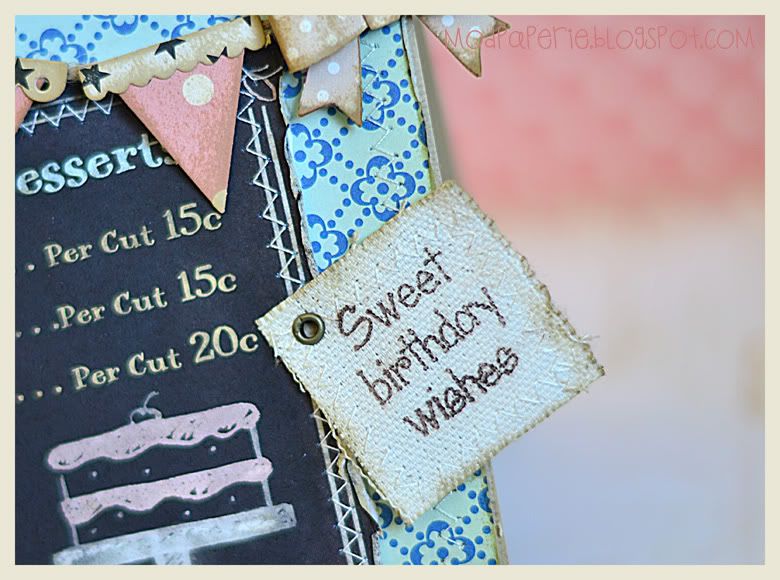
I stamped my sentiment 'sweet birthday wishes' from Sweet Thoughts onto a Canvas Corp canvas, and then I zig-zag sewed it and put an eyelet into it.

Photobucket

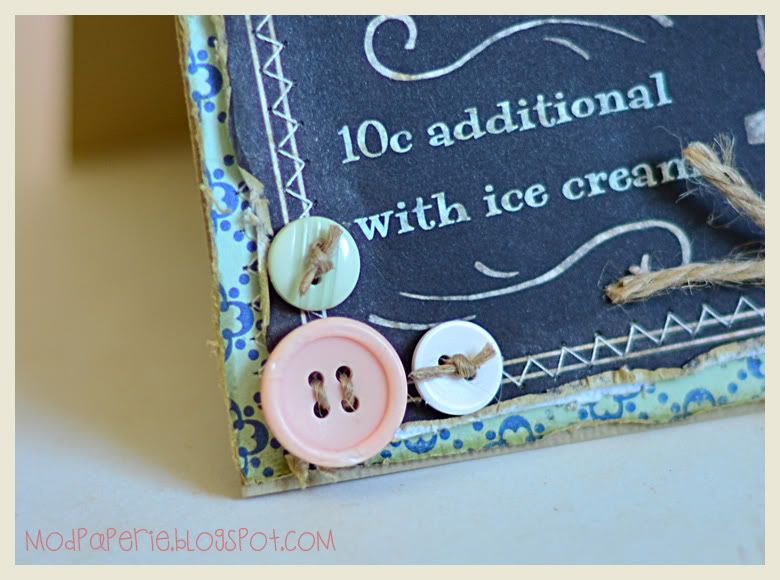
The buttons are always cute and adds so much! LOVE buttons!

Photobucket

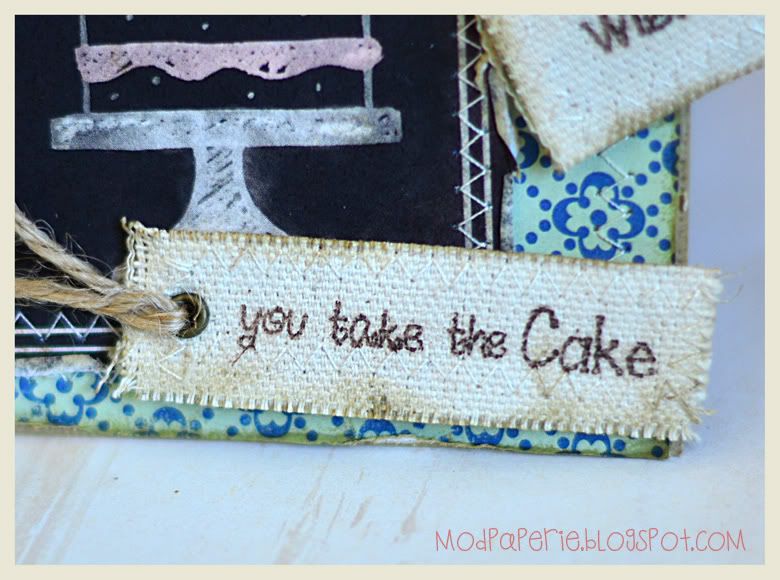
... and added one more sentiment at the bottom of the card 'you take the cake', which is also from the same stamp set, Sweet Thoughts.

Thanks for stopping by, and make sure that you go check out Lenae's blog, Sugar Gem for more inspiration projects with My Thoughts Exactly stamps!

Sunday, October 16, 2011

Letterpressed holiday cards.

I pulled out my Letterpress out again yesterday...  Yes, it's a big deal.  I don't pull this thing out that much, mainly because it's a pain to clean up and all, but really, everytime,  I make something out of it, I love how my cards turn out.  It's somehow just the look of the letterpressed stationery is so classy and elegant...  So, I keep telling myself that I should pull it out more often, but before I know it, a few months passes again...

Anyway, for the past few times, when I have been doing the Letterpress, I have been trying to focus on using their templates as the focus.  This time, I tried to use the templates as a "background" or not the only thing on my project, and use SVGs and stamps to spice up the card.  I think that it turned out really cute!

Here are the cards:

Photobucket

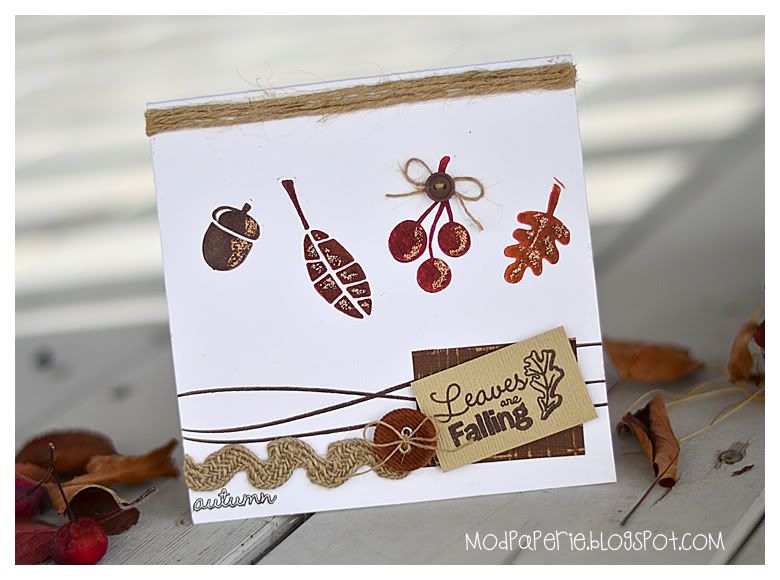
Love the leaves and acorn in this one! and the swirl border at the bottom! This is from the Thicket Printing Plate.

Photobucket

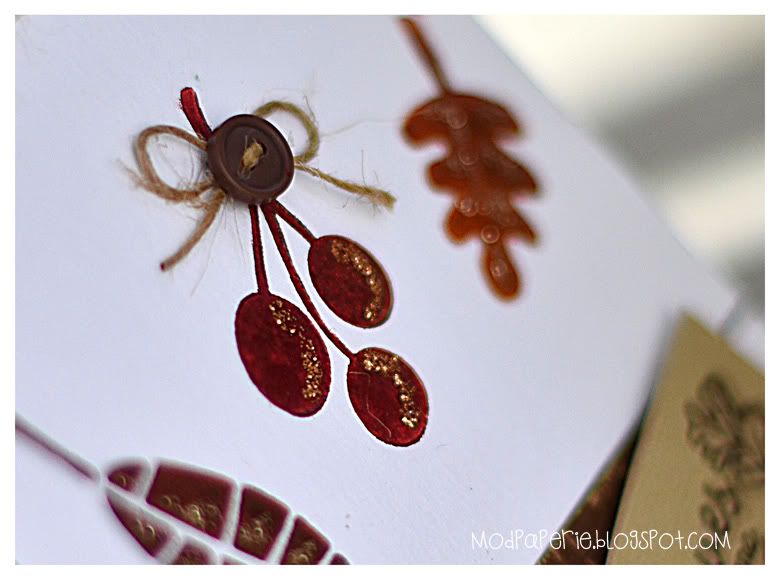
It's hard to see it in pictures, but all the letterpressed areas are debossed with ink in that area... it's really pretty! I tried to mix in different colors to give the 4 objects a different color... and then I used the glitter glue to bling it up a bit :)

Photobucket

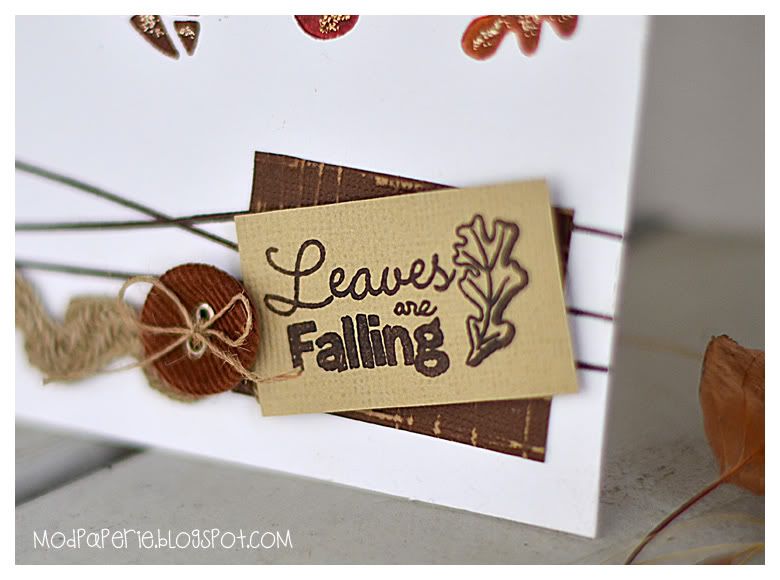
Cute stamps, isn't it??? ('leaves are falling' and 'autumn') This stamp set is from Heirloom Traditions (Punkin' Patch Stamps) The backing cardstock of the stamps is the Jillibean Soup Core Impressions. I love these cardstock - they are already embossed, and you just take a sandpaper and distress it a bit and the core lighter layer gets exposed.

I also am into the burlap and the twine and the canvas thing... this burlap ribbon that I used in this card was something mom brought back for me from Japan, but am lovin' them! I'm gonna see if I can pick some different ones up on Etsy!

Okay, I'm going to jump ahead by a few months and the next two cards are Christmas cards...

Photobucket

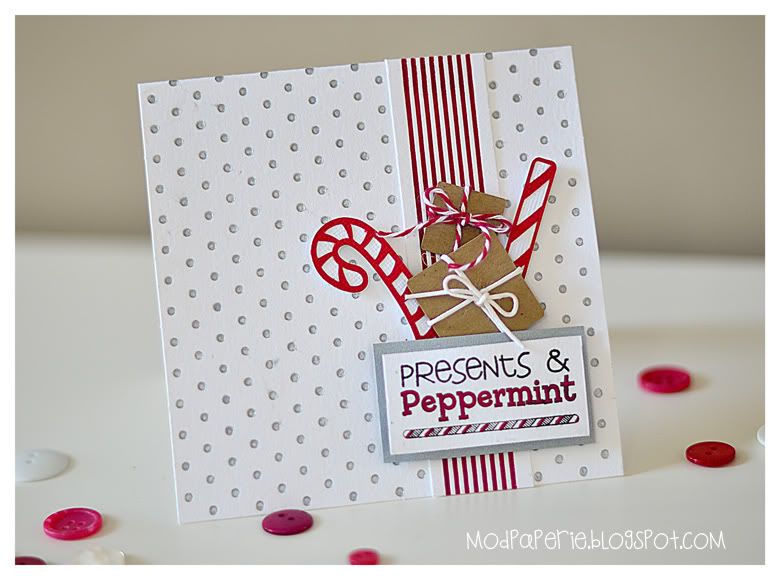
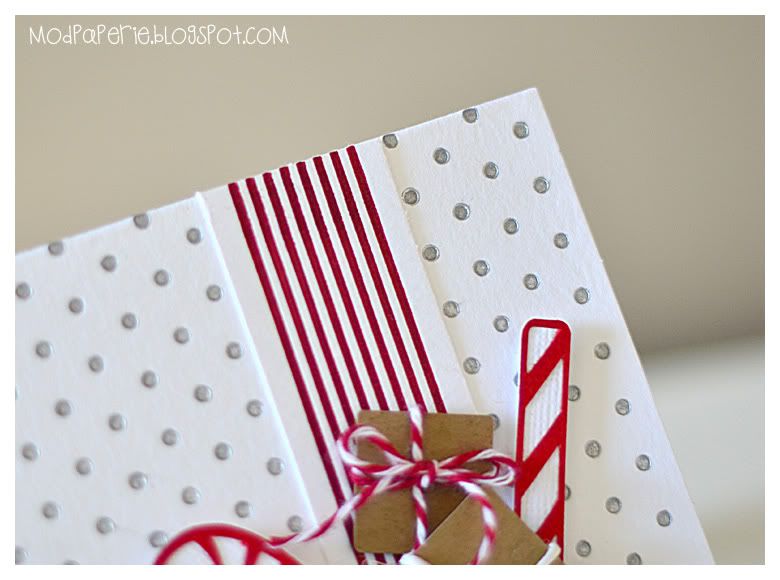
I think that this is my favorite out of the three cards that I've done here... the silver dotted background and the red striped lines are both letterpressed (Wintertide Printing Plate), so it's actually really sharp to look at in person. I stuck to the minimal colors, but added in a candy cane (Santa's North Pole Workshop SVG Collection) and a peppermint (Christmas Cookie Party SVG Collection), along with some presents to embellish the card up a bit.

Photobucket

Photobucket

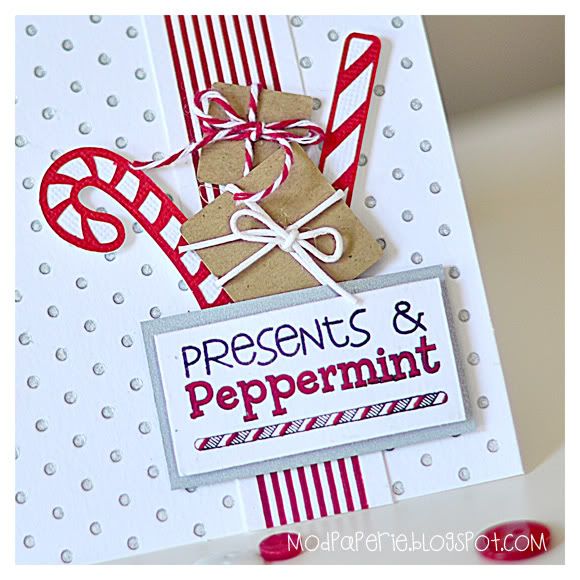
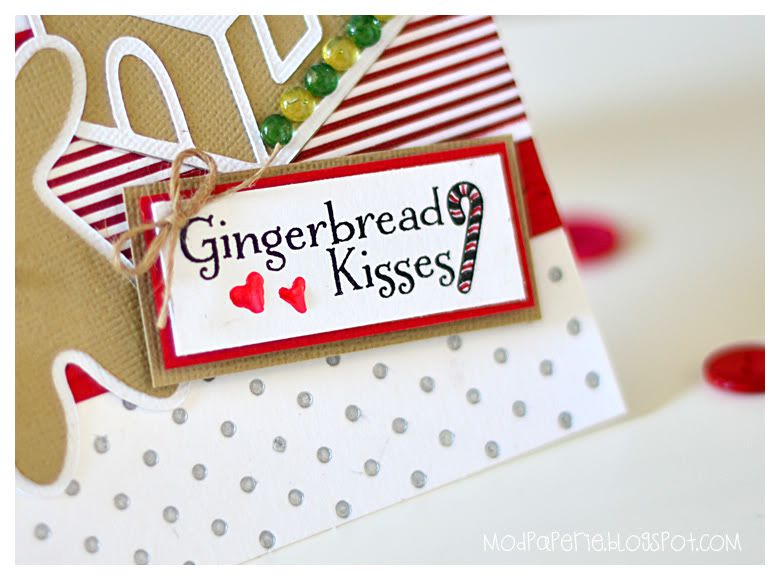
The stamp is from the Holiday Traditions set (Punkin' Patch Stamps) and I have to say that is my current favorite set right now! SO SO Cute and you'll be seeing a lot of my projects using those stamps!

... and my last card (same Letterpress templates)...

Photobucket

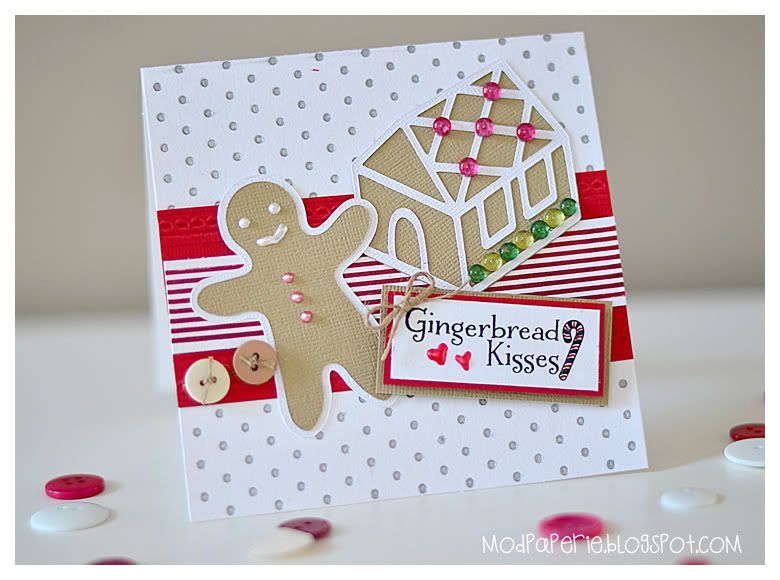
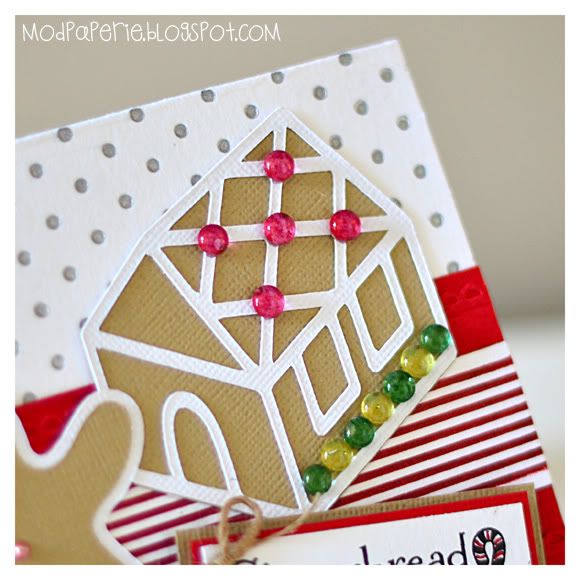
The gingerbread man is from Holiday Treats SVG Collection and this cute gingerbread house is from the Christmas Cookie Party SVG Collection.

Photobucket

I just LOVE these dew drops - I got mine on eBay a couple of years ago, but adds the perfect amount of color and cuteness to your projects!

Photobucket

This last stamp is from Gingerbread Kisses (Punkin' Patch Stamps) and I took a red pen to accent in the candy cane :)  The red hearts are not so perfect, but they are done with Red Ranger Pearls.

I'm workin on a few more right now, but I've got some other projects that I need to do, so thought that I'd share these for now!

Thanks for comin' by, and have a crafty one!

OH, and until October 23rd - you get FREE SHIPPING on Punkin' Patch Stamps with coupon code: HALLOWEEN2011SHIP

LinkWithin

Related Posts with Thumbnails